How to Aim Your Trail Camera for Perfect Shots
Whether you're an avid wildlife photographer, a hunter, or someone who simply wants to monitor your property, setting up your trail camera correctly is essential to capture the best shots.
1. Choose the Right Location
The first step to aiming your wildlife trail camera is selecting the right location. Here are some tips to help you find the perfect spot:
- Wildlife Trails: Look for trails or pathways where animals are likely to pass by. These can include animal paths, game trails, or water sources. Setting your camera near these natural routes increases your chances of capturing wildlife.
- Food Sources: If you're monitoring a hunting area or tracking wildlife, consider placing your camera near food sources like feed plots or fruit-bearing trees.
- Height and Angle: Place your camera at a height of about 3 to 4 feet above the ground. This height ensures you capture clear images of animals. Tilt your camera slightly downward for a better angle.

2. Align Your Camera with the Activity Area
After you've found the perfect location, you need to properly aim your camera. Here are a few alignment tips:
- Motion Sensor Alignment: Most game cameras have motion sensors that detect movement within a certain range. Ensure the sensor is aligned with the area where you expect the action to occur.
- Field of View: Aim your camera to cover a broad area of the path or field where the animals are most likely to move. This increases your chances of capturing a clear shot.

- Adjust for Sunlight: The sun can interfere with the clarity of your images. Set your camera in a direction that minimizes the sun's glare, especially during sunrise and sunset when lighting is most intense. You may want to avoid pointing your camera directly toward the sun.
3. Test the Camera Before Full Setup
Before finalizing your trail camera placement, do a test run:
- Test Shots: Take some test photos or videos to ensure the camera is positioned correctly. Check if it captures the area where you expect the action and make adjustments as needed.
- Sensor Sensitivity: Many trail cams allow you to adjust the motion sensor’s sensitivity. For areas with lots of wind or moving branches, lower the sensitivity to avoid triggering false alerts.
4. Consider Camera Settings for Better Aiming
Once your camera is aimed and in place, take time to configure the settings to ensure you get the best results:
- Image or Video Mode: Choose whether you want to capture images or videos. Videos can give more context to animal behavior, while images are great for clear, still shots.
- Time-lapse Mode: If you want to track an area over time, set your camera to time-lapse mode to capture a series of images at specific intervals.
- Trigger Speed and Delay: Set your wildlife trail camera’s trigger speed to fast if you’re tracking fast-moving animals. You can also adjust the delay between shots to avoid capturing the same animal repeatedly.

5. Camouflage Your Camera
If you want to minimize the chance of your camera being noticed by wildlife or trespassers, camouflage is key:
- Natural Cover: Place your camera near trees, bushes, or tall grass to blend it in with the surroundings.
- Camouflage Skins: Consider using a camouflage cover or case for your camera to help it blend into the environment even better.
6. Check and Maintain Your Camera Regularly
After your wildlife camera is set up and taking pictures, it's important to check it periodically:
- Battery Life: Make sure the camera's batteries are charged or replaced regularly to avoid missing any important moments.
- Memory Card: Check the memory card to ensure it has enough space for photos and videos. Clear the card or replace it when necessary.
- Weatherproofing: Ensure the camera is properly sealed to protect it from the elements. Some trail cameras are weatherproof, but it's always good to double-check.
Perfecting Your Trail Camera Setup
Aiming your outdoor trail camera correctly is essential for capturing high-quality images and videos, whether you're tracking wildlife or monitoring your property. By carefully selecting the right location, positioning your camera with the correct angle, testing the settings, and maintaining the device, you'll improve the chances of getting the best shots. Follow these steps to ensure your trail camera provides you with clear, valuable content for whatever purpose you have in mind.
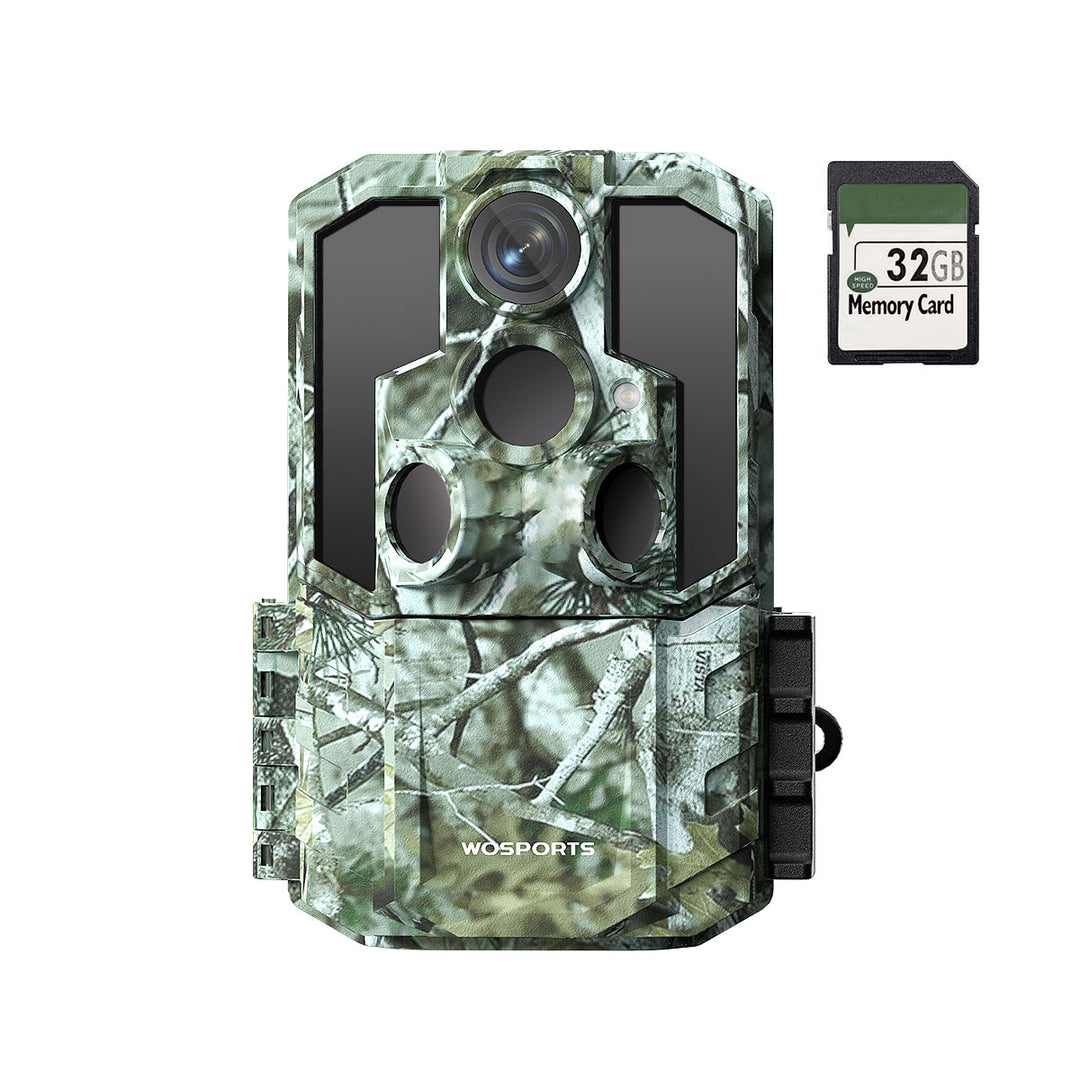
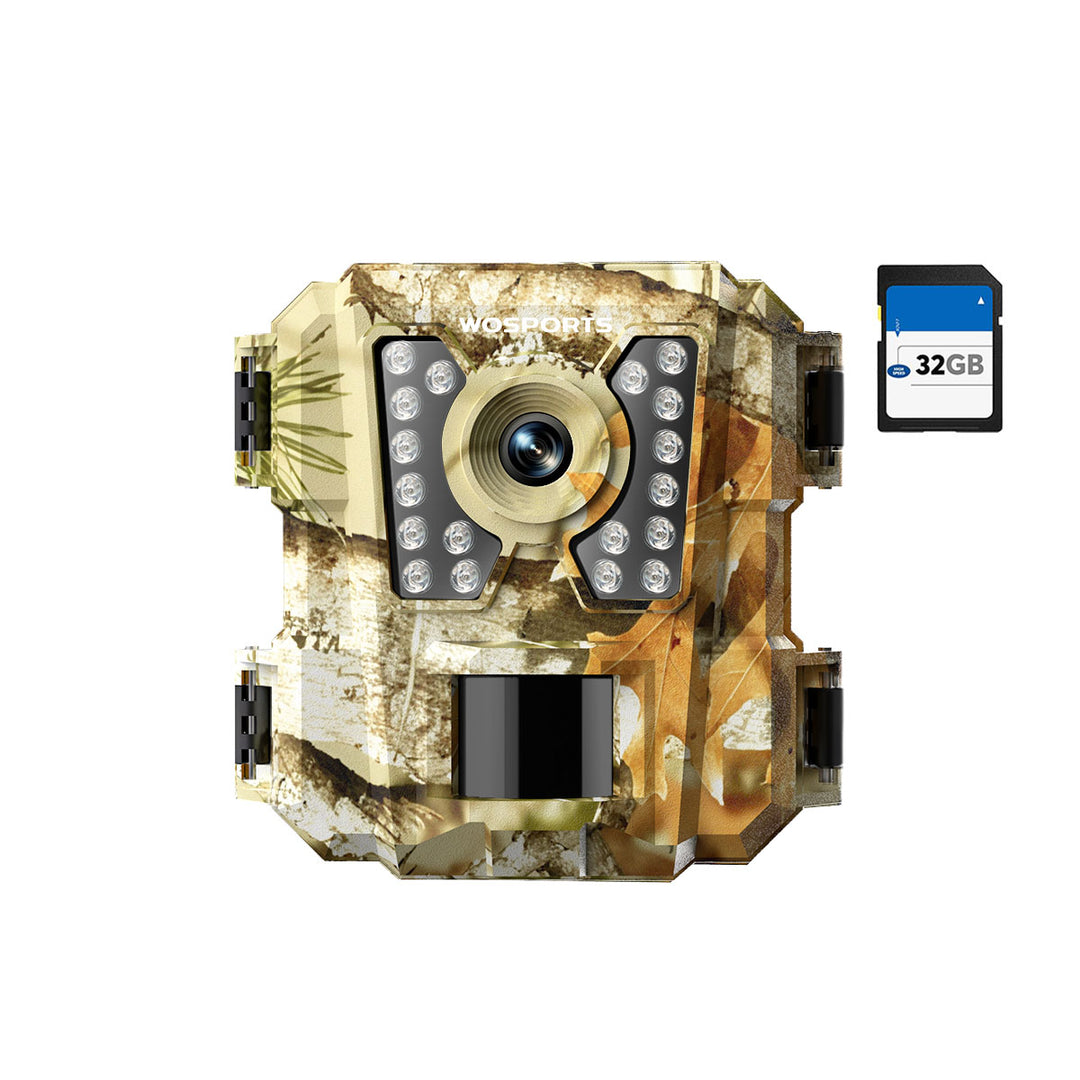
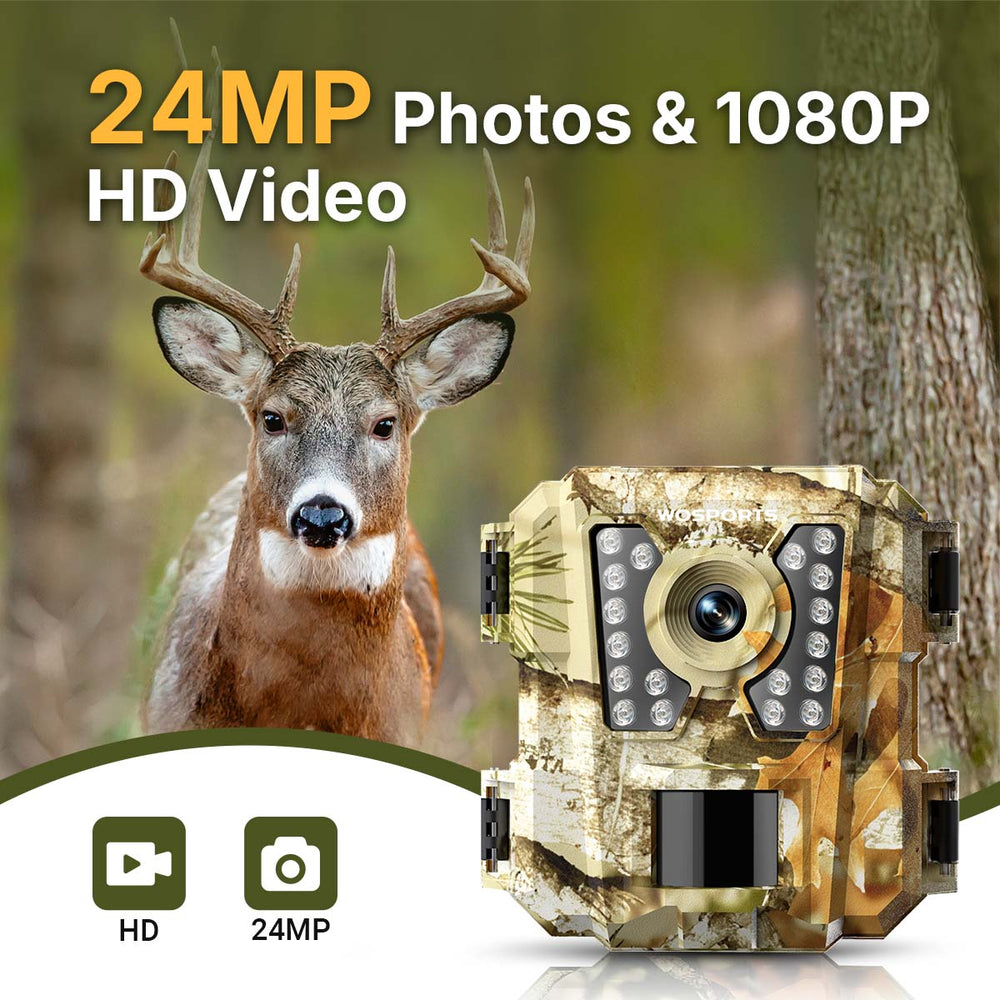
Are you ready to capture the perfect shot with your trail cam? Check out our range of high-quality trail cameras, including the WOSPORTS G600 trail cameras and G100 models, perfect for all your wildlife and security monitoring needs.

FAQ Section
Q: How do I prevent humans from tampering with my trail camera?
A: Use a Python lock cable, mount cameras 8+ feet high, and choose camouflaged models.
Q: Why does my camera miss animals walking by?
A: The PIR sensor may be misaligned. Test by walking slowly across (not toward) the detection zone.
Q: Can trail cameras work in extreme cold?
A: Yes, but use lithium batteries (perform better below freezing) and disable LCD screens to conserve power.
Search
Popular Posts
Recent Posts

Nov 28, 2024
Troubleshooting Common Trail Camera Issues
Jan 10, 2025
Why Does My Trail Camera Stop Working at Night?


