Trail Camera Setting up Guide for Beginners - How to Set up a Trail Camera
Trail cameras are great for capturing people, wildlife, etc. Hence you must know how to set up a trail camera. Read the following article to increase your knowledge.
Don't forget to check the settings and features of your trail cameras before heading out onto the area you administer. It includes replacing the batteries, cleaning the batteries' contact points, formatting Memory cards, and double-checking the settings. If you're utilising a brand-new trail camera, take considerable time understanding the functionalities, reading the handbook, and double-checking that you comprehend everything.
Tips for setting up a trail camera:
Here are some pointers on how to set up a trail camera.
Name your trail cameras:
It's a matter of giving each trail camera a name if you have to set up several. When it comes to examining the Memory cards, you'll be able to tell which ones were the most effective; You can use this knowledge for future configurations. When the sensor is triggered, the camera will respond. Determine the number of times photographs and footage you want to take. Every trail camera has numerous features, but two images and a 10-second video should usually suffice.
Stay concealed:
You should minimise your odour as much as feasible. Wipe each trail camera well before installing it. Then, to prevent the spread of any undesirable odour, try using gloves when handling.
Knowing where you want to set up your trail cameras:
You may look at the technical features of the trail camera but may forget to focus on the location. It can be challenging to determine the location for setting your trail camera. You can recognise any considerable indicators in the external environment. Use temporal trends to your benefit. In colder months, you can choose locations such as feeders. Search for trails that may direct to bedding regions; this can be a good clue that you've found a good spot for your trail camera. When we choose our house, we want the best location in every way, so as the case for determining the place to set up your trail camera. It implies that we should set our camera where we think we will find more visuals and targets. It is possible that you may not select a suitable location the first time, but you will get the idea about how location feature in capturing good pictures. After setting up the camera in the right location, you can get what you desire.
Trail camera positioning:
The camera's position is critical; you must ensure that the angle and direction are correct. Hold the camera straight and about 3 to 4 feet off the ground. You can often travel a little higher, up to 6 or 7 feet. It depends on the camera's concealment. Positioning your camera to face the dawn and dusk will aid prevent overexposure in your photos.
Eliminate any stray shrubbery from immediately in front of your lens. While some protection is desirable, be sure that nothing blocks the camera's view when the air flows. You can't imagine having loads of photos of the same twig.
Let the trail camera do its job:
Leave the trail cameras up once they're in place and operational. You'll tempt to inspect them frequently, but wait a few days before returning to let the area settle. Leave the trail cameras for more than 17 days, based on the camera placement. In this period, contemplate having around 2000-3000 photos and a few films. Naturally, not every image will be valuable. However, if configured correctly, your trail camera may provide you with a plethora of data on wildlife behaviour and mobility in the region where you've placed it.
Guide to setting up a few famous trail cameras:
This brief guide to putting up a trail camera will provide vital advice quickly and easily. We attempted to cover all of the well-known and easily accessible products on the market.
How to Set up Simmons Trail Camera?
-
It is helpful to choose a location with no barriers next to the camera, including tree limbs. Don't position the camera toward the east or west to prevent sunlight. Moreover, set the camera at an altitude of 4-5 feet above the ground.
-
Tighten the band's all-around top flange after inserting them in the back accommodation. Finally, lock the straps to protect the camera.
-
Turn on the camera by pressing the 'On' button. The PIR sensor will come in handy for detecting, acknowledging, and capturing images and movies. If the camera isn't functioning, make sure the battery and sd card is in perfect working order.
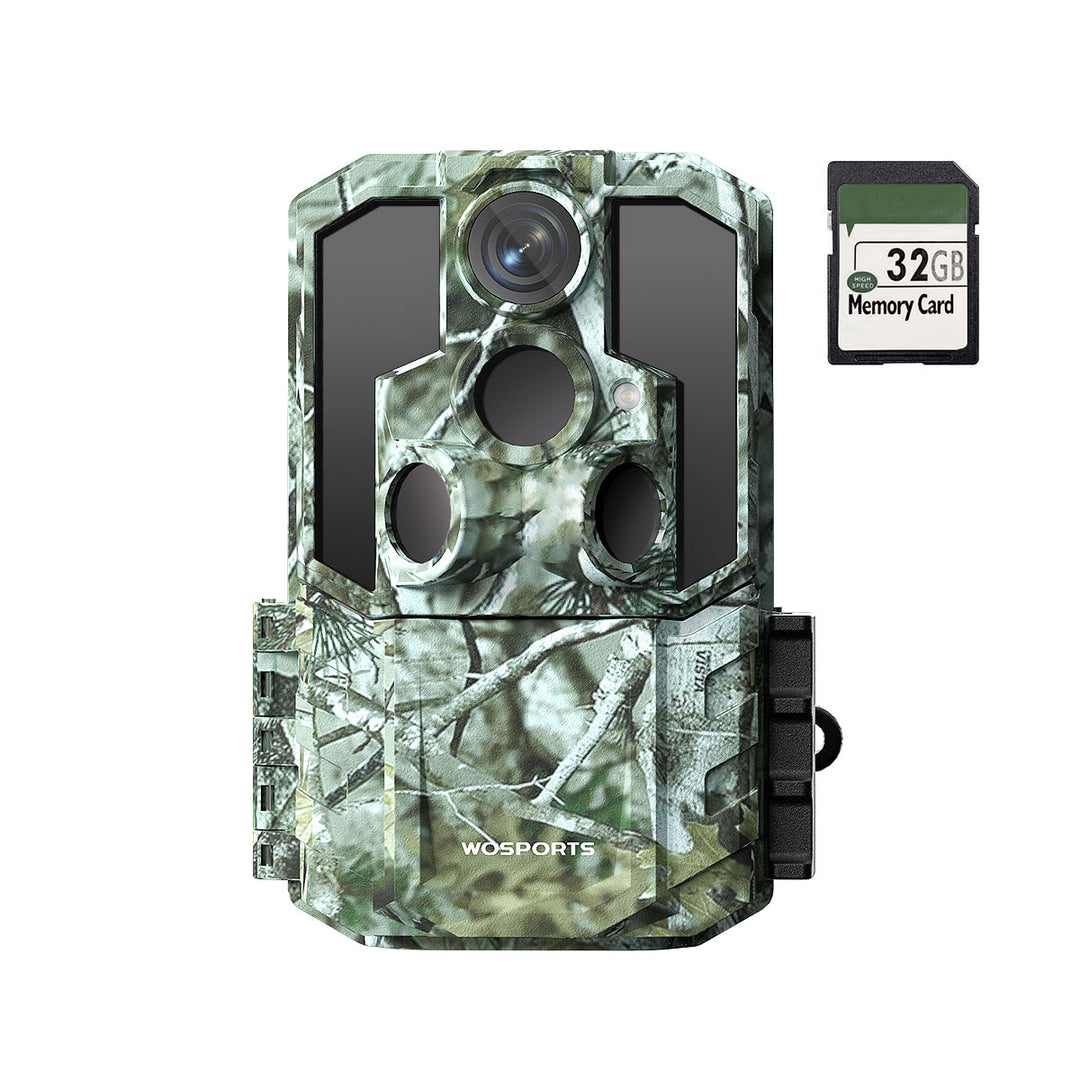
How to Setup Wosports Trail Camera?
-
ON Mode
-
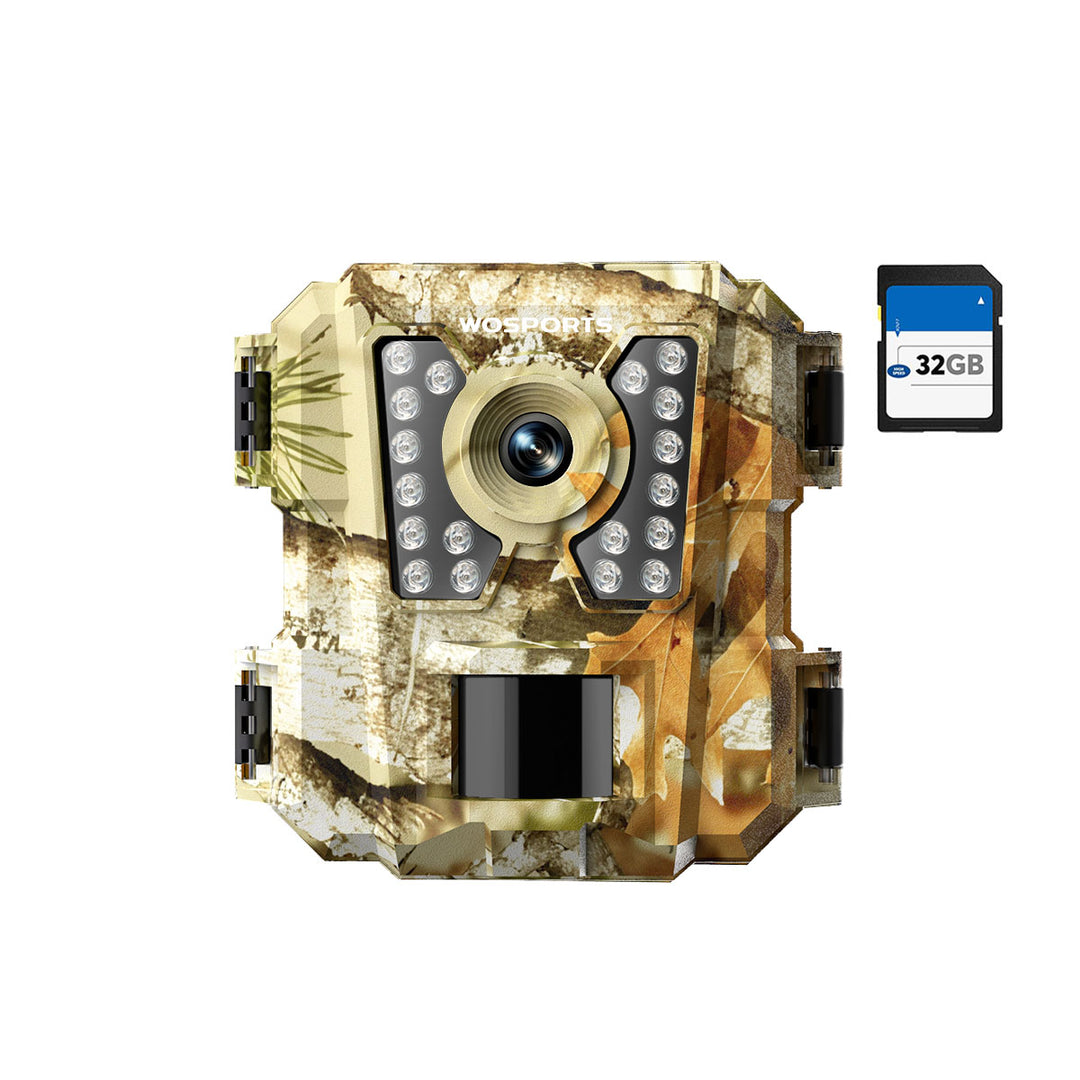
Please be sure the batteries were loaded and SD card was inserted,after setting the camera’s time/date and other options to your preference, you’re ready to take it outside and begin capturing images of animals in the area you want to monitor. Please be sure to mount it in place correctly and securely.
-
Using the adjustable web belt: Push one end of the belt through the two brackets on the back of the camera. Thread the end of the strap through the buckle. Fasten the belt securely around the tree trunk by pulling the end of the strap firmly so there is no slack left .
How to Setup Bushnell Trail Camera?
-
To initiate, release the clasp on the camera and remove it from the case. Install the SD card and battery.
-
Turn on the camera screen and input the login details '0000' by hitting the 'enter' key four times.
-
After a short delay, hit the 'enter' key again to customise the default settings to your preferences.
-
Attach the camera into a safe facility like on a tree using the cords. Then fix the straps so that it points to the specific goal.
Conclusion:
For Venator and environmental enthusiasts, trail cameras are more than just an effective instrument. Despite the fact that there are various cameras on the marketplace, fortunately, most cameras adopt a similar setup strategy.
Search
Popular Posts
Recent Posts

Nov 28, 2024
Troubleshooting Common Trail Camera Issues
Jan 10, 2025
Why Does My Trail Camera Stop Working at Night?


