How to Improve Your Hunting Success with Trail Cameras
Whether you’re a seasoned hunter or a beginner, this guide will teach you how to use hunting cameras effectively to boost your hunting results.
1. Understand Your Target Game
Knowing your target animal’s habits is the foundation of successful hunting. Hunting trail cameras can help you gather critical information, but only if you know what to look for.
Tips for Researching Your Target Game:
- Study your target species' seasonal habits, such as feeding, mating, and migration patterns.
- Identify their preferred habitats and times of activity.
- Look for signs of activity like tracks, droppings, or rubs to pinpoint promising areas.

2. Strategic Placement of Trail Cameras
The location of your trail cam is key to capturing useful footage. Proper placement can mean the difference between empty frames and actionable data.
Best Locations to Place Your Cameras:
- Game Trails: Look for narrow paths where animals frequently travel.
- Water Sources: Capture footage of animals coming to drink during early mornings and late evenings.
- Feeding Areas: Monitor food plots or natural feeding zones for consistent activity.
- Bedding Areas: Position cameras cautiously to avoid disturbing resting animals.
3. Optimize Camera Settings for Hunting
Outdoor trail camera settings play a crucial role in capturing high-quality and actionable footage. Adjusting your camera for specific hunting needs can improve your results significantly.
Key Settings to Adjust:
- Trigger Speed: Opt for a fast trigger speed to capture animals in motion.
- Detection Range: Set it according to the terrain and expected animal size.
- Time-Lapse Mode: Use this feature to track broad patterns over extended periods.

4. Time Your Checks Carefully
Checking your cameras too often can disturb wildlife and alert them to your presence. Minimizing human scent and activity near the camera site is critical.
Tips for Minimizing Disturbance:
- Check your cameras during low-activity periods, such as midday.
- Avoid peak hunting times to reduce interference with game movement.
- Wear gloves and use scent-free products to mask your presence.
5. Analyze Your Footage for Insights
Reviewing trail camera footage is where the magic happens. By carefully analyzing the data, you can uncover patterns that guide your hunting strategy.
What to Look For in the Footage:
- Activity Times: Determine when animals are most active to plan your hunts accordingly.
- Travel Routes: Identify preferred trails and crossing points.
- Seasonal Changes: Monitor shifts in behavior across different times of the year.
6. Adjust Your Hunting Strategy Accordingly
The insights gained from your trail camera footage should directly influence your hunting approach. Using this data ensures you’re always a step ahead.
Actionable Steps to Improve Your Hunts:
- Set up blinds or tree stands near high-traffic areas revealed by your footage.
- Schedule hunts around peak activity periods to maximize encounters.
- Adapt your strategy as animals’ patterns change due to weather, food availability, or pressure from other hunters.
7. Maximize Your Camera's Battery Life for Extended Use
Trail cameras are often set up for long periods, so ensuring they have enough battery life is crucial to avoid missed opportunities.
Tips for Extending Battery Life:
- Use High-Quality Batteries: Invest in long-lasting lithium batteries for better performance, especially in colder weather.
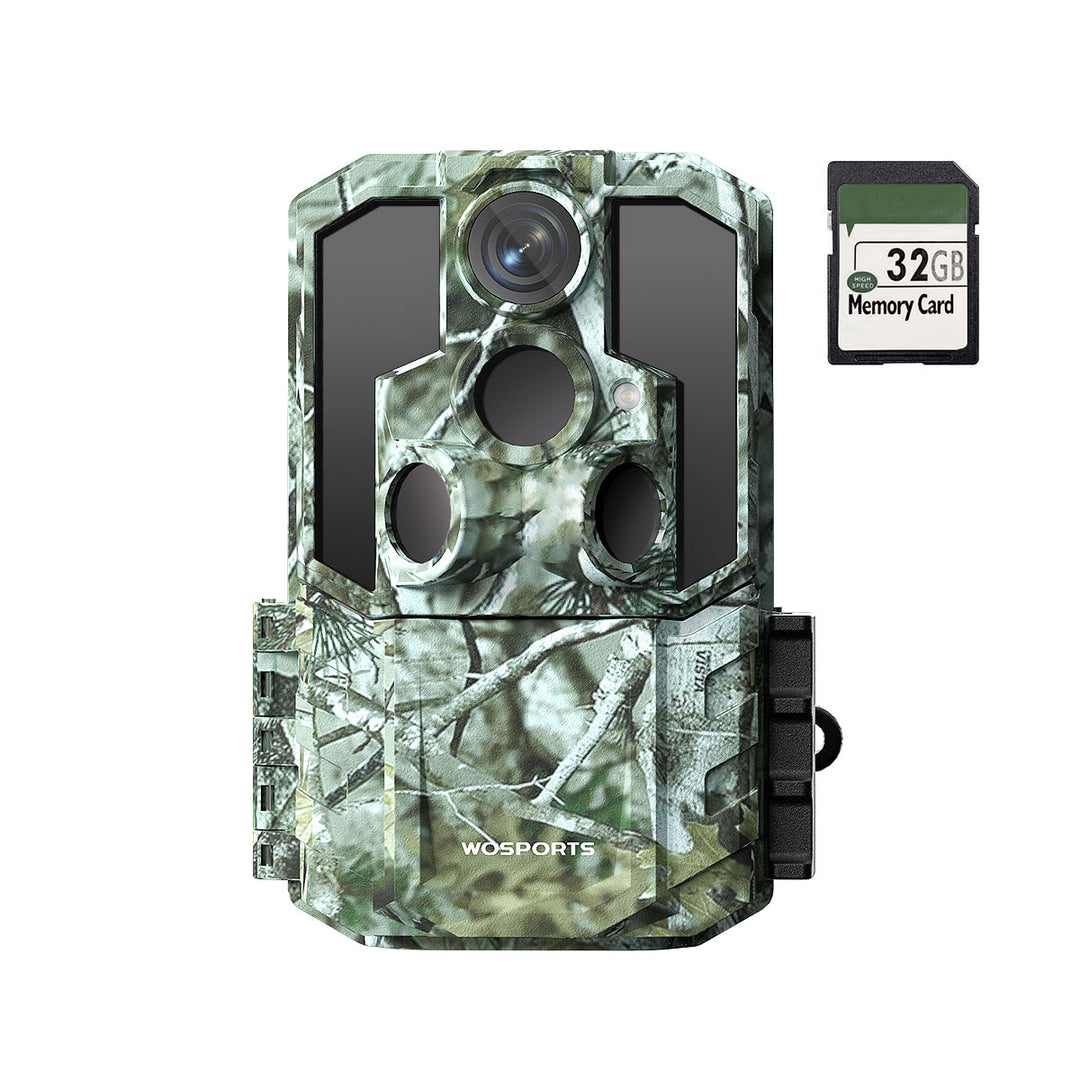
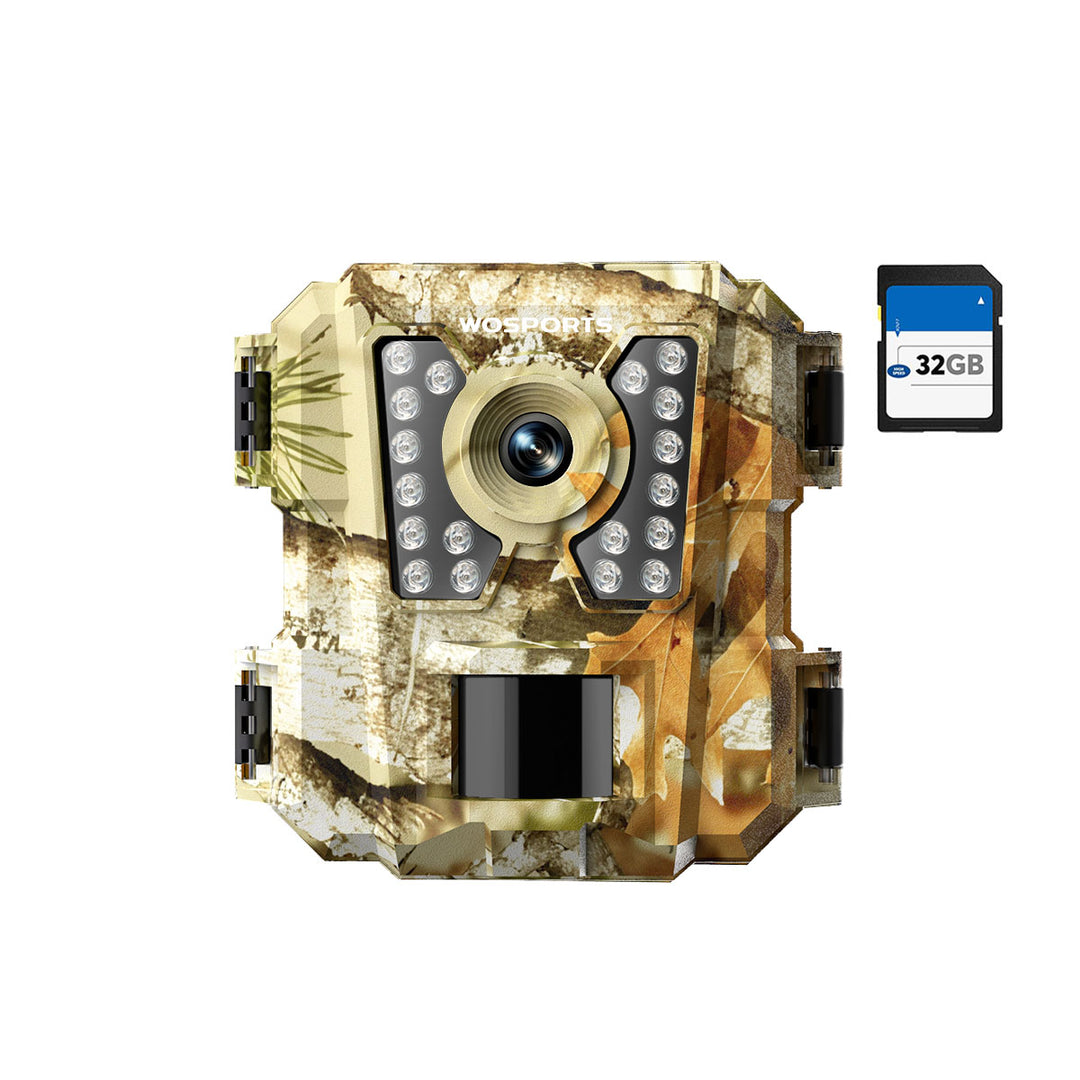
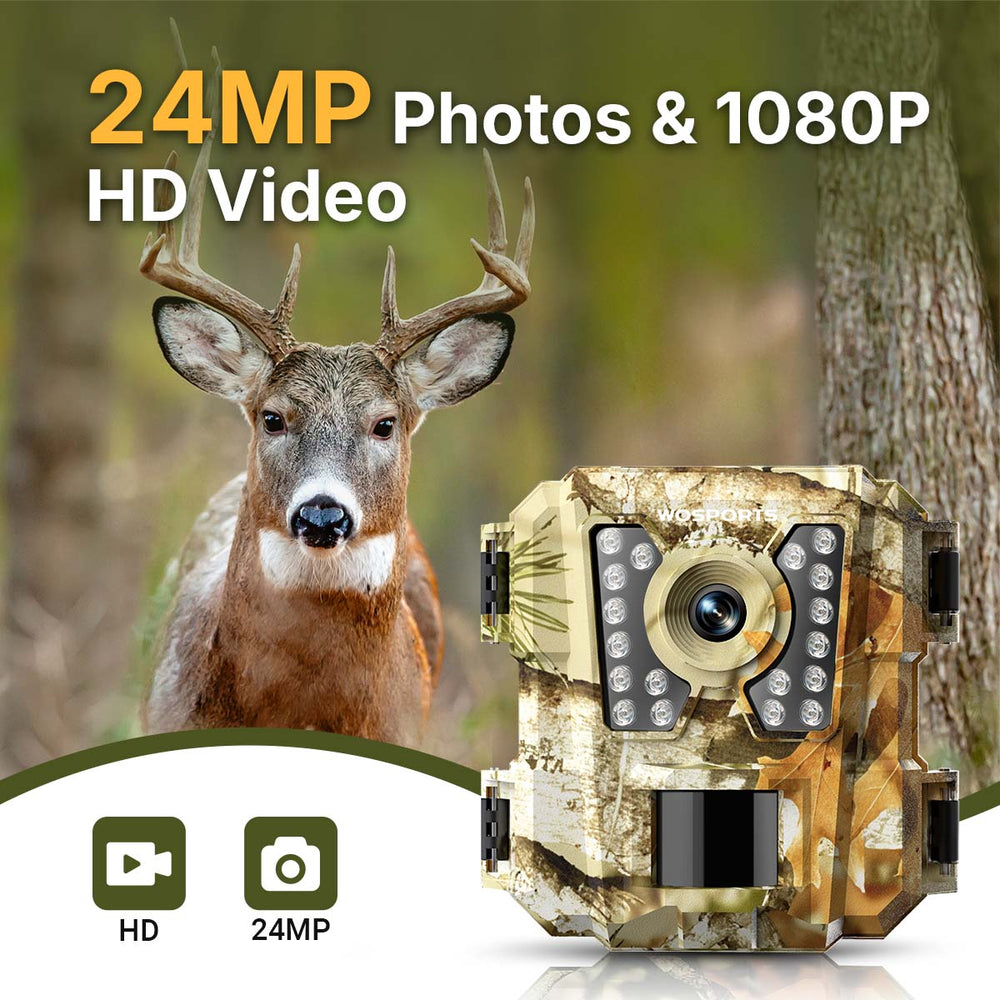
- Consider Solar Power: Some trail cameras, such as the WOSPORTS G100 game camera, feature extremely low power consumption in standby mode, allowing them to remain in the field longer without the need for frequent battery changes.
- Adjust Settings for Efficiency: Lower the camera's sensitivity and reduce the frequency of images or videos to save energy.

8. Use Multiple Cameras for Comprehensive Coverage
One camera might not always be enough to gather complete data, especially if you're covering a large area or multiple locations.
Benefits of Using Multiple Cameras:
- Cover More Ground: Place cameras at various key locations to monitor a larger area for animal movement.
- Compare Data from Different Spots: Use multiple cameras to track the same animal over a larger territory or between different times of the day.
- Monitor Blind Spots: Place cameras on trails or locations that you might have missed with a single unit.
9. Use Camouflage to Keep Your Camera Discreet
While wildlife cameras are a great asset, they can also be easily spotted by both wildlife and other hunters if not well-hidden.
Tips for Camouflaging Your Camera:
- Choose Natural Locations: Select trees or shrubs that blend in with the environment to hide the camera.
- Use Camouflage Gear: Many trail cameras come with camo covers or you can purchase aftermarket camouflage cases for your device.
- Disguise with Natural Materials: Use leaves, branches, or moss to cover your camera, ensuring it's well-integrated into the surrounding environment.
10. Stay Updated on Local Hunting Regulations
Before setting up your trail cameras or hunting in a specific area, make sure you’re familiar with the relevant laws and regulations.
Things to Consider:
- Permits for Camera Use: In some areas, placing trail cameras may require permits, especially on public lands.
- Legal Restrictions on Camera Placement: Some regions may restrict where you can place cameras, such as near wildlife corridors or within a certain distance of hunting stands.
- Seasonal Restrictions: Ensure you’re aware of seasonal hunting regulations, such as closed seasons for certain animals.
11. Incorporate Trail Camera Data into Your Hunt Planning
Outdoor cameras offer more than just pictures or videos—they can become a central part of your hunt planning. By reviewing the data, you can make more informed decisions.
Integrating Camera Data into Your Strategy:
- Create a Hunting Calendar: Use footage to track activity patterns over weeks or months, creating a schedule based on the animals' peak times.
- Mark Hotspots on Maps: Take note of areas with frequent animal activity and use mapping tools to plan your hunts around them.
- Adjust Tactics Based on Trends: If your cameras consistently show movement in one area, shift your hunting position to take advantage of these patterns.
12. Protect Your Trail Camera Investment
Game cameras can be a significant investment, so it’s essential to take steps to protect your equipment.
Ways to Protect Your Trail Camera:
- Lock Boxes: Use sturdy lock boxes designed for outdoor trail cameras to prevent theft.
- Cables: Attach your camera to trees or posts with strong steel cables that make removal difficult.
- Weather Protection: Consider investing in weatherproof cases or camera accessories that protect against rain, snow, and extreme temperatures.

Search
Popular Posts
Recent Posts

Nov 28, 2024
Troubleshooting Common Trail Camera Issues
Jan 10, 2025
Why Does My Trail Camera Stop Working at Night?


