Top 5 Tips to Get the Most Out of Your Trail Cameras
By following these five essential tips, you can maximize the performance and lifespan of your trail camera while capturing more reliable and exciting data.
1. Choose the Right Location
Location is everything when it comes to trail cameras. A well-placed camera can mean the difference between empty frames and capturing valuable footage.
Tips for Picking the Best Spots:
Focus on high-traffic areas like game trails, water sources, or feeding zones.
Position the camera at an angle to paths or areas of interest rather than head-on for better coverage.
Avoid placing your camera directly facing the sunrise or sunset to minimize glare.
Tips

2. Optimize Camera Settings
Your trail camera’s settings can make or break the quality of your captures. Taking the time to configure these settings for your specific needs ensures that you won’t miss a moment.
Key Settings to Adjust:
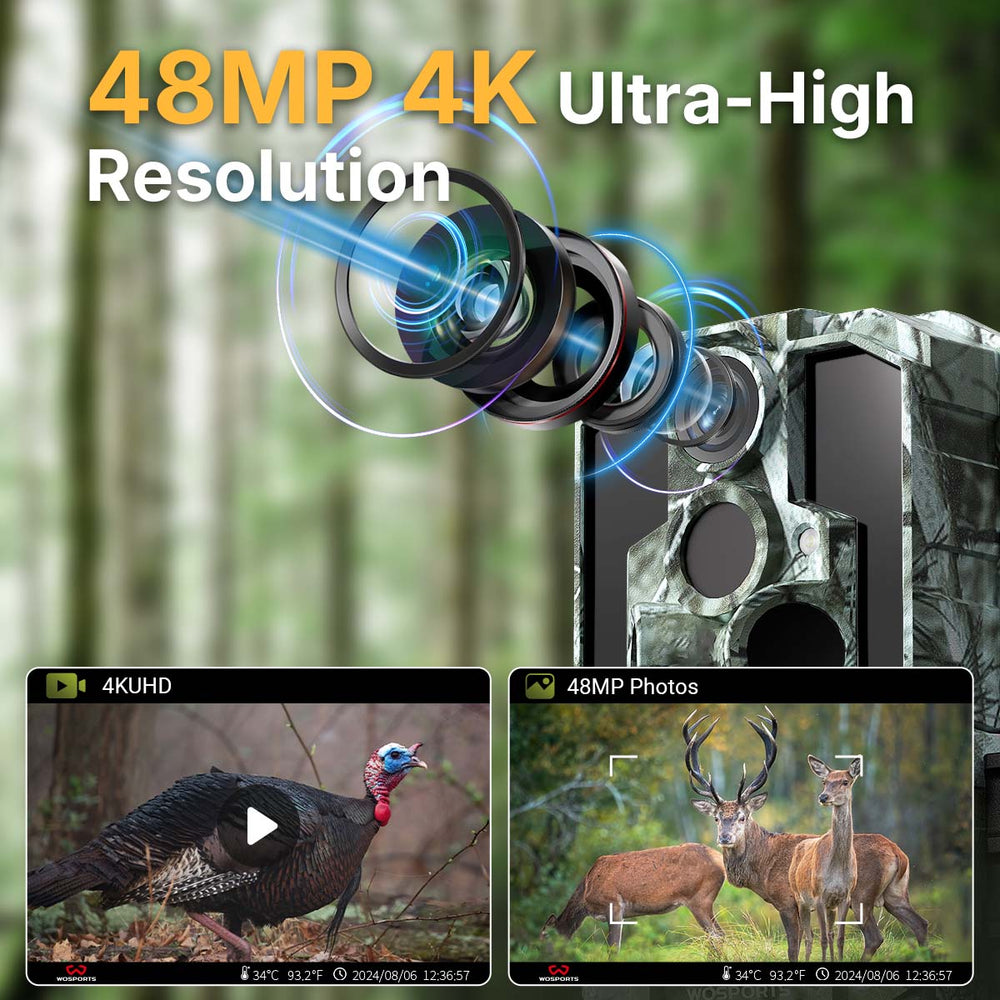
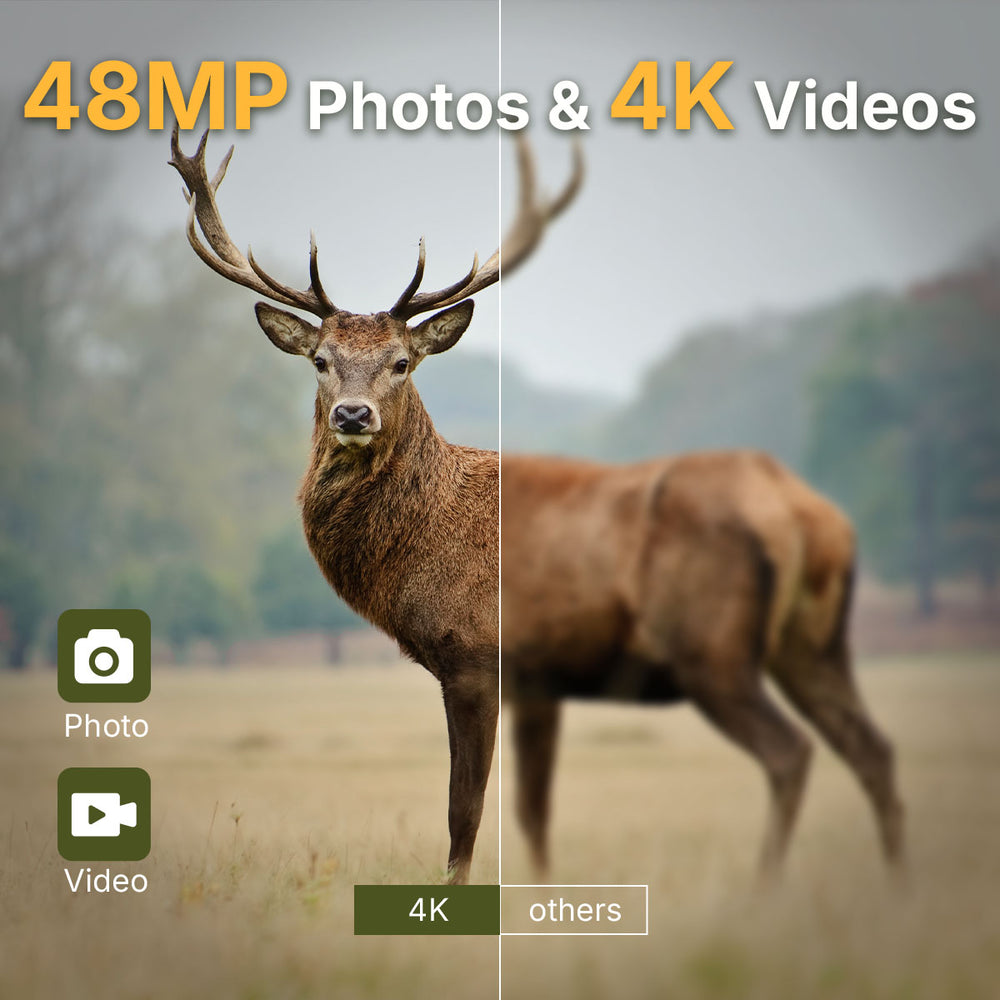
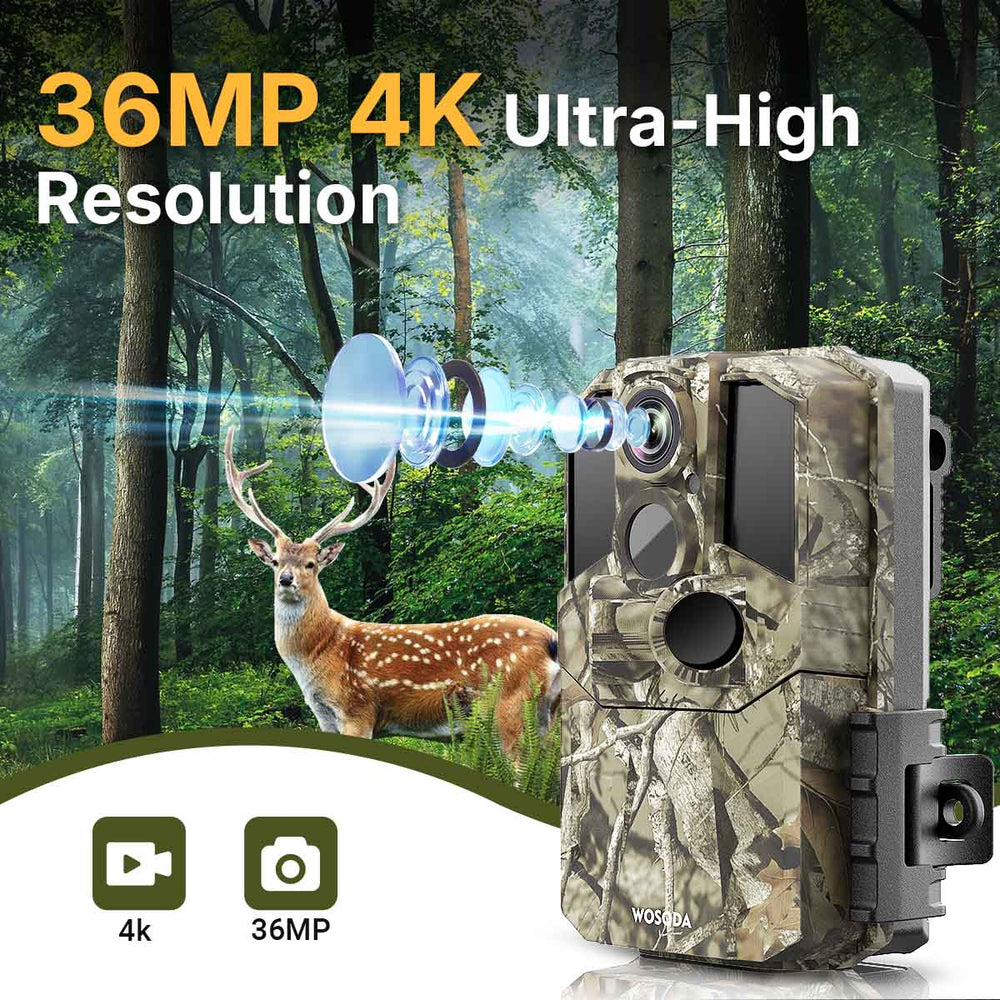
Resolution: Higher resolution gives sharper images but uses more storage. Strike a balance based on your camera’s capacity.
Trigger Speed and Detection Range: Fast trigger speeds are crucial for capturing moving wildlife.
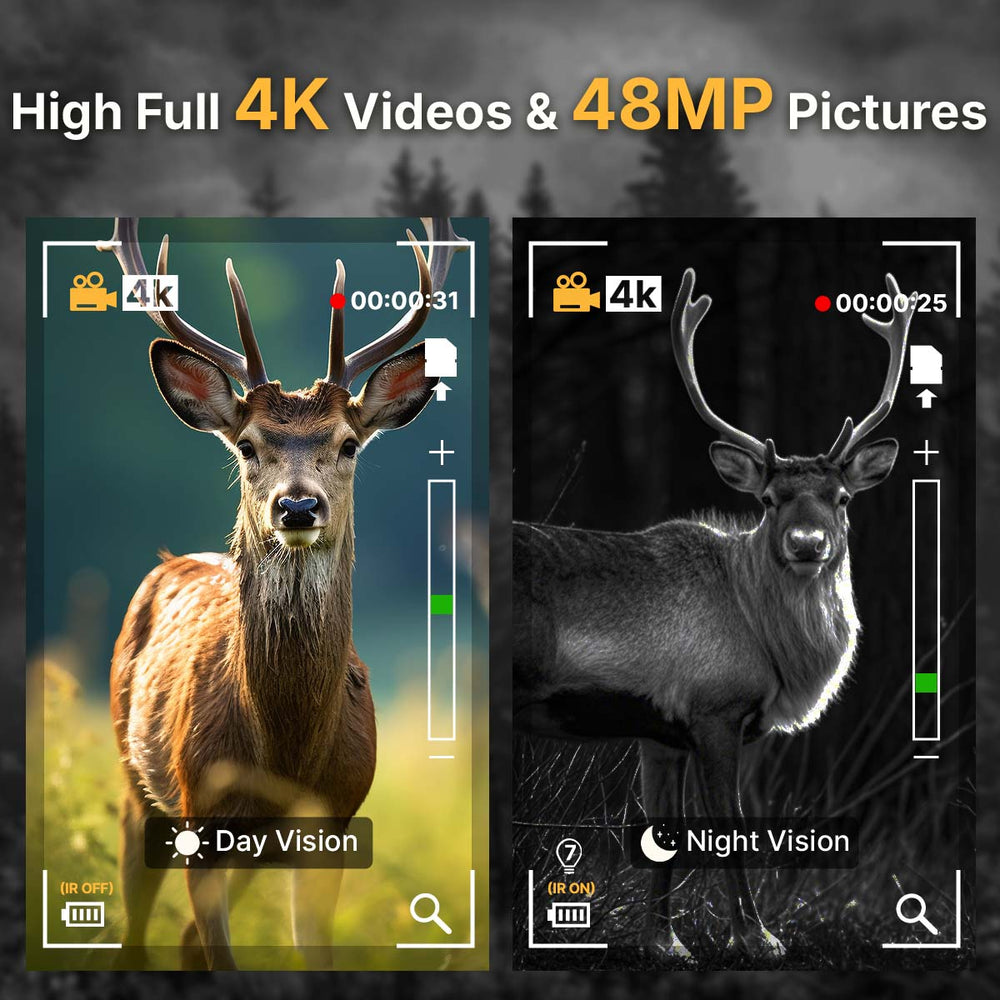
Night Vision: Ensure this mode is enabled for low-light conditions, especially for nocturnal animals.
Tips

3. Secure and Protect Your Camera
Your trail camera is an investment, so keeping it safe from damage, theft, and the elements is essential.
Steps to Safeguard Your Camera:
Use strong mounting straps or brackets to keep the camera stable.
Secure the camera with a cable lock or a security box, especially in areas with high human activity.
Protect it from harsh weather conditions with a weatherproof case or shield.
Tips
4. Maintain Your Trail Camera Regularly
Regular maintenance keeps your trail camera functioning at its best and prevents frustrating failures in the field.
Maintenance Checklist:
Batteries: Use high-quality batteries and replace them as needed. Rechargeable or solar-powered options are ideal for long-term use.
Lens Cleaning: Clean the lens with a soft, dry cloth to avoid blurry images caused by dirt or moisture buildup.
Memory Cards: Check memory cards for errors and ensure they have ample storage for new footage.
Tips

5. Analyze and Use Your Captured Data Effectively
Once your trail camera has done its job, the real value lies in the data it collects. Reviewing and analyzing the footage helps you identify patterns and improve your setup for future success.
How to Analyze Data:
Organize your images or videos by date and location to detect trends in animal behavior.
Use specialized apps or software to filter and enhance the footage for better insights.
Learn from your findings to refine camera placement, timing, or settings.
Tips
Frequently Asked Questions (FAQ)
Game cameras are versatile tools, but they often come with questions, especially for new users. Below are answers to some of the most commonly asked questions:
Q1: How do I install my game camera?
Q2: How long can a trail camera record?
Q3: Can a trail camera record at night?
Q4: How do I prevent false triggers?
Q5: Can I check the footage remotely?
Q6: How do I keep my trail camera safe from theft?
Search
Popular Posts
Recent Posts

Nov 28, 2024
Troubleshooting Common Trail Camera Issues
Jan 10, 2025
Why Does My Trail Camera Stop Working at Night?


