Why Is My Trail Camera Taking Blurry Pictures?

7 Common Reasons Your Trail Camera Pictures Are Blurry
1. Poor Lens Maintenance
A dirty lens is one of the simplest yet most overlooked causes of blurry pictures. Dust, dirt, fingerprints, or moisture can obstruct the lens, leading to hazy images. Scratches from improper cleaning methods can also permanently affect clarity.
Solution:
2. Incorrect Camera Placement
Where and how you place your camera significantly impacts image quality. Cameras positioned too high or too low may capture subjects at awkward angles, making it harder to focus. Placing the camera directly facing the rising or setting sun can also result in overexposed, unclear pictures.
Solution:
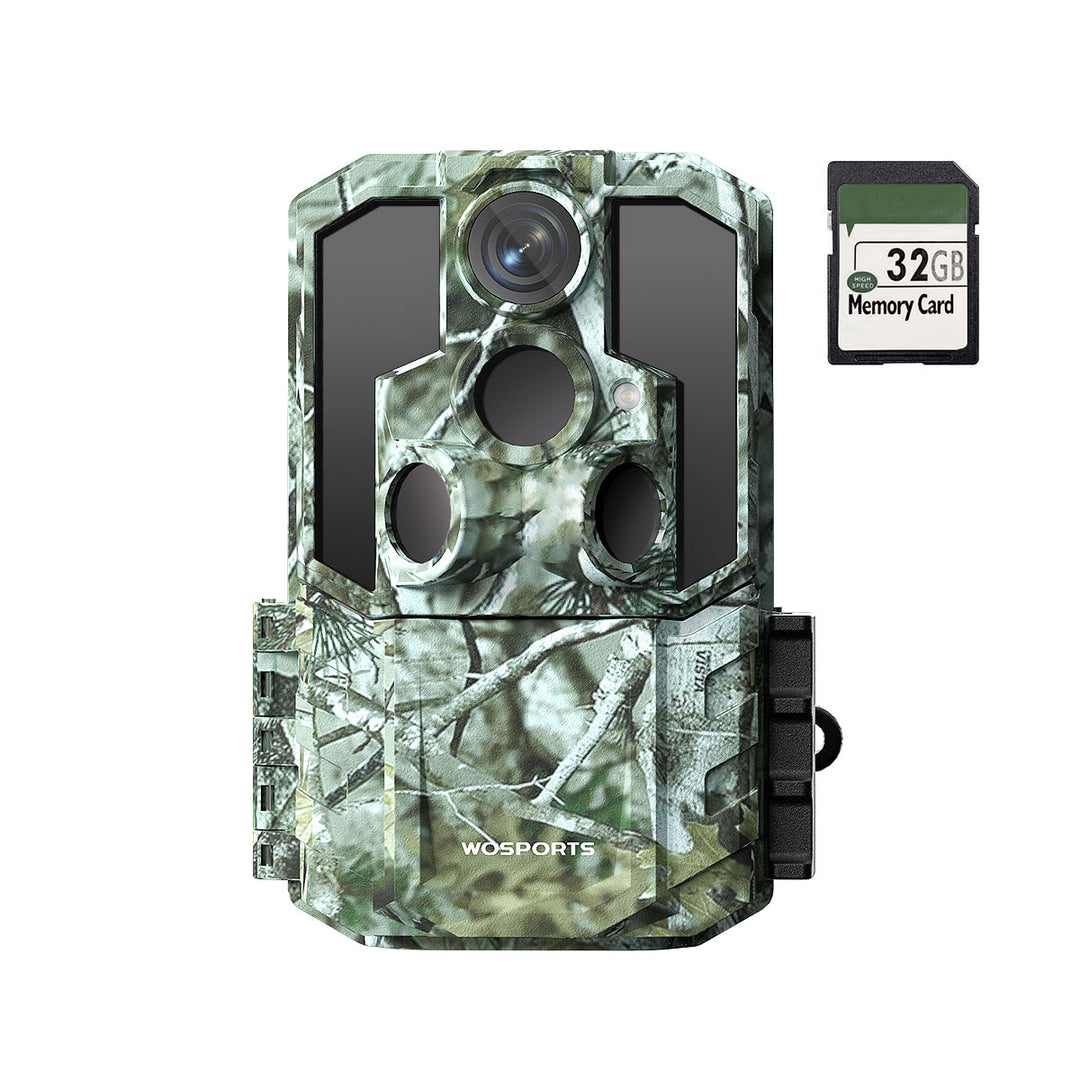
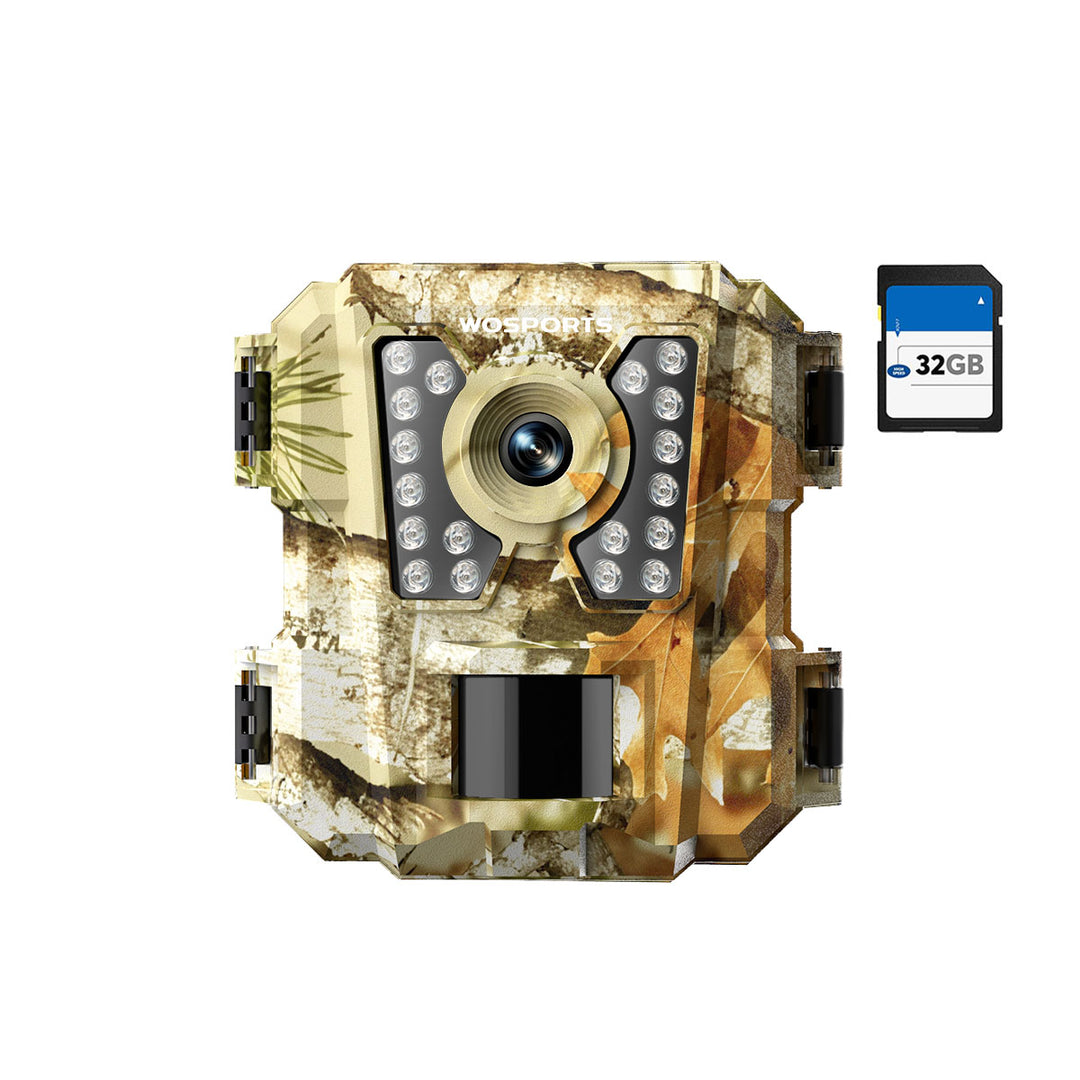
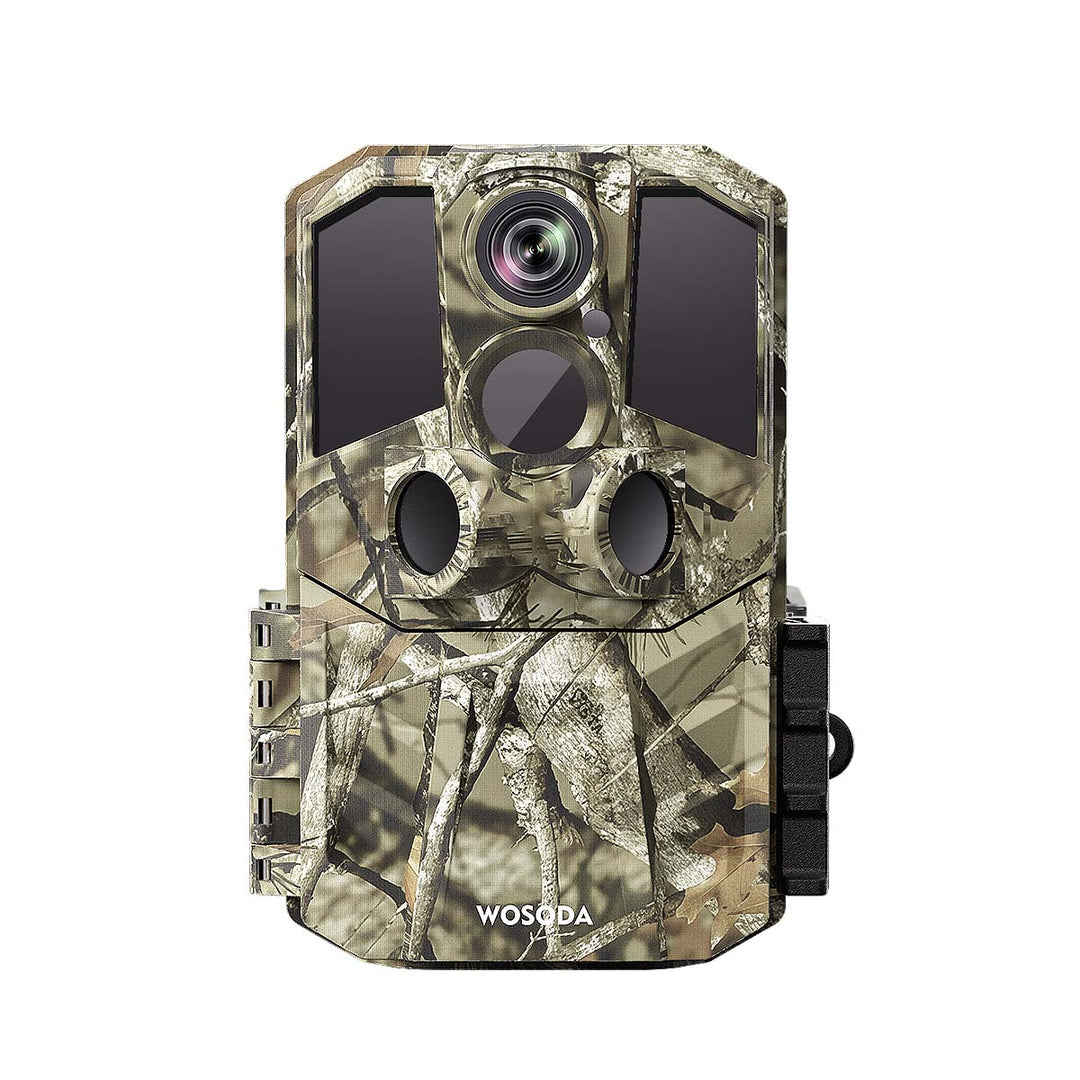
For consistent placement and reliable results, the WOSPORTS H29 Trail Camera comes with versatile mounting options, making it easy to set up in the perfect position.

3. Unstable Mounting
A shaky or loose camera mount can ruin even the best settings. Movement caused by wind, animals, or unstable setups often results in blurry or misaligned images.
Solution:
4. Fast-Moving Subjects
Trail cameras are excellent for detecting movement, but they may struggle to capture clear images of fast-moving targets like deer running through a frame. This can result in motion blur.
Solution:
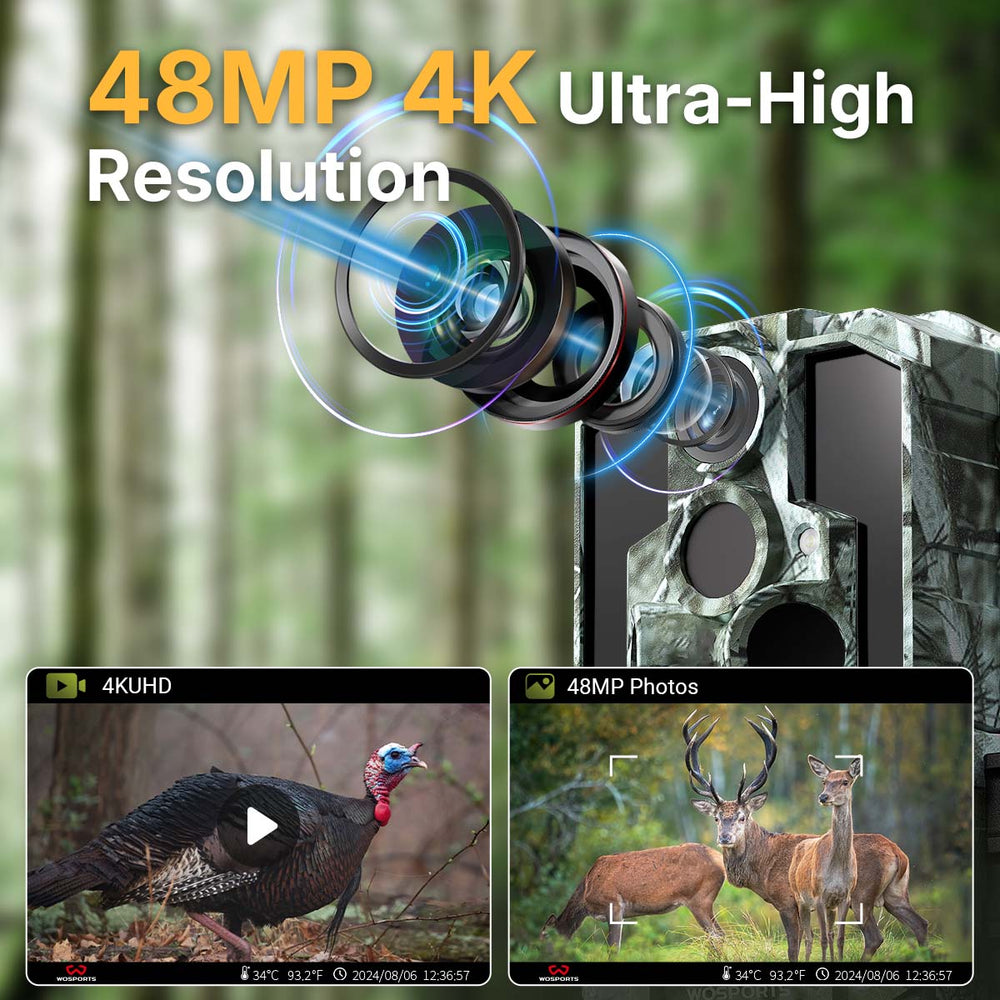
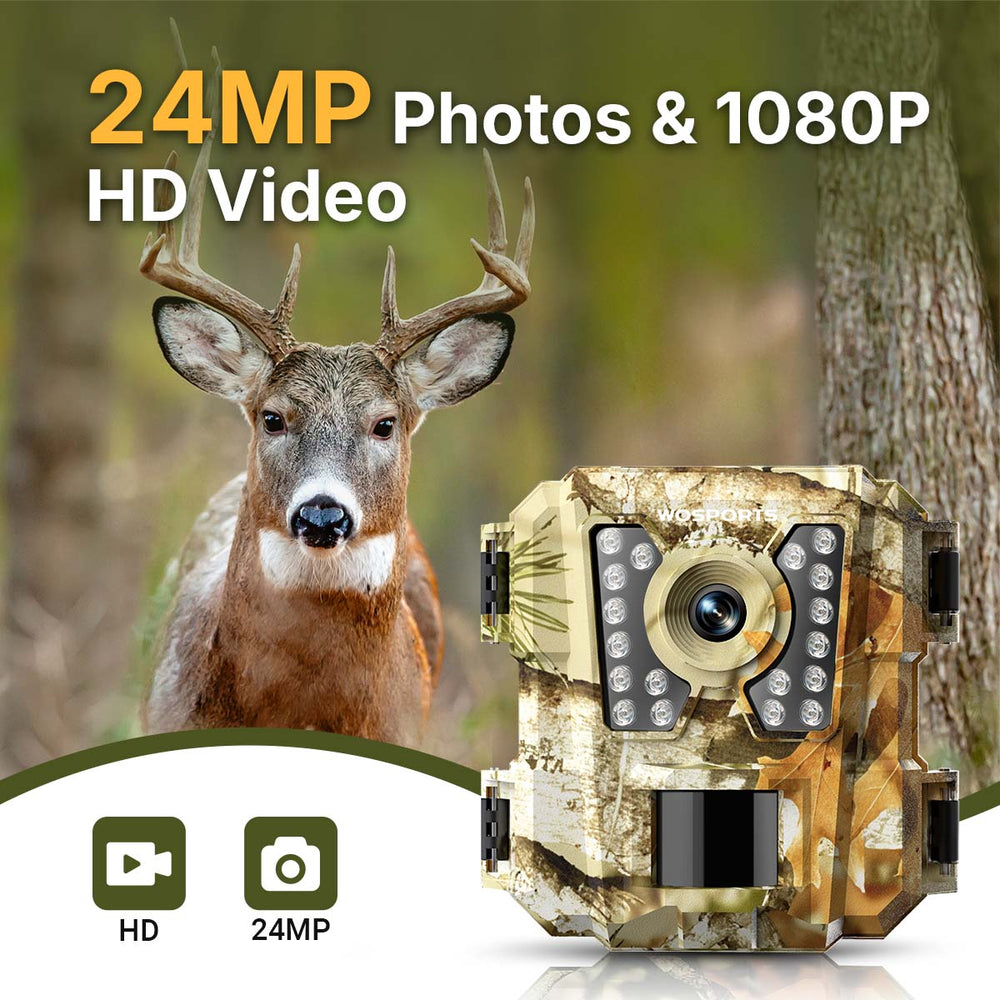
The WOSPORTS wildlife camera features advanced motion detection and fast trigger speeds, perfect for capturing crisp images of even the fastest-moving wildlife.

5. Incorrect Camera Settings
Many trail camera users overlook the importance of settings like resolution, ISO, and exposure time. Low resolution or inappropriate settings for the environment can lead to subpar photos.
Solution:
6. Poor Lighting Conditions
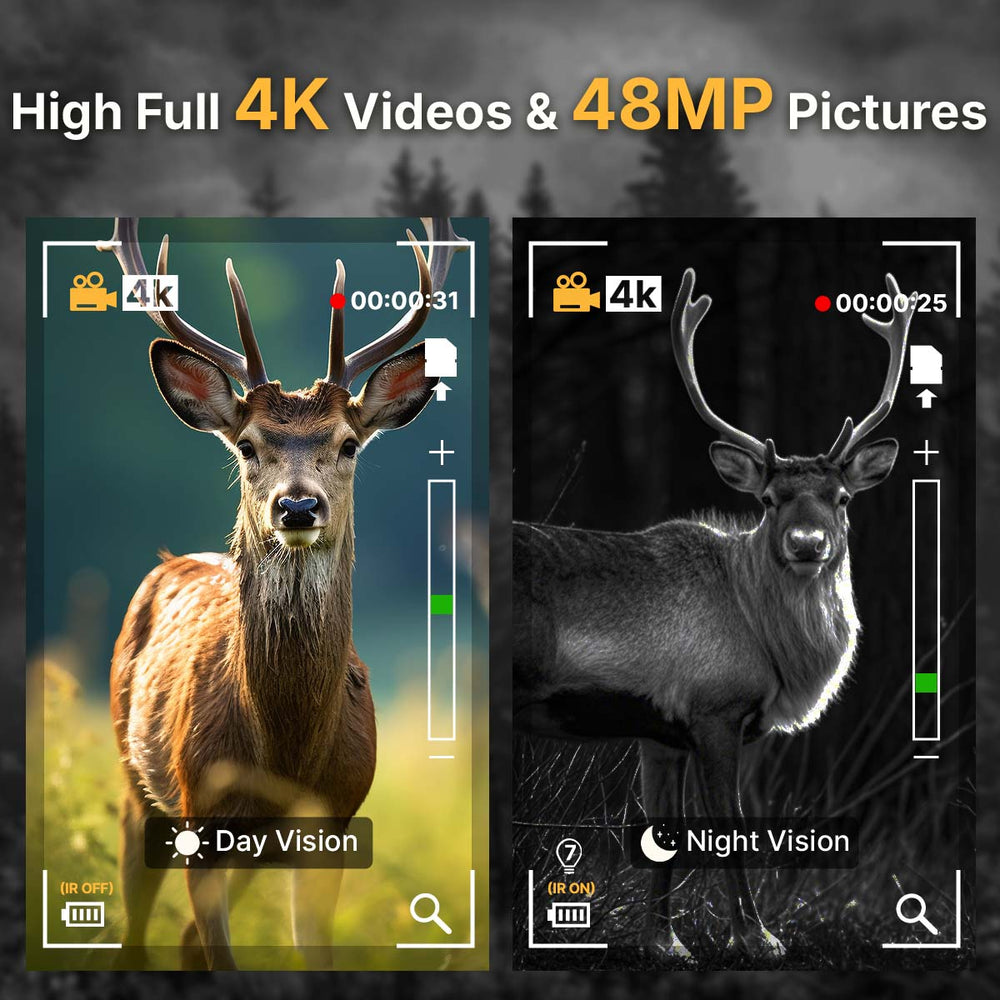
Trail cameras often struggle in low-light situations, such as at dusk, dawn, or during the night. Weak or malfunctioning infrared (IR) lights can exacerbate the issue, leading to grainy or dark images.
Solution:

7. Battery Issues
Low battery power can significantly affect your camera’s performance, reducing its ability to process high-quality images or activate essential features like IR lights.
Solution:
Pro Tips to Prevent Blurry Pictures of Your Trail Camera
1. Regular Maintenance
Treat your trail camera like any other piece of precision equipment. Clean the lens, inspect the housing for cracks, and replace damaged components as needed. Maintenance ensures your camera remains in top condition.
2. Test Before Deployment
Before setting up your camera in the field, test it at home or in your yard. Experiment with different settings, placements, and angles to understand how the camera performs under various conditions.

3. Use Multiple Cameras Strategically
If possible, deploy multiple cameras to cover different angles and ranges. This increases your chances of capturing clear, sharp images, especially in high-traffic areas.
4. Choose High-Traffic, Low-Speed Areas
Position your camera in locations where animals are likely to slow down, such as watering holes, feeding stations, or natural choke points along trails. This minimizes motion blur and increases the likelihood of a clear shot.
FAQs
Q: Why are my nighttime pictures always blurry?
This is often due to insufficient IR light or poor focus. Ensure the IR lights are functioning and adjust the focus for nighttime use.
Q: Can weather conditions affect picture quality?
Yes, extreme weather like fog, rain, or wind can cause blurriness. Using weatherproof cameras and proper installation can minimize these effects.
Q: How do I know if my trail camera lens is damaged?
If cleaning doesn’t improve image quality, inspect the lens for scratches or cracks. Replacing the lens or the entire camera may be necessary.
Search
Popular Posts
Recent Posts

Nov 28, 2024
Troubleshooting Common Trail Camera Issues
Jan 10, 2025
Why Does My Trail Camera Stop Working at Night?


