Top 9 Common Mistakes When Using Trail Cameras

Trail cameras are invaluable tools for outdoor enthusiasts, hunters, and nature lovers. These devices help monitor wildlife, secure properties, and even conduct scientific research. However, maximizing their potential requires proper usage. Many users make mistakes that compromise the effectiveness of their trail cameras, leading to missed opportunities or subpar results. In this article, we will explore the most common mistakes people make when using trail cameras and how to avoid them. 

1. Choosing the Wrong Location

One of the most significant factors in the success of a trail camera is its placement.

Common Mistake: Placing the camera in areas with little wildlife activity.

Why It Happens: Users often choose locations based on convenience or intuition rather than conducting thorough research to identify areas frequented by animals.

Solution

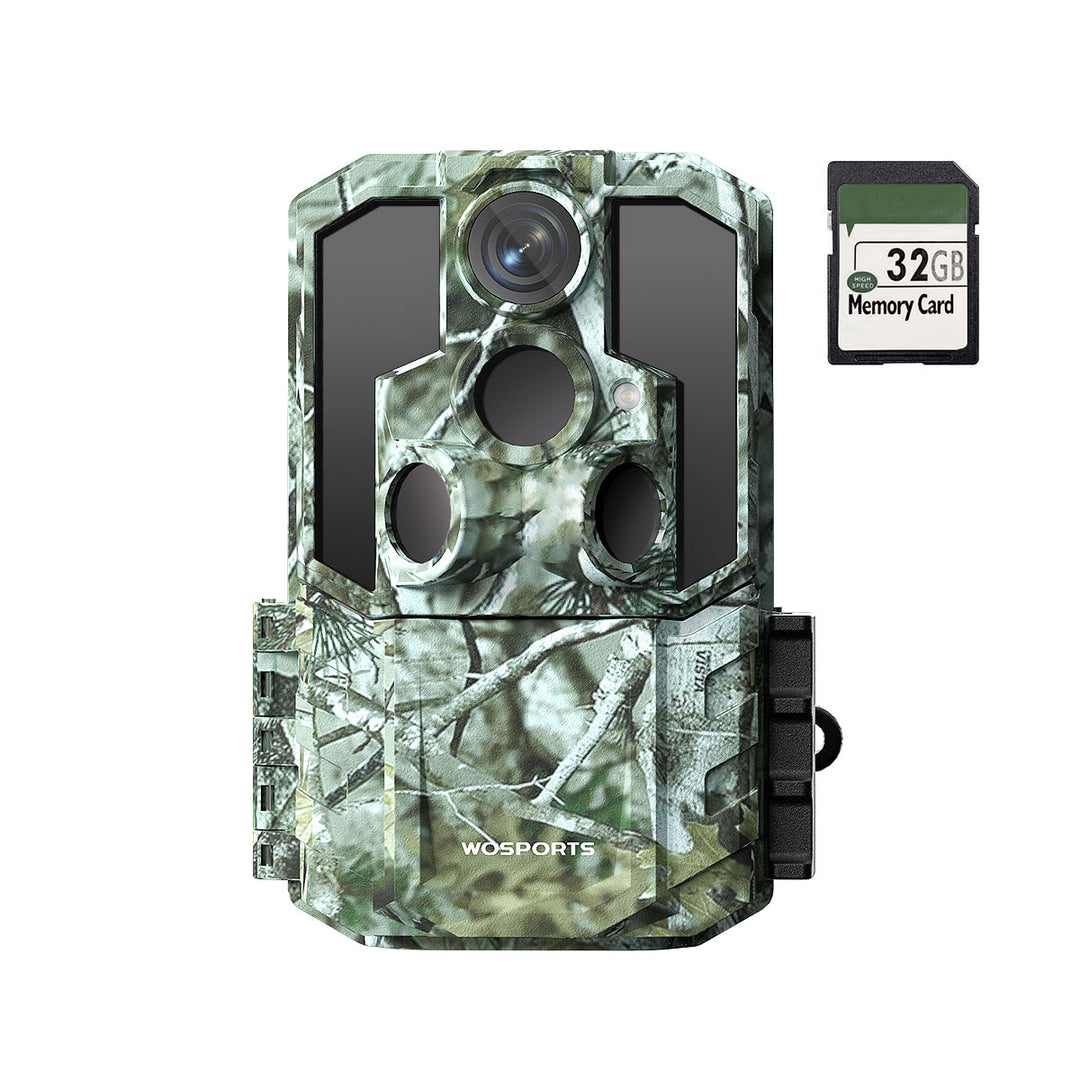
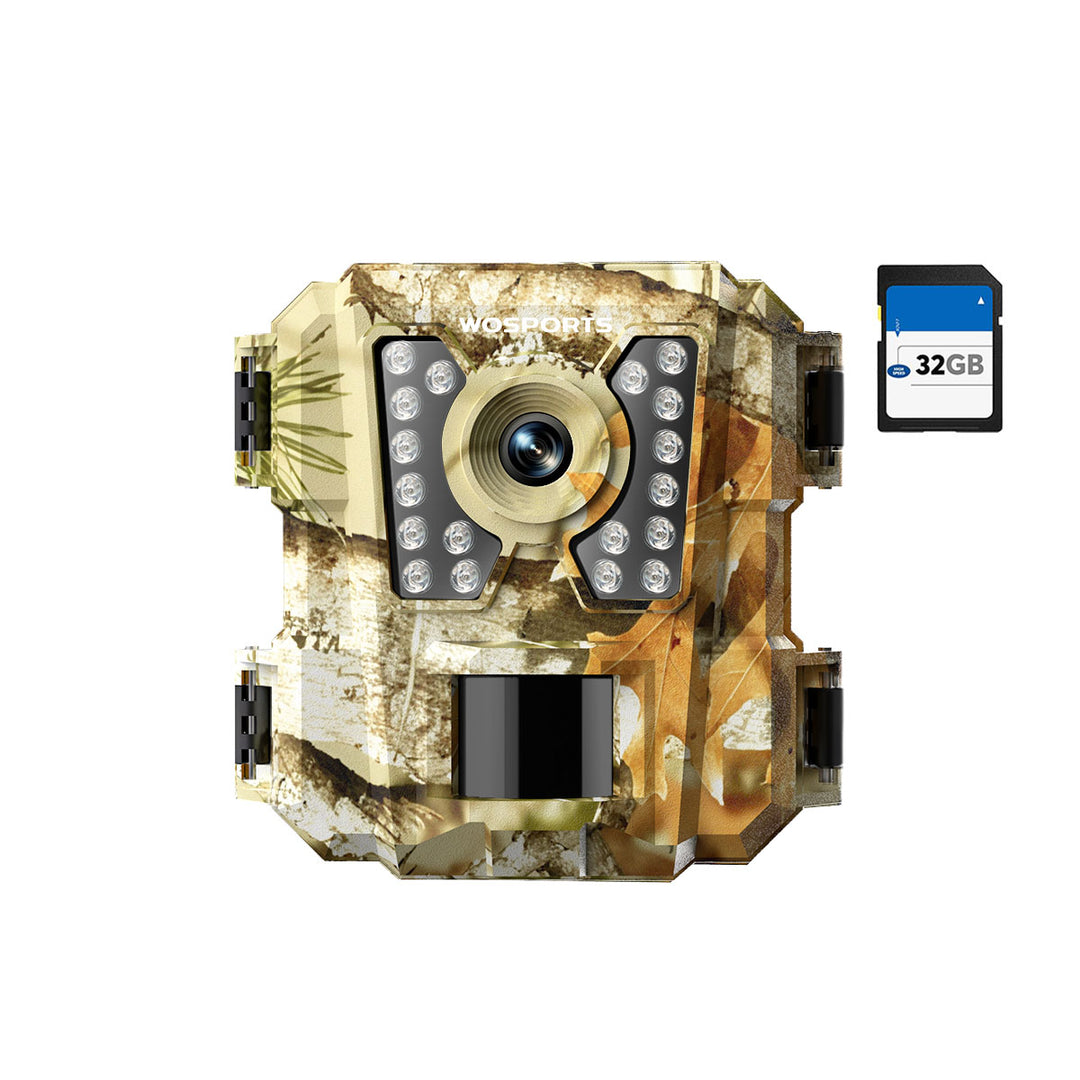
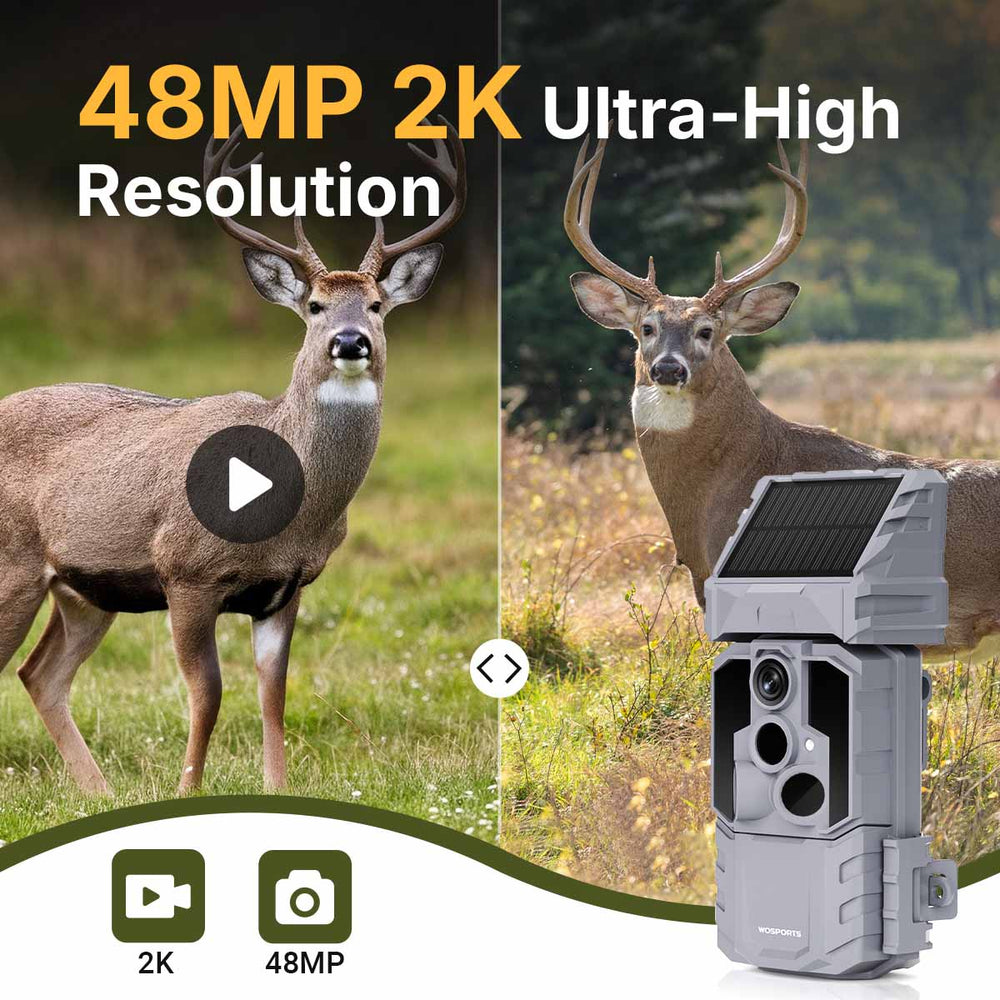
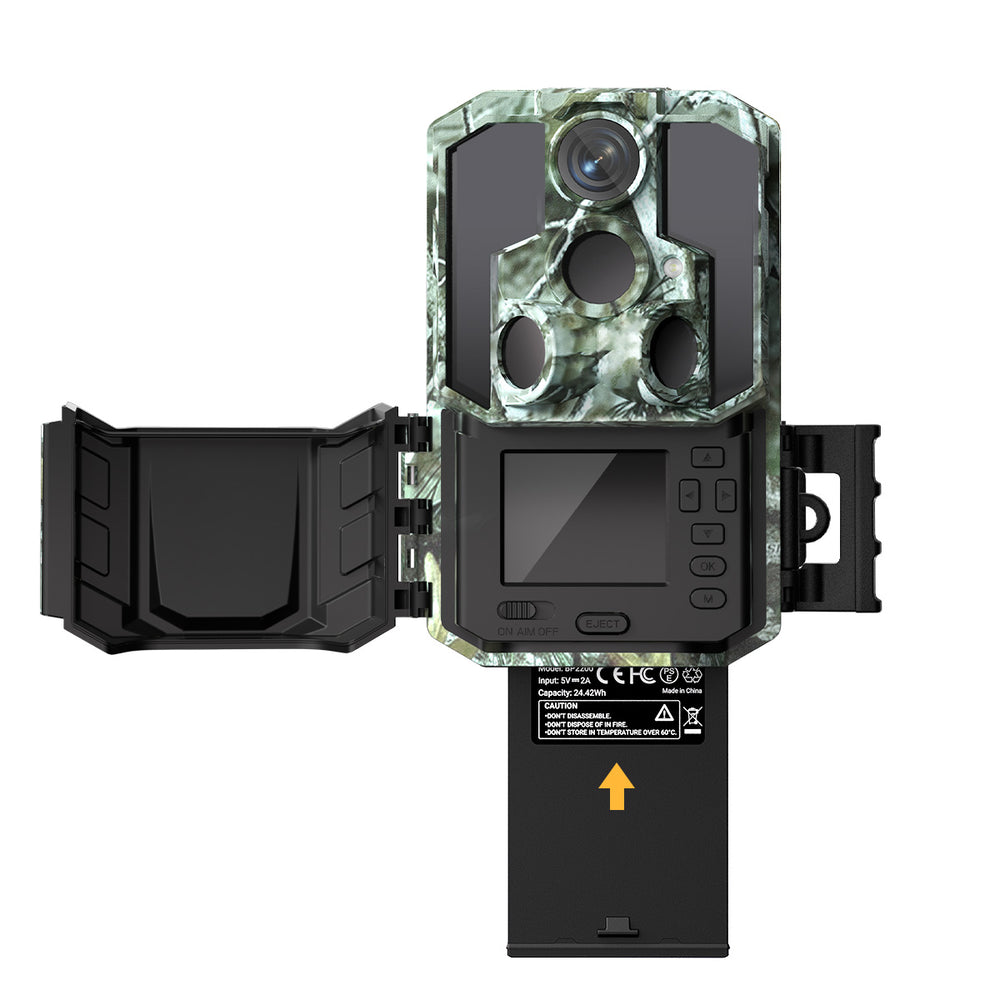
To avoid this mistake, it is essential to spend time observing the area for signs of animal activity, such as tracks, droppings, or feeding spots. Prioritizing locations near water sources, trails, or dense vegetation can significantly increase the likelihood of capturing quality images or videos. If you need a dependable camera for such research, the WOSPORTS H29 outdoor trail camera offers excellent performance in diverse environments.
wosports trail camera


2. Improper Camera Placement

Even in the right location, poor placement can ruin your efforts.

Common Mistake: Positioning the camera too high, too low, or at awkward angles.

Why It Matters: Incorrect placement can result in blurry images, cut-off subjects, or even entirely empty frames, which can be frustrating and a waste of resources.

Solution

To ensure proper placement, position the camera at the animal’s eye level, which is typically around 2-3 feet above the ground. Angling the camera slightly downward helps to cover the target area more effectively and ensures a wider field of view.
position the camera properly

3. Ignoring Camera Settings

Modern trail cameras come with customizable settings for better performance.

Common Mistake: Using default settings without adjustment.

Why It Matters: Default settings may not be optimized for specific environments or intended purposes, leading to missed opportunities or poor-quality results.

Solution

To get the most out of your trail camera, take the time to adjust the resolution to balance image quality with storage capacity. Setting the trigger speed and detection range based on the type of activity you expect can help capture fast-moving animals more effectively.

4. Neglecting to Check Battery Life

A camera that stops working due to dead batteries is essentially useless.

Common Mistake: Forgetting to monitor battery levels.

Why It Happens: Batteries often drain faster in cold weather or when the camera is set to take frequent photos or videos, and users may not account for these factors.

Solution

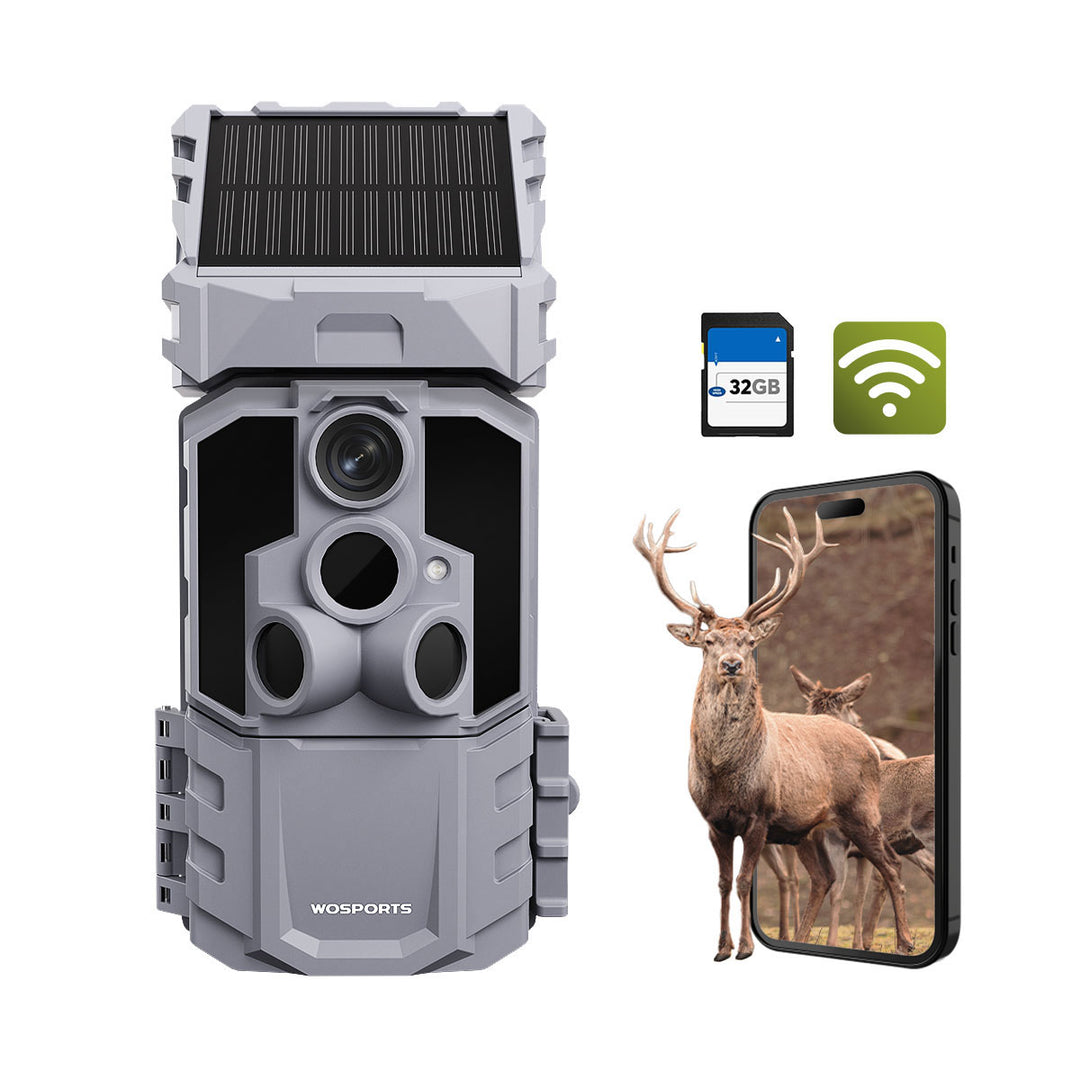
To avoid disruptions, use high-capacity, rechargeable batteries or opt for lithium batteries, which tend to last longer under demanding conditions. Considering solar-powered trail cameras can also provide a sustainable solution for extended deployments. WOSPORTS trail cameras are designed to be energy-efficient, ensuring long-lasting performance even in challenging conditions.

5. Using the Wrong SD Card

Storage issues can render your trail camera ineffective.

Common Mistake: Using an incompatible or low-capacity SD card.

Why It Matters: An unsuitable SD card can cause the camera to malfunction, fail to record footage, or result in data corruption, leading to a loss of valuable information.

Solution

To prevent this issue, always check the manufacturer’s recommendations for compatible SD cards. Using Class 10 or higher cards with adequate storage capacity is ideal, especially if your camera is set to capture high-resolution images or videos. WOSPORTS wildlife cameras are compatible with high-capacity SD cards, ensuring you won’t miss a moment.
wosports wifi trail camera

6. Skipping Regular Maintenance

Trail cameras are exposed to harsh environments and need upkeep.

Common Mistake: Failing to clean or inspect the camera.

Why It Matters: Dirt, moisture, or physical damage can interfere with the camera’s functionality, leading to unclear images, malfunctions, or complete failure.

Solution

To keep your trail camera in good condition, clean the lens and sensor regularly to ensure clear images. Inspect the camera body for any signs of wear, damage, or corrosion, particularly if it has been exposed to extreme weather. When not in use, storing the camera in a dry, secure location can help prolong its lifespan. Durable models like the G300 are built to withstand harsh outdoor conditions, requiring less frequent maintenance.

7. Poor Camouflage

Visibility can make or break your trail camera setup.

Common Mistake: Leaving the camera exposed, scaring away wildlife or attracting thieves.

Why It Matters: Animals may avoid the area, and theft is a real risk in popular outdoor spots, compromising your investment and efforts.

Solution

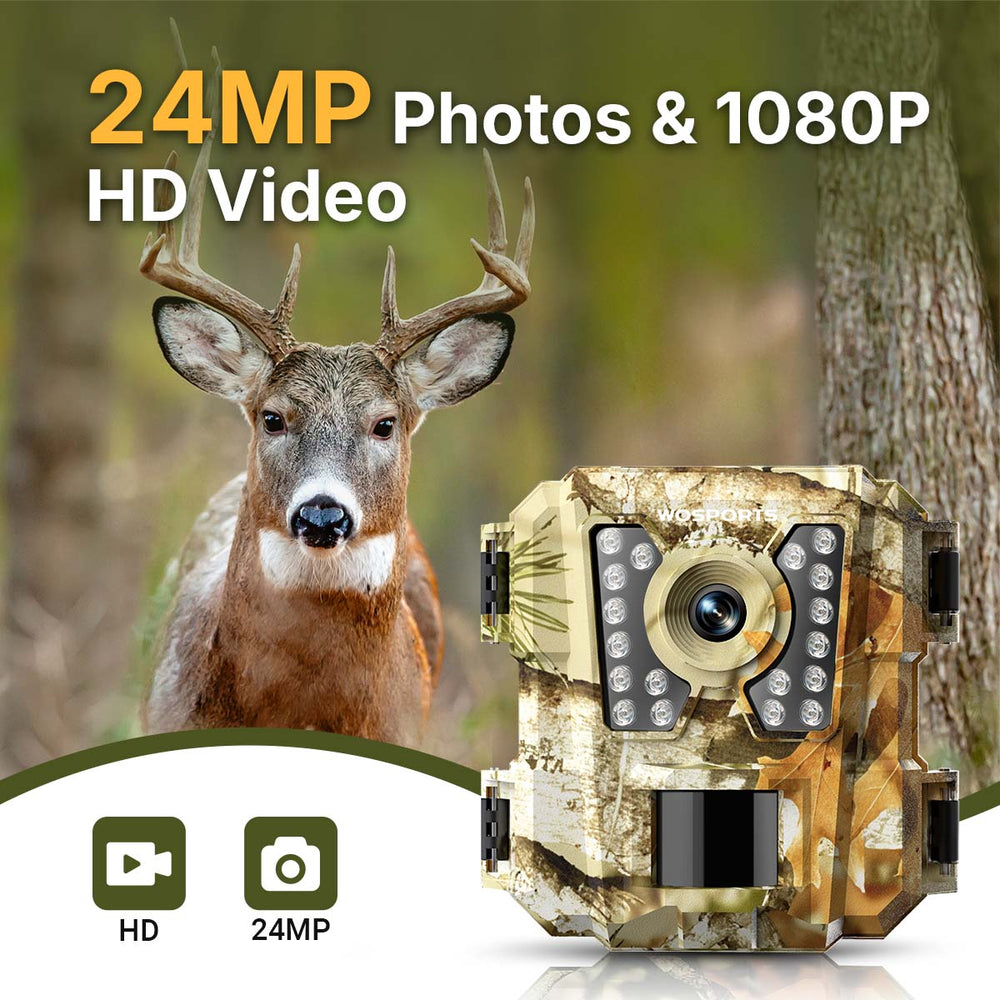
To blend your camera into its surroundings, use natural foliage or opt for trail cameras with built-in camouflage patterns. Avoid placing the camera in locations where shiny or reflective surfaces could draw attention. The WOSPORTS H29 comes with a camo design that blends seamlessly into natural environments, minimizing the risk of detection.

8. Ignoring Weather Conditions

Trail cameras are often exposed to extreme weather conditions.

Common Mistake: Not preparing the camera for harsh weather.

Why It Matters: Exposure to extreme heat, cold, or rain can damage the camera or reduce its performance, resulting in missed captures or the need for costly repairs.

Solution

Choosing weatherproof trail cameras designed for outdoor use is crucial for durability. Using additional enclosures or covers can provide extra protection against the elements. Furthermore, avoiding placement in areas prone to flooding or direct sunlight can help maintain optimal performance and prolong the lifespan of your device.
weatherproof trail cameras

9. Not Testing the Camera

Deployment without testing is a recipe for disappointment.

Common Mistake: Setting up the trail camera without verifying its functionality.

Why It Matters: A malfunctioning camera can lead to wasted time, missed opportunities, and frustration when expected results are not achieved.

Solution

Before placing your camera in the field, test its trigger, detection range, and image quality to ensure everything is working as expected. Using a test mode, if available, allows you to verify proper alignment and coverage of the target area. Reviewing test images or videos beforehand helps confirm that the camera is ready to capture the desired activity.

Conclusion

Trail cameras are powerful tools that, when used correctly, can provide incredible insights into wildlife behavior and enhance outdoor experiences. By avoiding these common mistakes, you can ensure your trail camera delivers reliable and high-quality results. Whether you are a beginner or an experienced user, taking the time to plan, maintain, and test your trail camera setup will make all the difference. Start capturing stunning moments today!


Leave a comment

Please note, comments must be approved before they are published

This site is protected by hCaptcha and the hCaptcha Privacy Policy and Terms of Service apply.