Cheap but Reliable: Best Budget Trail Cameras for Wildlife Monitoring
We will explore the best budget trail cameras that are both cheap and reliable—ideal for wildlife monitoring across a variety of environments and use cases.
Top Picks: Best Budget Trail Cameras for Wildlife Monitoring
Here are some of the best affordable options that consistently rank well for performance, durability, and value:
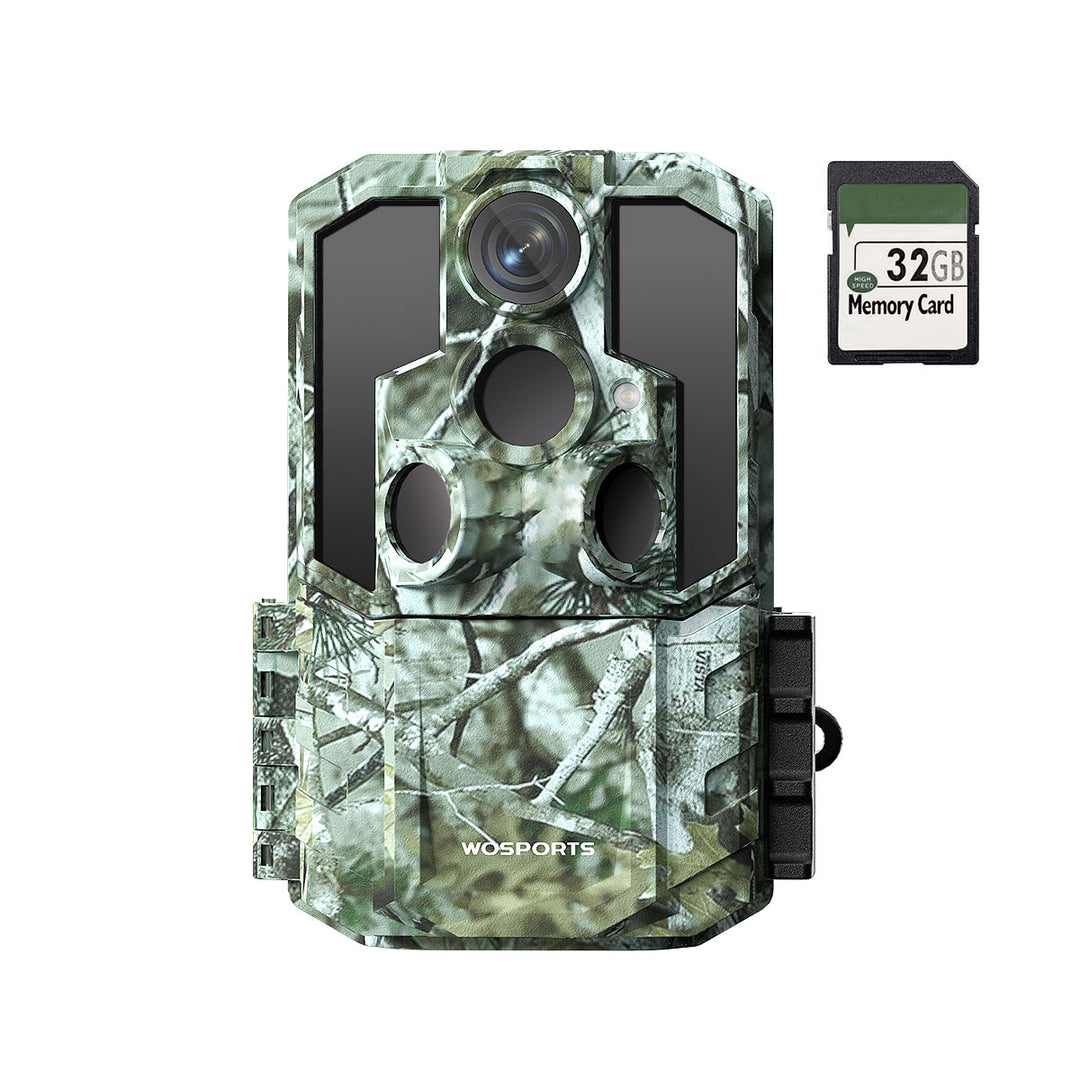
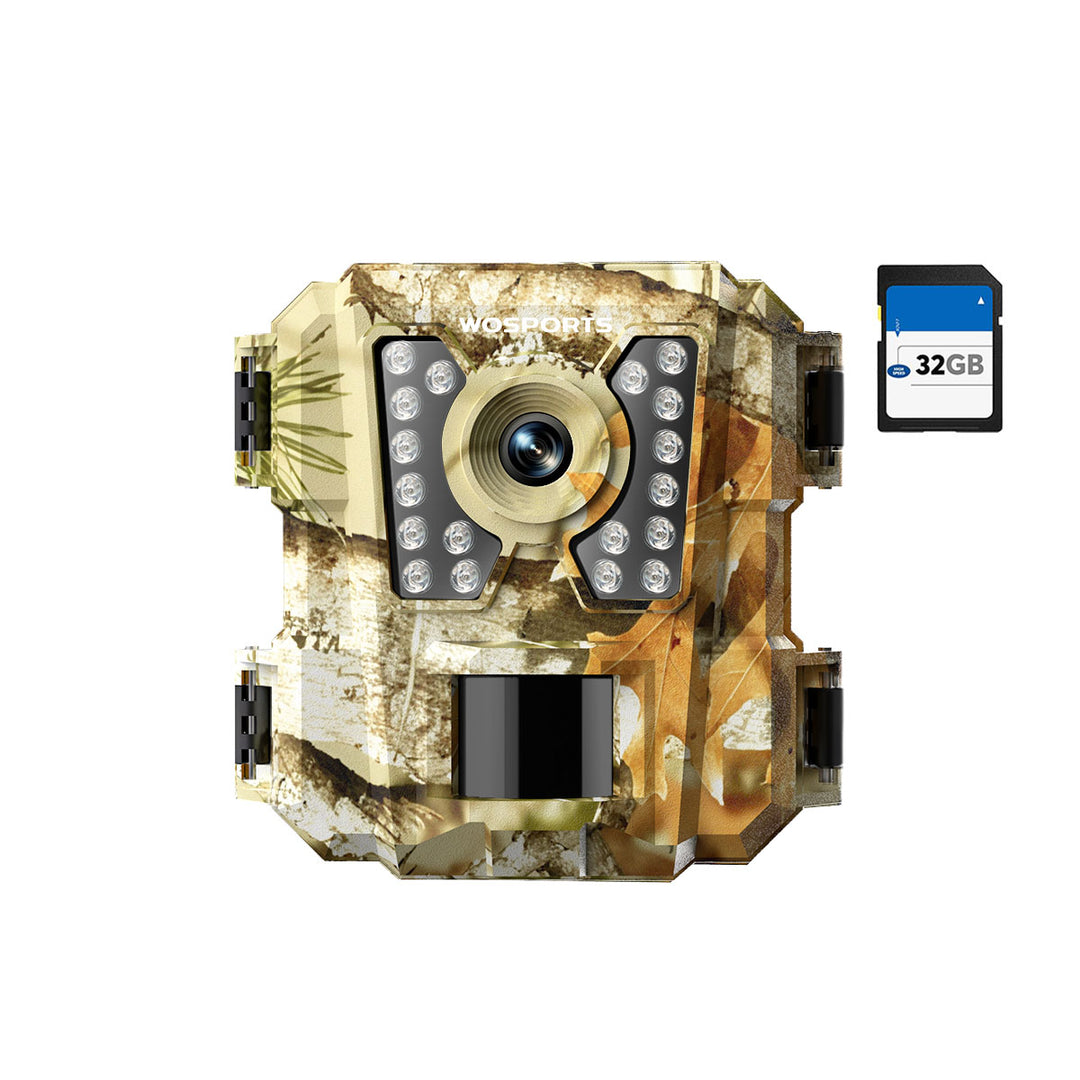
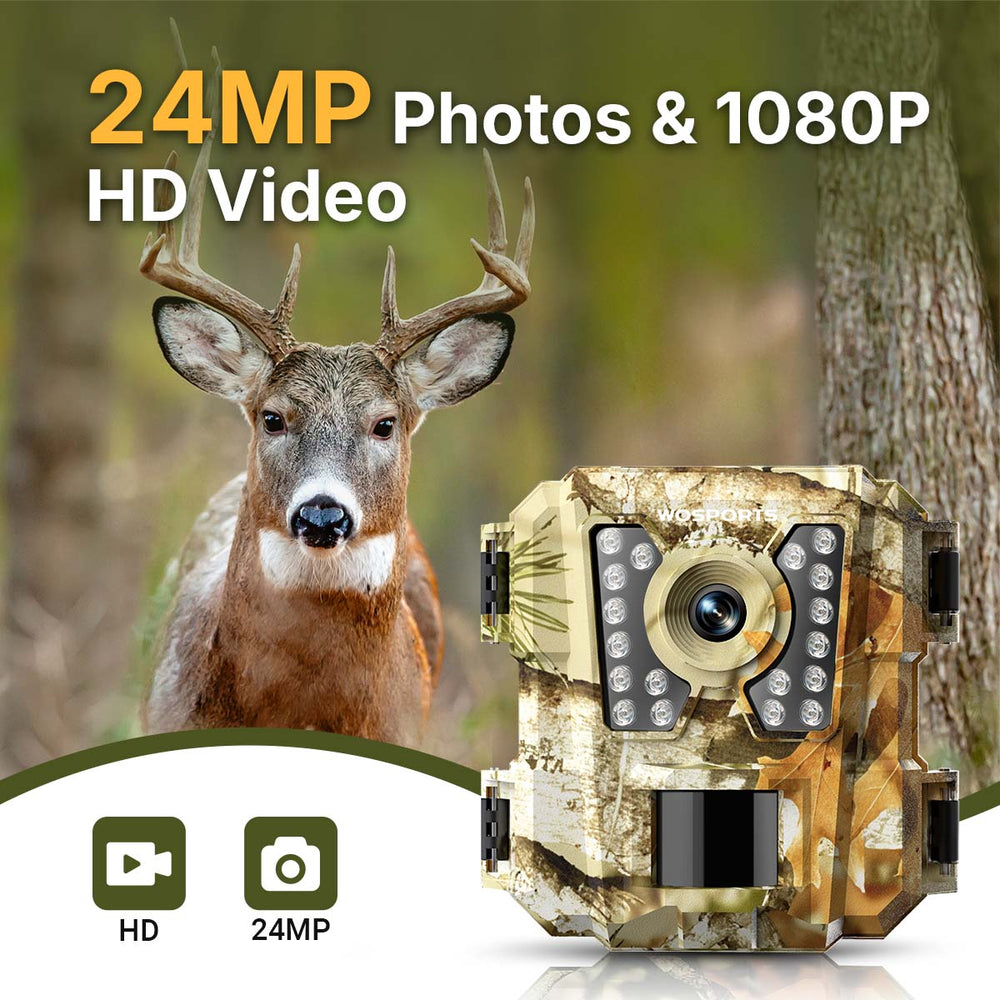
WOSPORTS G100 Mini Trail Camera
A reliable choice for entry-level users and hobbyists alike, the G100 packs essential features into a budget-friendly design:
- 24MP photo and 1080P video resolution
- 0.3-second trigger speed with a 65ft detection range
- Night vision with 850nm infrared LEDs
- IP54 waterproof casing
- Compatible with 32GB SD cards
If you're looking for a affordable camera that works well for backyard monitoring or placing along wildlife trails, the G100 mini trail camera is an excellent starting point.
Campark T20 Trail Camera
One of the most portable cameras on the market, the Campark T20 offers surprising performance for its size:
- 16MP photo / 1080P video
- 2.0" LCD screen for quick viewing
- No-glow night vision for stealth monitoring
- 120° wide-angle camera
This model is a good option for birdwatchers or anyone who needs a lightweight unit that can be hidden easily in dense foliage.
APEMAN H55 Trail Camera
The APEMAN H55 is a popular all-around option, offering a balanced mix of performance and durability:
- 20MP resolution, 1080P HD video with audio
- 940nm IR LEDs ensure a superior night vision
- IP66 waterproof rating
It’s especially useful for wildlife researchers or enthusiasts looking to deploy multiple cameras without overspending.
GardePro A3 Trail Camera
The GardePro A3 stands out among budget-friendly models thanks to its advanced imaging and low-light performance:
- 48MP photo and 1296P video with clear audio
- Sony Starvis image sensor for exceptional night vision
- 0.1s trigger speed with adjustable motion sensitivity
What sets the A3 apart is its image clarity—especially at night—making it an excellent choice for users who want high-definition wildlife footage without stepping into premium pricing territory.
Victure HC100 Trail Camera
The Victure HC100 is a dependable, entry-level trail camera that offers essential features at a very competitive price point. It’s a favorite among beginners who want to monitor backyard wildlife or set up multiple cams across a wide area without spending too much:
- 16MP photo and 1080P video resolution with sound
- 0.4-second trigger speed and 60ft detection range
- IP66 waterproof and dustproof design
- Supports microSD cards up to 32GB
While it doesn’t come with bells and whistles, the HC100 is reliable for basic wildlife monitoring tasks. It captures clear images day or night and is easy to set up, making it a strong pick for users who need function without complication.
How to Set the Time on Your Trail Camera>>
Compare Best Budget Trail Cameras at a Glance
- 24MP photo / 1080P video
- 0.3-second trigger speed
- Advanced night vision
- IP54 waterproof casing
- 16MP photo / 1080P video
- 120° wide-angle camera
- Advanced night vision
- 2.0" LCD screen
- 20MP photo / 1080P video
- 940nm IR LEDs
- IP66 waterproof rating
- 48MP photo / 1296P video
- 0.1s trigger speed
- Sony Starvis image sensor
- 16MP photo / 1080P video
- 0.4-second trigger speed
- IP66 waterproof
How to Get the Most Out of Your Budget Trail Cam
Even the cheapest trail camera can provide amazing returns when strategically deployed. Here's how to optimize performance, make your camera last longer, and get the most out of every wildlife encounter—without breaking the bank.
Use the Right Batteries for the Season
Battery choice is a key part of your trail cam's operation—especially in cold temperatures. Lithium AA batteries far exceed alkalines, especially in cold weather. They last longer, hold voltage more consistently, and reduce camera checks—essential for woods setup or long-term monitoring.
Noted: Avoid rechargeable NiMH batteries in most economy cams—they have lower voltage and can cause boot-up issues in some models.
How to Extend The Battery Life of Your Trail Camera>>
Invest in a Good Quality SD Card
A slow or poor-quality SD card can lead to missed shots, file corruption, or write errors. Opt for Class 10 or UHS-I cards, and preferably those from reputable brands. A 16GB–32GB card is more than adequate for stills and short video clips. Format your SD card in the camera before deployment.
Position for Wildlife Behavior
Where you place your camera is just as important as the camera itself.
To lessen false triggers brought on by the sun rising or setting, avoid facing east or west.
For small game or turkeys, place the cam 2–3 feet off the ground; for deer or larger animals, place it 3–4 feet off the ground.
Seek out natural funnels where animals are more likely to pass, such as game trails, creek crossings, or food sources.
Regularly inspect and maintain your camera.
Regular maintenance is beneficial even for weatherproof trail cameras:
- To avoid blurriness or trigger failures, use a gentle cloth to wipe the lens and PIR sensor.
- Check for wear on hinges and seals to help keep moisture out.
- To make sure the camera is positioned correctly and capturing the desired subject, review the recorded video.
Depending on weather and wildlife activity, set a reminder to check your cam every one to two weeks.
Final Verdict: If you’re just getting started or need multiple cameras for wider coverage, options like the WOSPORTS G100 deliver performance that punches above their price point. Cheap doesn’t have to mean unreliable—it just means smarter choices.
Search
Popular Posts
Recent Posts

Nov 28, 2024
Troubleshooting Common Trail Camera Issues
Jan 10, 2025
Why Does My Trail Camera Stop Working at Night?


