Best Height to Mount a Trail Camera for Perfect Shots
When setting up a trail camera, most people focus on where to place it and which direction it should face — but the height is equally important. The perfect mounting height depends on what you’re trying to capture — deer, turkey, bear, or even small backyard wildlife — and the terrain you’re working in. Let’s explore how to choose the best trail camera height for different animals and locations.
The Standard Height: Start at 3 Feet
Trail cameras, in general, at a height of around 3 feet (0.9 meters) from the ground that is referred to as standard, is suitable for medium to large animals such as deer, foxes, and coyotes. The camera at this height will not only be able to see clearly but also cover a vast area.
However, "standard" does not mean the same for all. Factors such as the surrounding area, the animal's habits, and the purpose of the camera will all determine the height that will work best. Consider 3 feet as the baseline and then raise or lower it according to your objectives.

Optimal Heights for Different Animals
Let’s break it down by target species so you can set up your camera with confidence:
Adjust The Height of Trail Camera for Different Terrains
Where you put your camera matters when figuring out how high to set it. There's no perfect height that works everywhere.
Flat areas: Stick close to the recommended height.
Hills: Angle the camera down so it gets a good view. For example, if you're on a downward slope, put the camera up a bit higher.
Lots of plants: Go a little higher (3.5–4 ft) to keep grass and branches from setting off the camera when nothing's there.
Near water: Keep the camera at least 3 feet above the water. This stops water from getting inside and keeps the camera aimed where animals will be.
Taking a test picture is a good idea to make sure everything looks right and is centered. This really comes in handy when you're trying to catch deer on trails or at feeding spots.

Low vs. High Mounting: Which Is Better?
Both approaches have advantages, depending on your goals.
Low Mounting (1–2 ft)
Best for turkeys and boars.
Creates an immersive, eye-level perspective.
Reduces interference from wind or high grass (if the area is clear).
High Mounting (4–6 ft)
Ideal for larger animals or when monitoring from above a trail.
Keeps the camera safe from theft or curious animals.
Helps cover wider areas, especially with a downward tilt.
How to Measure and Mount at the Right Height
For a consistent height, use a tape measure or even a walking stick.
Make sure to attach it securely to a strong tree or post, so it doesn't wobble in the wind.
Tip it downwards a little bit, about 5–10°, where you think the action will be.
Take a test photo to check the view. You want your subject to be centered and see their whole body.
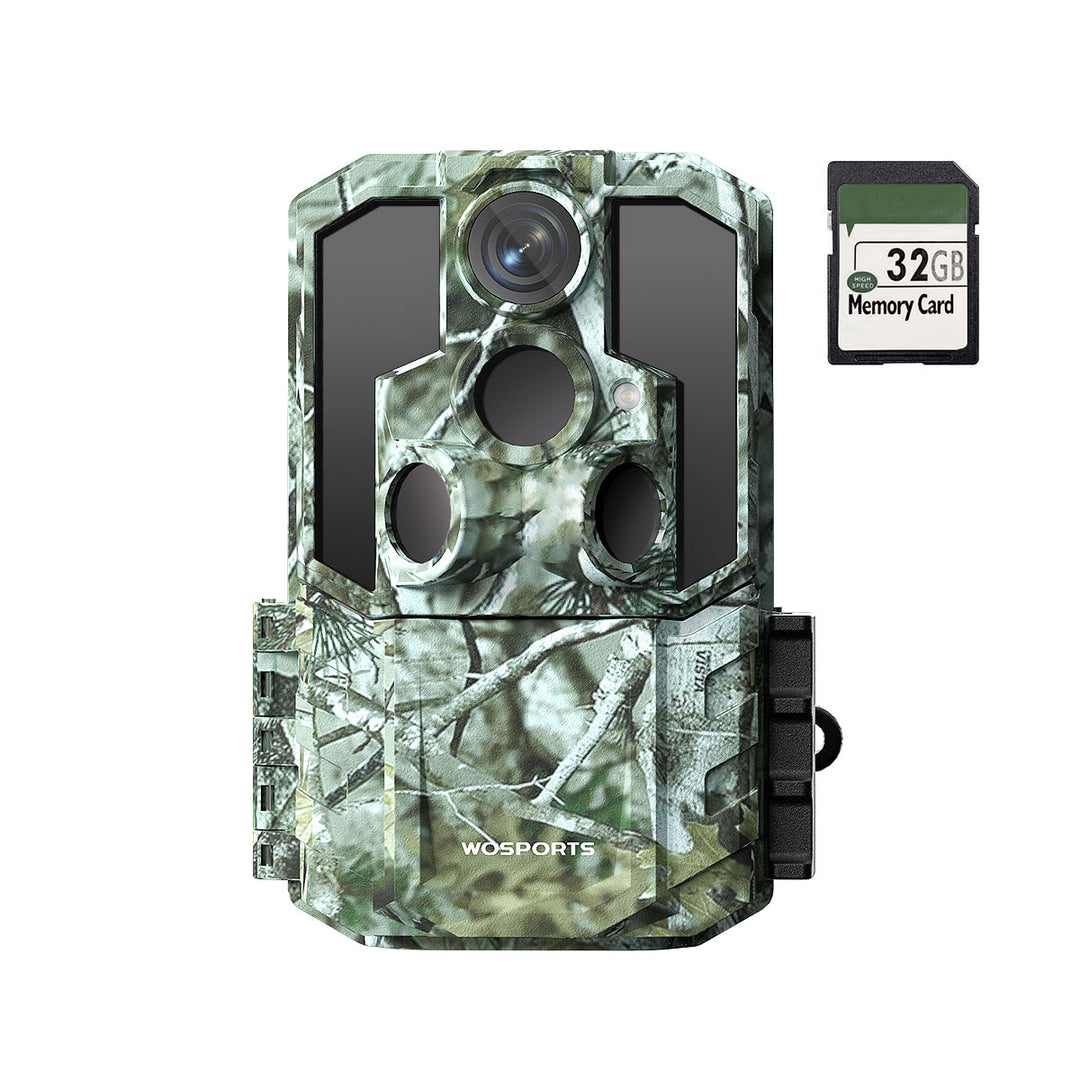
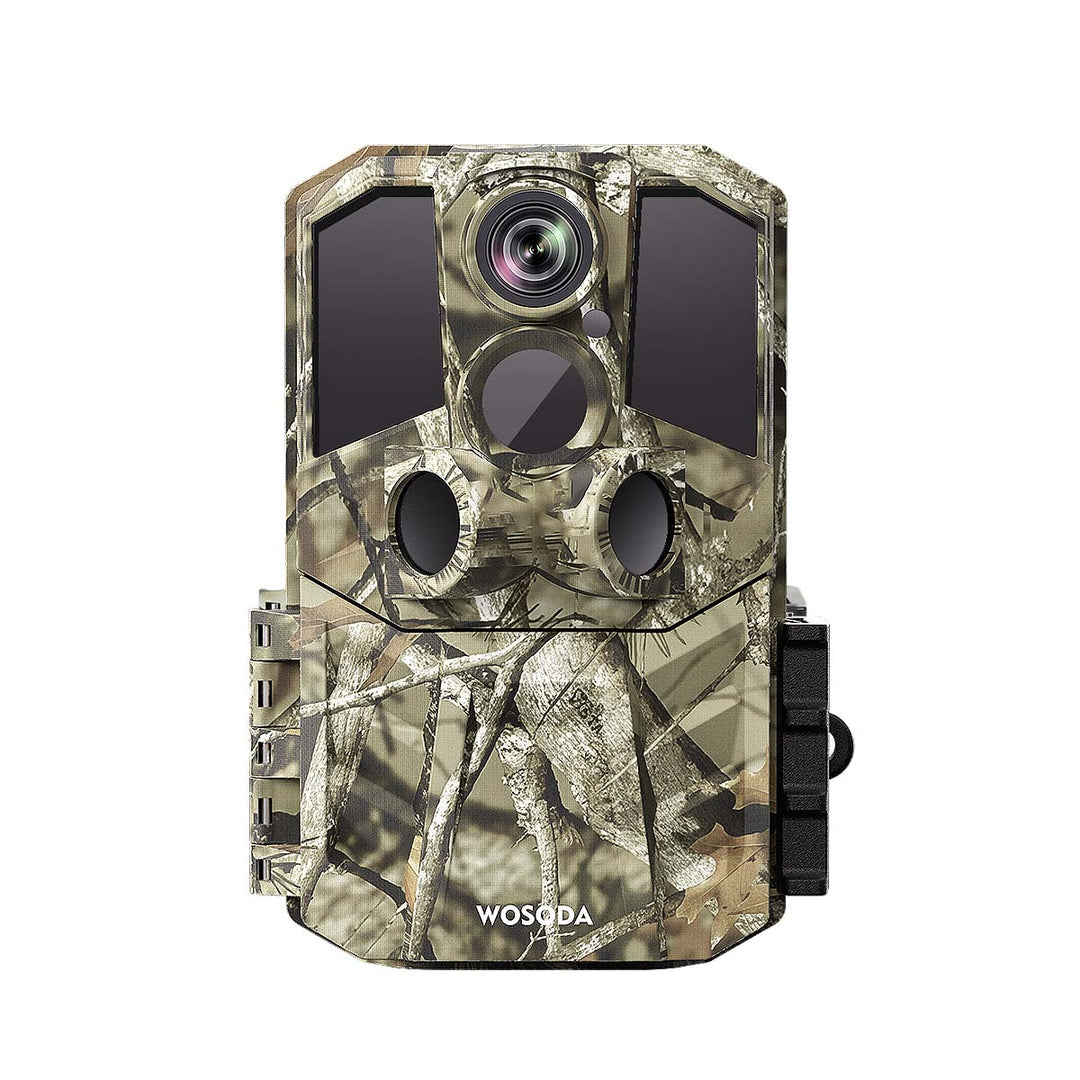
Quick tip: Use a mounting strap that lets you adjust the angle (like the one that comes with WOSPORTS wildlife cameras). This makes it easy to change both the height and angle without moving the whole thing.

Best Height for Security or Home Monitoring
Trail cams aren't only for animals. People put them up for security on their property or farms, too. If that's you, here's what height to consider:
Driveways or Entrances: 5–6 feet, aimed slightly downward to capture faces and vehicle plates.
Yards or Gardens: 4–5 feet, centered on the movement area.
Fences or Barns: Higher placement (6–7 feet) for a broader overview and better coverage.
Search
Popular Posts
Recent Posts

Nov 28, 2024
Troubleshooting Common Trail Camera Issues
Jan 10, 2025
Why Does My Trail Camera Stop Working at Night?


