Useful Early-Season Trail Camera Strategies
When summer slowly fades and the woods start to quiet down, that’s the sign—it’s time to set your trail cameras for the early season. Let’s explore how to make the most of this crucial scouting period, from understanding early movement to fine-tuning your camera setup.
Early-Season Animal Behavior
Temperature, Vegetation, and Environmental Impact
What animals do early in the season really depends on the temperature and where they can hide.
When it's hot in the afternoon, deer might chill in shady spots or near water. But turkeys? They're out in the fields looking for food when it's cooler in the morning.
Lots of plants in the summer can make your camera go off when nothing's there. Try turning down how sensitive the motion sensor is or just move the camera up a bit. That usually solves it.
Rain, fog, or morning dew can make the infrared not work so well. Think about where you put your camera and which way it's pointing.
Knowing how the weather and plants play with your camera's tech means you'll get good, useful footage.

Put your cameras where the animals are most active
At the start of the season, try to find the usual routes wildlife take. Places where they eat, like around crop fields, fruit trees, or mineral deposits, are great for spotting movement.
Next, check near water sources like pools, creeks, or ponds where animals go to cool off.
Lastly, find the paths they use. Trails between where they sleep and where they eat often show that big bucks visit often.
Put your camera about 3–4 feet high, angled a bit toward the path to catch motion better. Try to point it north or south to keep the sun from messing up the picture.

Optimize Camera Settings for Early Light
Summer sun can be harsh, and thick leaves can mess up your photos with too much light or shadows.
To fix this, lower the number of shots taken in a burst and wait a bit longer between each shot so you don't get too many bright, similar photos.
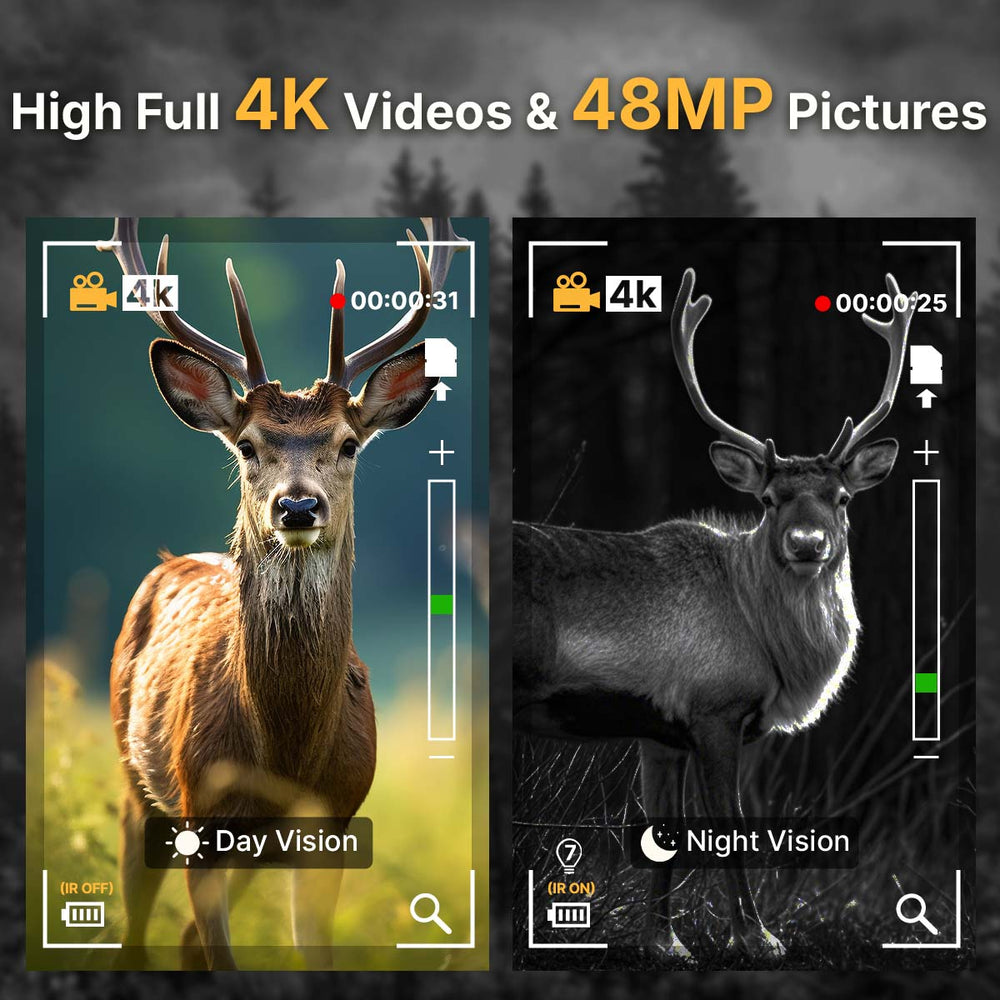
When it gets dark, turn up the infrared flash so you get clear nighttime pictures, even far away.
If you can change how sensitive your camera is, try setting it to medium. This will help it catch animals without being set off by every leaf or bug.
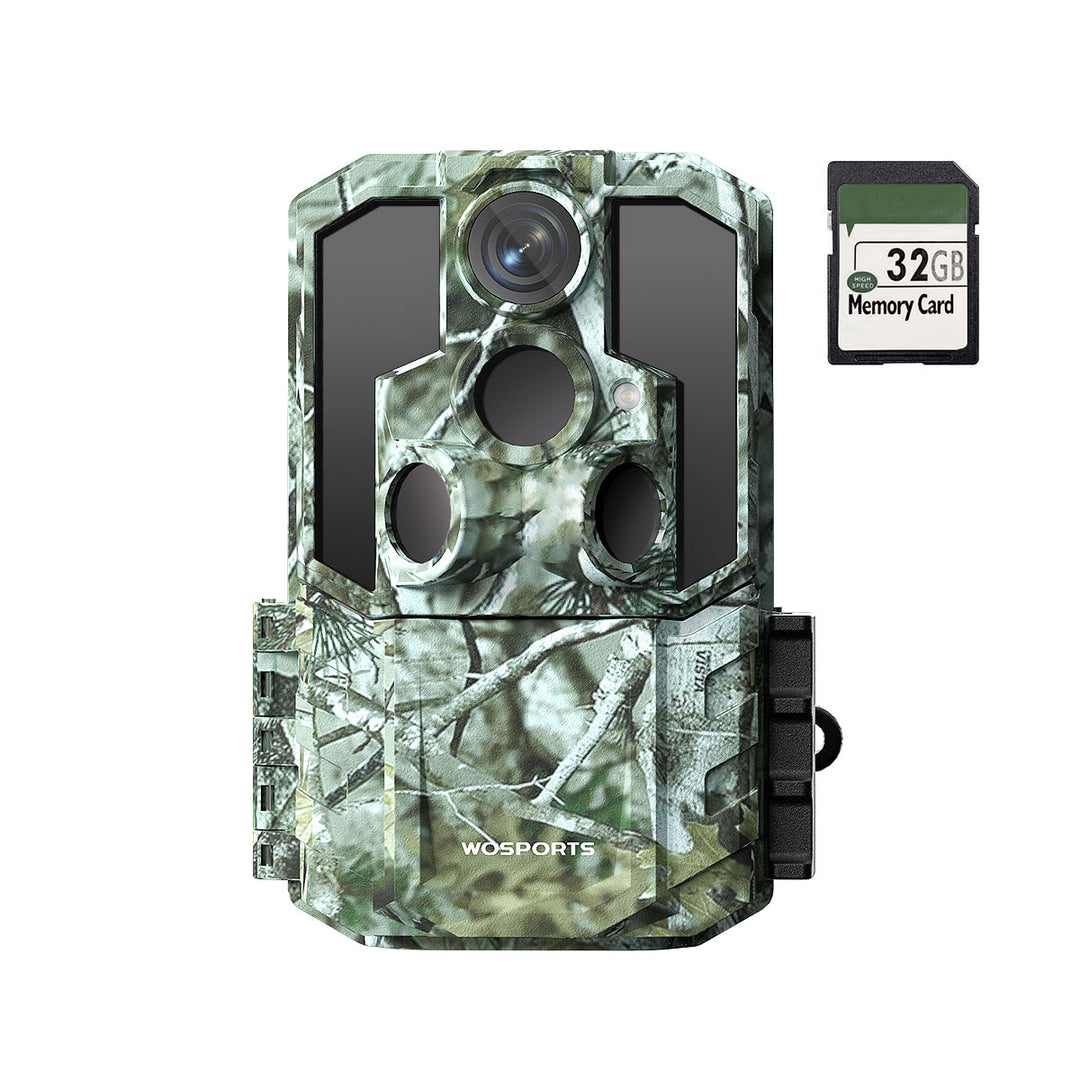
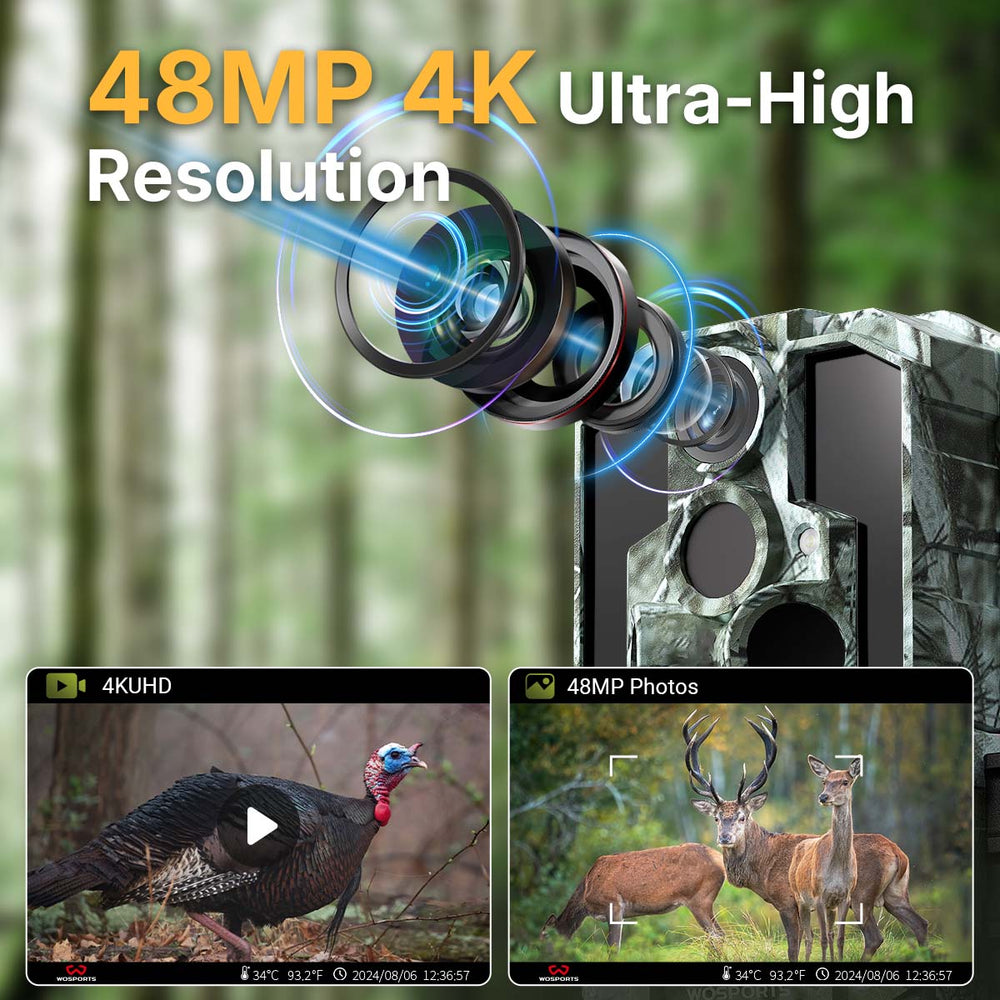
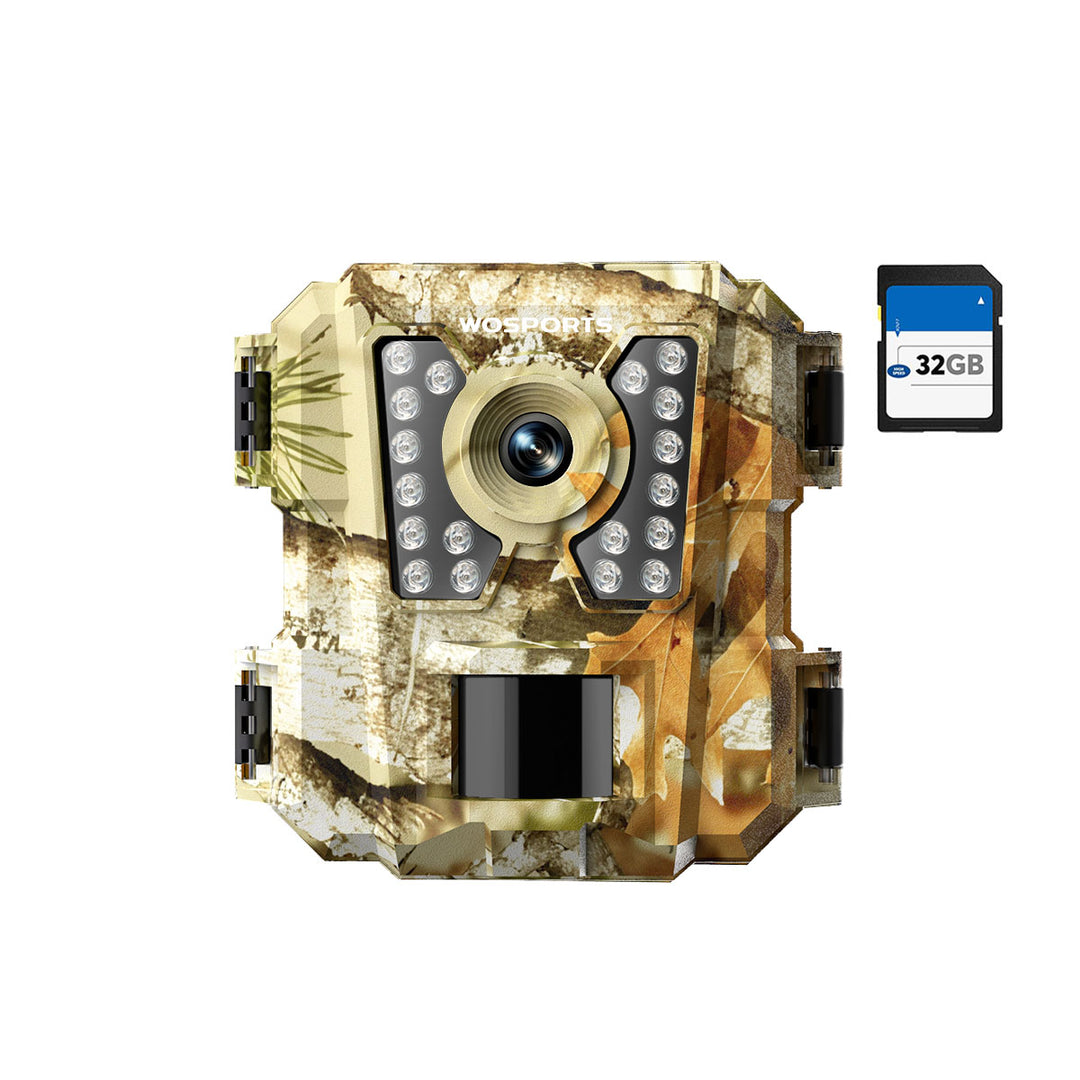
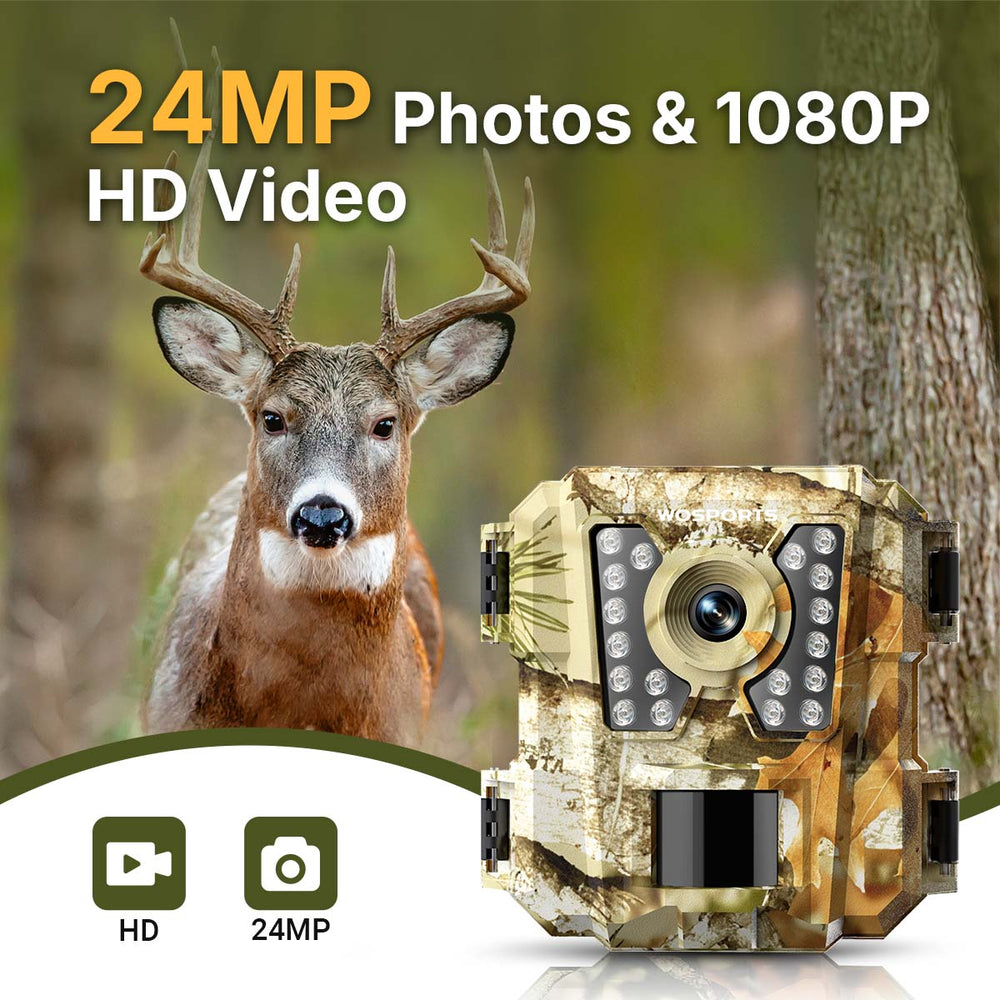
Deer cameras such as the G600 and G100 are great in these lighting situations because they take pictures fast.

Minimize Disturbance During Setup and Checks
Checking cameras too often is a mistake that occurs a lot early in the season. Your scent and noise can sometimes alert the animals every time you enter the area.
It is best to do the checks every 2-3 weeks, preferably during the day when the animals are less active. If possible, use scent-free gloves and come quietly to swap the SD cards or batteries.

For setups that are difficult to access, you might want to have several cameras so that you can alternate visits and lessen the impact in the crucial areas.
Adjust Your Trail Camera As the Season Progresses
The data collected at the beginning of the year is not only valuable for the present moment but also for the future.
The early-season data is not only valuable but also the basis for your actions later on.
Follow the movements and changes in the animals’ behavior so that you can adjust your hunting strategies accordingly as the leaves fall off the trees or hunting season starts.
The movement of the cameras from the places where the animals are feeding early in the day to the places where they are sleeping or licking minerals will happen as soon as the trails become more clearly defined.
Animal behavior seen in the first few weeks on the camera should cause a reconsideration of the camera angles.
This “data-driven transition” technique allows you to adapt your efforts according to the land, thus ensuring scouting success and good quality footage.
Conclusion: Patience, Observation and Strategy
The early-season trail camera works consisted of a combination of observations, strategies, and patience. If you read the land, knew the environmental impacts, made disturbance at a minimum, and had the right gear, you would already have an advantage that was not loud. Every picture that you took in those early weeks was more than just a photo; it was an essential part of the season's story, disclosing the ways, habits, and behaviors that all your later decisions were based on.
For reliable performance in any condition, check out the complete WOSPORTS Trail Camera Collection or bulk options on our Wholesale Trail Cameras page.
Search
Popular Posts
Recent Posts

Nov 28, 2024
Troubleshooting Common Trail Camera Issues
Jan 10, 2025
Why Does My Trail Camera Stop Working at Night?


