How to Use Trail Cameras for Turkey Scouting?
While traditional scouting involves long hours in the field, trail cameras now make it easier to monitor flocks without disturbing them. In this guide, you’ll learn how to use trail cameras for turkey scouting—from the best placement and settings to data analysis and gear recommendations.
Choose the Best Trail Camera for Turkey Scouting
Different environments call for different camera features. When selecting your gear, consider the following:
Detection Range: Turkeys move fast, so choose cameras with wide detection angles.
Trigger Speed: Look for less than 0.3 seconds to avoid missed shots.
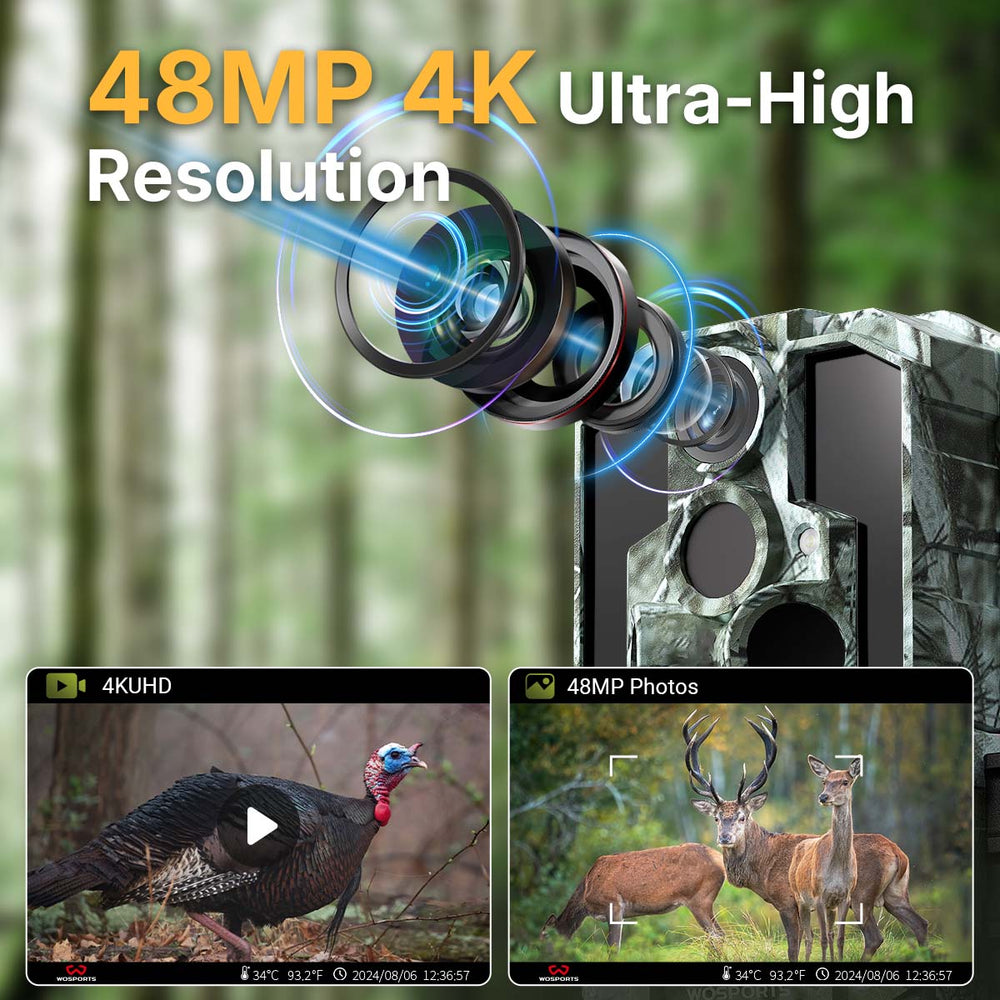
Image Clarity: Clear photos help you identify birds accurately.
Battery Life: Long-lasting power supports extended monitoring sessions.
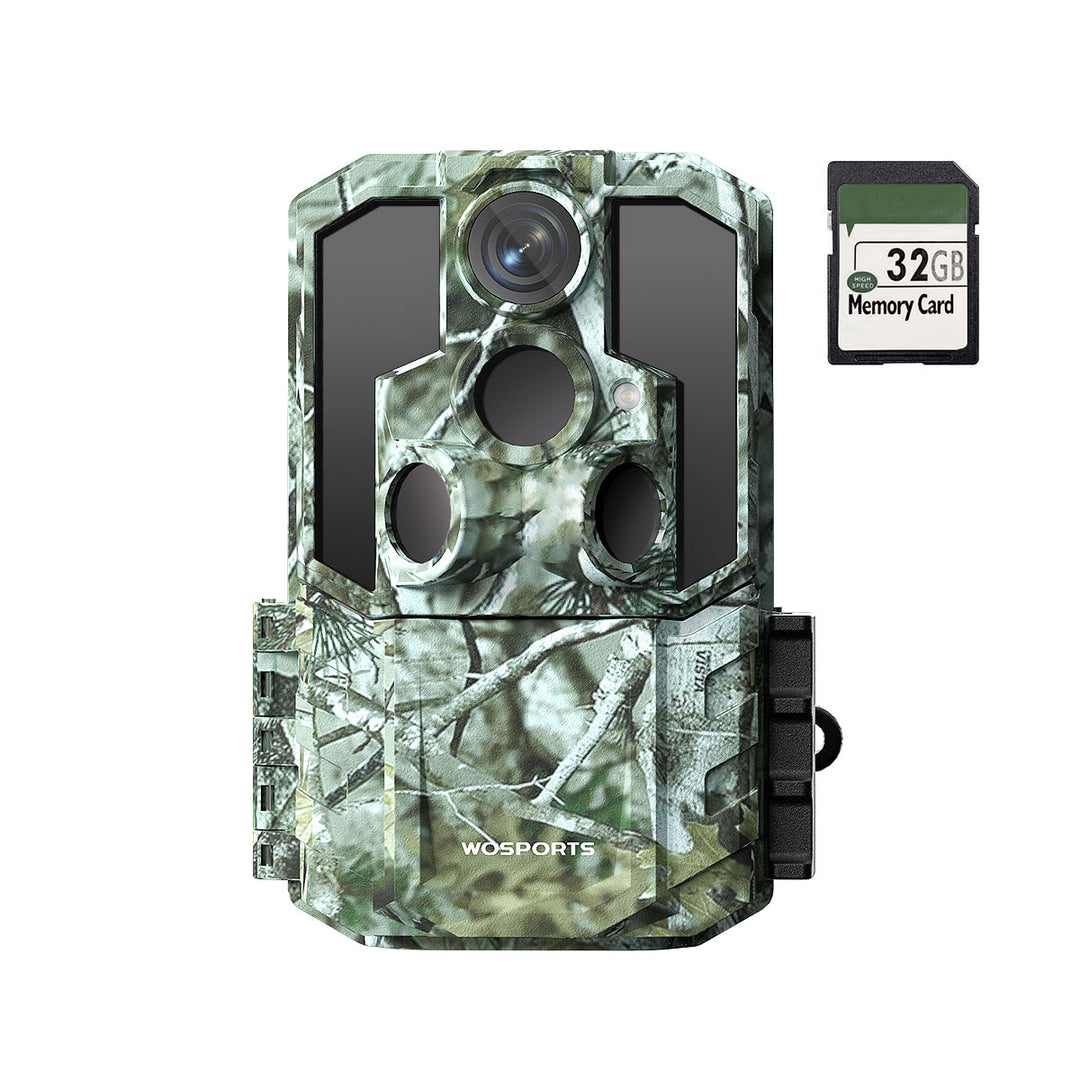
Explore the full range of high-performance cameras in our Trail Camera Collection.

Best Turkey Trail Camera Placement
The right location of a camera is the first and most important step in turkey scouting. Here’s how to go about it:
1. Mark the Most Active Places
Study the area carefully before you put up your trail camera for observing turkeys. Most of the activity around strutting zones, toms showing off to attract hens, is seen during early mornings.
Besides, turkeys often visit feeding locations like edges of fields, remains of crops and little clover plots, especially at mid-morning hours. Marking these areas of activity on a map will greatly help you to place your cameras in the most suitable spots and get the birds’ natural behavior without scaring them.
2. Change Camera Height and Position
Set your camera at a height of about a person’s knee (18–24 inches) and rotate it very slightly downwards. This will allow you to shoot turkeys who are walking but not those flying above.

3. Shade and Sun Consideration
Keep the sunlight away from the lens- it can cause glare and overexposure. The east and north exposures are usually the best for getting pictures with no harsh contrasts in lighting.
Optimal Camera Settings for Clear Footage
Once you’ve chosen your locations, fine-tune your camera settings for clarity and efficiency:
Photo Mode vs. Video Mode: For detailed behavior analysis, short 10–20 second videos are ideal.
Trigger Interval: Set to 5–10 seconds to avoid too many redundant shots.
Sensitivity: Medium sensitivity works best for detecting turkey-sized movement without too many false triggers.
Time Stamp: Always enable date/time stamps to track daily movement patterns.
These best trail camera settings for turkeys ensure that every image you capture is useful for planning and strategy.
Use Multiple Cameras for Broader Coverage
Deploying more than one trail camera for turkey scouting dramatically increases your field coverage. Each location offers different behavioral clues—one near food plots, another by roost trees, and a third along a ridge trail can tell the full story of flock movement.
If you’re managing several properties or guiding hunts, consider buying trail cameras in bulk. It’s a cost-effective way to expand your monitoring network with consistent, reliable performance.

Tips to keep your scouting operation running smoothly:
Check cameras every 5–7 days to avoid human scent buildup.
Use scent-free gloves when handling cameras.
Keep SD cards organized and labeled by location and date.
Ensure batteries are fresh and weatherproof housing is sealed.
Search
Popular Posts
Recent Posts

Nov 28, 2024
Troubleshooting Common Trail Camera Issues
Jan 10, 2025
Why Does My Trail Camera Stop Working at Night?


