Useful Trail Camera Setup Tips for Optimal Performance
Whether you’re tracking deer, monitoring your backyard visitors, or scouting for the hunting season, setup makes all the difference. This guide will walk you through everything you need to know to maximize your trail camera’s performance and get crystal-clear, meaningful images.
Trail Camera Setup Tips for Optimal Performance
1. Choose the Right Location for Your Goal
Where you put your camera matters a lot. If you want to see animals, try near water, paths, or where they eat. If you like nature, put it by fruit trees, feeders, or bushes to see different critters.
Watch where animals go for a few days before you put up your camera. It's worth it because you'll get better pictures.
Pro Tip: When scouting game, use a small handful of corn or salt blocks to attract animals—but always follow local regulations before baiting.
Trail Camera Deployment Guide>>
2. Mount at the Right Height and Angle
The height and angle decide what the camera catches. If you're after medium critters like deer, put the camera about 3 feet (1 meter) off the ground—that usually works best. If you’re after smaller stuff, go lower.
Angle the camera down a bit. This cuts down on sunlight or grass triggering it when nothing's actually there. Make sure the shot has some ground and background so you get a better sense of how far away things are.

3. Avoid Direct Sunlight
A frequent mistake people make is pointing their camera at the sunrise or sunset. This creates glare, too much light, and triggers the camera when it shouldn't.
If you can, point your trail camera north. This stops hard shadows from forming and gives you consistent lighting all day.
4. Optimize Camera Settings for the Environment
Each spot is unique, so your settings should match it.
Motion Detection: Make it sensitive in the open, less so in thick woods.
Pics or Videos: Go with photos to ID things, videos to watch what they do.
Time Between Shots: If it’s a busy place, wait 30–60 seconds between shots, so you don't get a million similar pics.
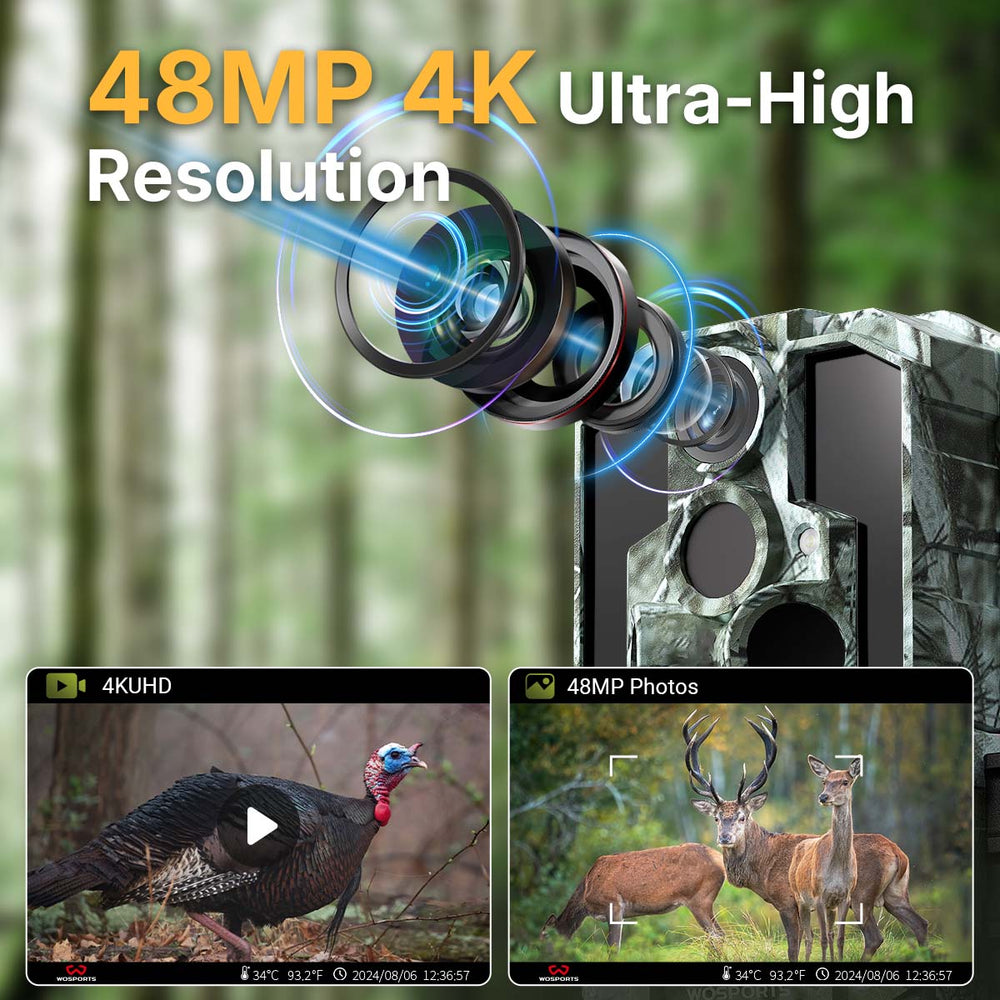
Image Quality: Better quality means more detail, but drains the battery faster.
Pro Tip: For bird feeders or high-activity zones, try “time-lapse mode” to record the environment over hours—perfect for capturing unique patterns of movement and light.
5. Secure and Conceal the Camera
It's important to protect your camera from both animals and people. A lock box or security cable can stop thieves. To hide your camera well, try to disguise it with leaves or bark that look like what's around it. Just be careful not to cover the lens or sensor.
If you need a bunch of cameras to cover a larger area, take a look at WOSPORTS Trail Camera Wholesale. They have bulk deals and different ways to mount them.
6. Perform Regular Maintenance and Checkups
No matter how perfect the installation is, it will still require some care from time to time. Inspect your camera every few weeks to:
- Change or recharge batteries
- Empty the SD card
- Wipe the lens and sensor
- Relocate if plants have grown or fallen in front of it

Regular maintenance makes sure your wildlife camera remains dependable time after time.
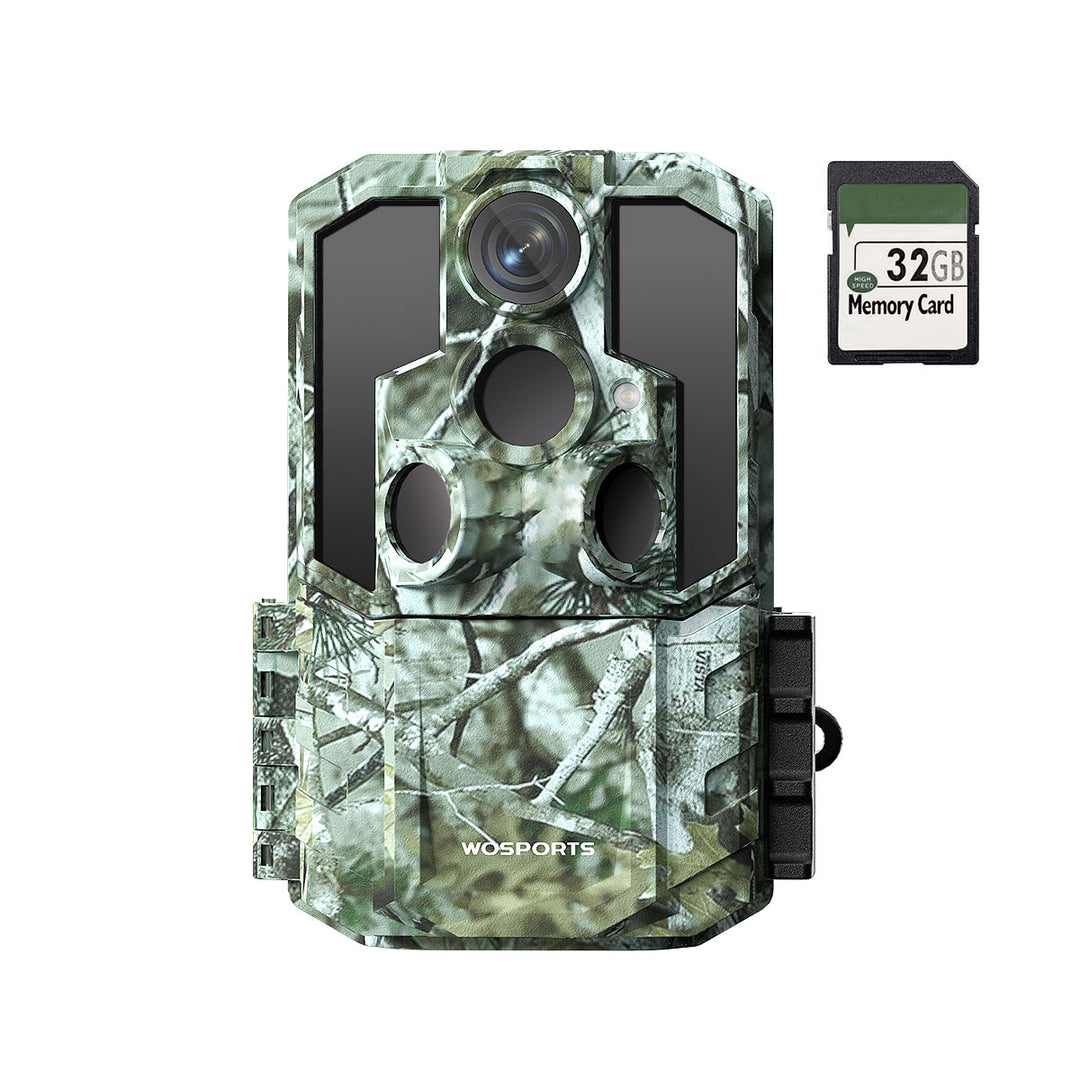
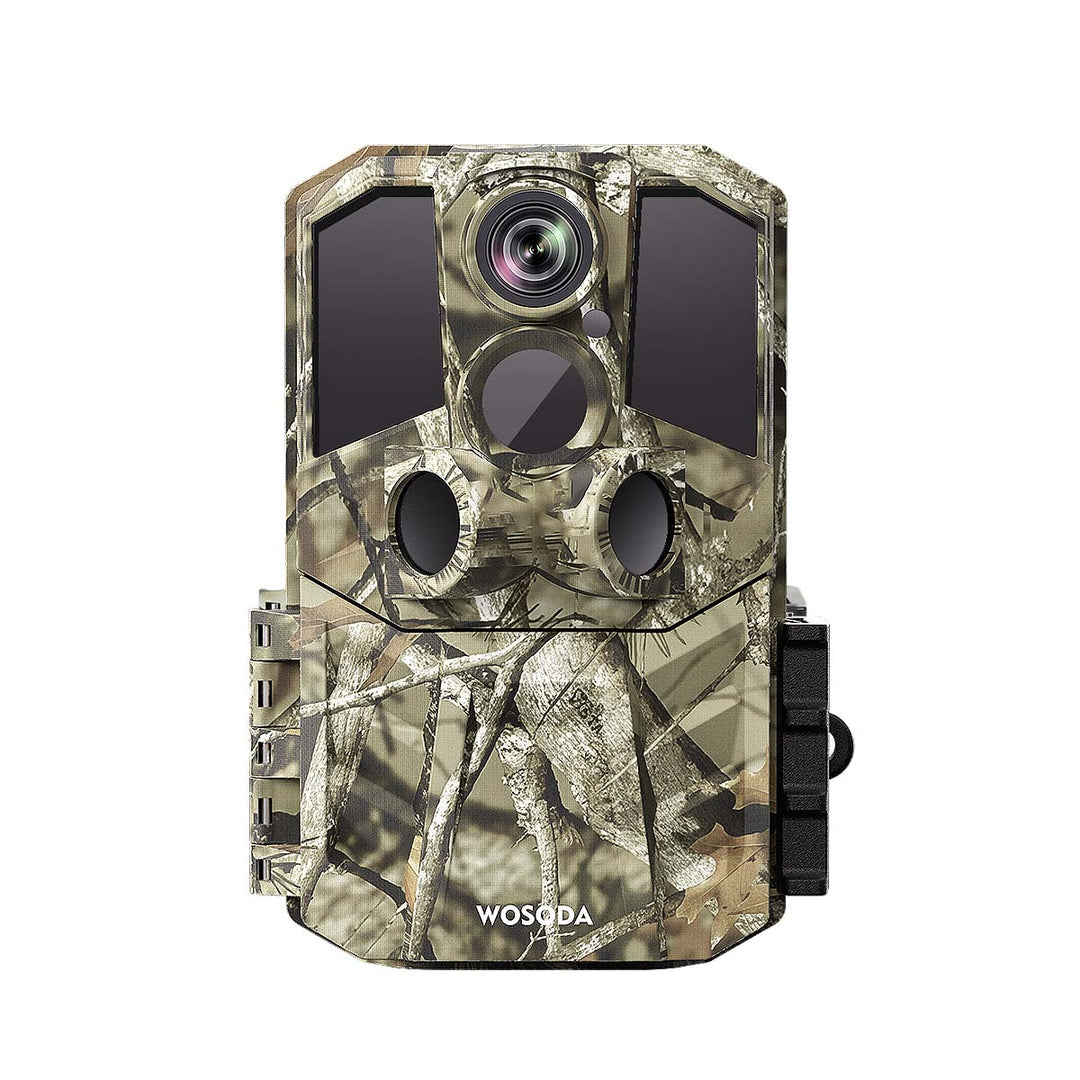
Tip: Using lithium batteries or solar-powered trail cameras like the WOSPORTS G600 Pro ensures longer standby time in remote areas.
7. Test Before Leaving
Before you head out, give your setup a quick test. Walk around where it should spot movement and check the footage. If it's not quite right, tweak the angle, height, or how sensitive it is. Doing this can save you from getting a bunch of useless videos later.

8. Analyze and Adjust Based on Results
Once you have your first photos or videos, it would be a good idea to carefully examine them. Are the animals in the majority partially cut off? Is the camera firing too often or not frequent enough? Your next adjustments will depend on these observations.
Expert users usually rotate between two or three cameras in different zones, testing the performance of each one in different lighting and with different terrain. Eventually, you will know precisely how your selected models react to distance, speed, and environment.
Search
Popular Posts
Recent Posts

Nov 28, 2024
Troubleshooting Common Trail Camera Issues
Jan 10, 2025
Why Does My Trail Camera Stop Working at Night?


