Best Trail Camera Settings for Deer: Photos, Videos, Sensitivity, and Delay
The best trail camera settings for deer depend on what you want to learn: when deer pass through an area, how many animals are using a trail, or how they move throughout the day. A good starting point is to use photo mode for routine scouting, set motion sensitivity to match the location, and choose a trigger delay that avoids repeatedly capturing the same animal.
There is no single setup that works for every property or season. Start with balanced settings, review the results, and adjust based on the activity your camera records.
Recommended Trail Camera Settings for Deer
Use these general starting points if your trail camera offers the listed options. Exact settings and available features vary by model.
| Setting | Suggested starting point | When to adjust |
|---|---|---|
| Capture mode | Photos | Use video when you need to observe movement or behavior. |
| Photo resolution | High | Reduce only if storage space is limited and lower detail is acceptable. |
| Video length | Short clips | Increase when you need more behavioral detail. |
| Motion sensitivity | Medium | Raise it in quiet areas; lower it if the camera triggers too often. |
| Trigger delay | About 30 seconds to 1 minute | Shorten for fast-moving activity; lengthen when repeated captures are unnecessary. |
| Time-lapse | Off, unless needed | Use for scheduled monitoring rather than motion-based captures. |
| Camera placement | Along a trail or travel route | Reposition if the camera misses animals or records too many irrelevant movements. |
These are starting suggestions, not guaranteed optimal settings. Test the camera in its actual location and make changes one at a time so you can tell what improves the results.
1. Choose Photo or Video Mode
For general deer scouting, photo mode can provide a useful record of which animals pass by and when they appear. It can also conserve storage compared with recording video for every detection.
Video is helpful when you want to observe how deer enter and leave an area, how long they stay, or how they interact with their surroundings. Keep in mind that longer clips can take up more storage and use more battery power.
Try this: Start with photos if your main goal is to monitor activity patterns. Switch to short video clips when you need more context about movement or behavior.
2. Set Motion Sensitivity for the Location
Motion sensitivity determines how readily the camera responds to movement or changes in its detection area. If sensitivity is too low, the camera may miss some activity. If it is too high, it may capture irrelevant movement, such as swaying vegetation or small animals.
A moderate setting is a reasonable starting point for many locations. Then review the images and adjust based on what you see.
- If the camera misses deer: Check the camera angle and detection zone first. If the setup looks correct, try increasing sensitivity.
- If it captures too many empty frames: Look for moving branches, tall grass, or other sources of repeated triggers. Clear the immediate view where appropriate or reduce sensitivity.
- If activity varies by location: Test settings separately at each camera site rather than assuming the same sensitivity will work everywhere.
Sensitivity labels and behavior differ by manufacturer, so consult your camera’s manual for how its settings work.
3. Choose a Trigger Delay That Fits Deer Movement
Trigger delay is the waiting period between captures after the camera detects movement. A short delay can record more moments when deer are moving through quickly, but it can also create many nearly identical photos if an animal stays in the detection area.
A longer delay may reduce duplicate captures and conserve storage and battery power. However, it could also cause you to miss additional movement during the waiting period.
How to choose:
- Use a shorter delay when monitoring a narrow travel route where animals may pass through quickly.
- Use a longer delay when the camera is aimed at a spot where deer may linger and repeated images are less useful.
- Review the time stamps and image sequences to see whether the camera is missing useful activity or taking too many similar pictures.
If your camera has a recovery-time specification, remember that it may be separate from the trigger delay. Check the manual to understand how the two work together.
4. Adjust Photo Resolution and Video Length
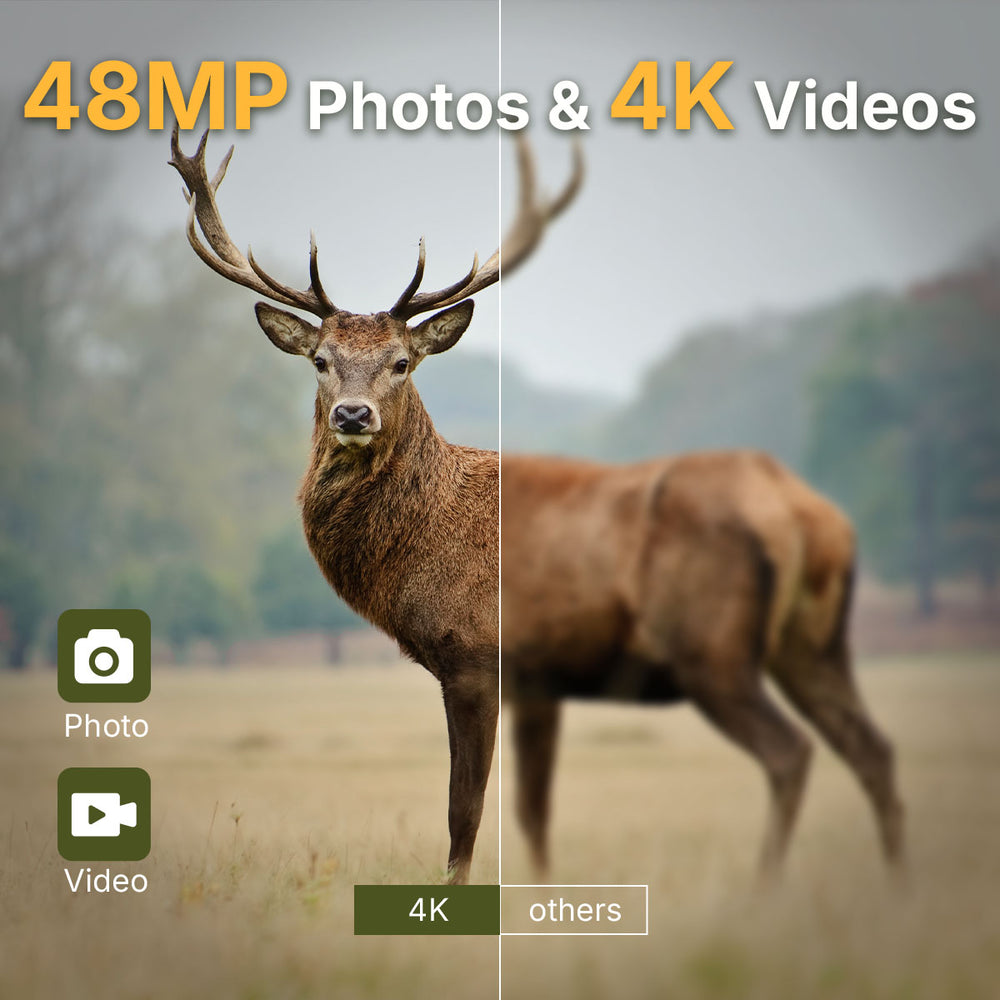
High-resolution images can help you inspect details such as antler shape, body characteristics, or the number of animals in a frame. But larger files use more storage space.
Video length is a trade-off between context and file size. A short clip may be enough to see an animal pass by, while longer recordings may be useful when studying behavior.
For a practical setup:
- Choose a photo resolution that preserves the detail you need.
- Use a short video length to begin with, if recording video.
- Review a sample of the captures.
- Increase resolution or video length only when the added detail is useful for your scouting goals.
Be sure to distinguish between a camera’s advertised image resolution and the amount of detail visible in the final image. Results can also depend on lighting, distance, camera placement, and motion.
5. Set Up Day and Night Monitoring
Deer may move through an area at different times of day and night. If you want a fuller picture of activity, keep the camera configured for the lighting conditions at your location.
Before leaving the camera in place, confirm that:
- The camera’s day/night mode is enabled as intended.
- The lens and infrared area are clean.
- Nearby objects are not blocking the camera’s view.
- The camera is not aimed directly at a reflective surface that could affect nighttime images.
Review nighttime captures separately. If they are consistently too dark or unclear, check the camera’s placement, distance to the detection zone, and the manufacturer’s night-vision guidance.
6. Use Time-Lapse Only When It Serves Your Goal
Time-lapse captures images at scheduled intervals, whether or not motion is detected. This can be useful for observing a broad area or recording activity that the motion sensor may not capture reliably.
For typical deer trail monitoring, motion-triggered capture is often a more practical starting point. Time-lapse can produce many images when nothing is happening, using storage and battery power.
If you do use time-lapse, choose an interval and schedule that fit the purpose of the camera, and check the results to make sure the captures are useful.
7. Place the Camera to Support Your Settings
Even well-chosen settings can produce poor results if the camera is aimed at the wrong area. Position the camera so the detection zone covers the route or space you want to monitor.
A few practical checks:
- Aim across a trail or travel route when that gives the camera a useful view of passing animals.
- Avoid pointing directly into the rising or setting sun if glare is affecting images.
- Keep moving vegetation out of the immediate detection area where possible.
- Mount the camera securely to reduce movement and blurry captures.
- Test the camera’s detection area before leaving it unattended.
The right height and angle depend on the terrain, vegetation, and the camera’s detection design. Follow the model’s placement recommendations and review test captures before settling on a final position.
8. Review Your Captures and Fine-Tune One Setting at a Time
The most useful trail camera setup is one that you verify in the field. After the camera has been operating for a while, look for patterns in the captured files.
Ask yourself:
- Are deer appearing in the frame clearly?
- Are important moments being missed?
- Are many images nearly identical?
- Are empty photos caused by moving vegetation or other false triggers?
- Is the camera recording more video than you actually need?
- Are nighttime images clear enough for your purpose?
Make one adjustment at a time—such as changing sensitivity or delay—and compare the next set of captures. Changing several settings at once makes it harder to identify which adjustment helped.
Example Setups for Different Deer-Scouting Goals
Monitoring a Frequently Used Trail
Start with photo mode, a moderate sensitivity setting, and a relatively short trigger delay. This can help record animals as they pass through without filling the card with long video clips.
If the camera captures repeated images of the same deer, consider lengthening the delay. If it misses passing animals, check placement and detection coverage before increasing sensitivity.
Observing Deer Behavior at a Feeding Area
If your goal is to observe how deer approach or use a location, short video clips may provide more context than still images. A longer trigger delay can help reduce repeated recordings during a single visit.
Be aware that feeding areas can generate frequent triggers. Review the footage and adjust settings to balance useful coverage with battery and storage limits.
Checking a Quiet or Remote Area
For a location with less frequent activity, you may want to preserve battery and storage while still capturing passing deer. Begin with photo mode and moderate sensitivity, then review whether the camera is detecting activity at the expected distance.
If the camera produces few captures, make sure the placement and detection zone are suitable before changing multiple settings.
Common Trail Camera Setting Mistakes
Setting sensitivity to maximum without testing: High sensitivity can increase unwanted captures. Begin with a moderate setting and adjust based on actual results.
Using long video clips for every trigger: Long recordings can use more storage and power. Choose a clip length that provides the context you need.
Setting the trigger delay too long: A long delay can reduce duplicate files, but it may also cause you to miss additional movement. Match the delay to the location and activity.
Changing too many settings at once: If you adjust sensitivity, delay, and capture mode together, it becomes difficult to know which change affected the results. Test one setting at a time.
Ignoring the camera’s field of view: Settings cannot make up for poor placement. Confirm that the camera is aimed at the area you want to monitor.
Frequently Asked Questions
What is the best sensitivity setting for deer?
There is no universal best setting. Medium sensitivity is a useful starting point for many locations, but the right choice depends on the camera model, distance, vegetation, and background movement. Test and adjust based on the captures.
Should I use photos or videos for deer scouting?
Photos are a practical choice for monitoring presence and activity patterns. Video is useful when you need more context about movement or behavior. Your choice should depend on the information you want and your available battery and storage.
How long should a trail camera delay be for deer?
Start with a moderate delay, such as 30 seconds to 1 minute if your camera offers those settings. Shorten it if you need to capture fast-moving activity, or lengthen it if repeated captures are filling your card without adding useful information.
Why does my trail camera take many pictures of the same deer?
The animal may remain in the detection zone and trigger the camera repeatedly. A longer trigger delay may reduce duplicate captures. You can also adjust placement or sensitivity if the camera is responding to irrelevant movement.
Do trail camera settings affect battery life?
Yes. Frequent triggers, long video clips, and time-lapse captures can increase power use. Adjusting settings to avoid unnecessary recording may help extend battery life.
Final Takeaway
The best trail camera settings for deer are the ones that capture the activity you care about without creating unnecessary files. Begin with photo mode, moderate sensitivity, and a practical trigger delay. Then review the images and make small, deliberate adjustments based on the camera’s actual performance.
A thoughtful combination of placement, settings, and periodic review can help you get more useful information from your trail camera.
Search
Popular Posts
Recent Posts


Nov 28, 2024
Troubleshooting Common Trail Camera Issues
Jan 10, 2025
Why Does My Trail Camera Stop Working at Night?