What are The Best Trail Camera Settings for Wildlife Photography?
Trail Camera Settings Matter for Wildlife Photography
The Right Resolution
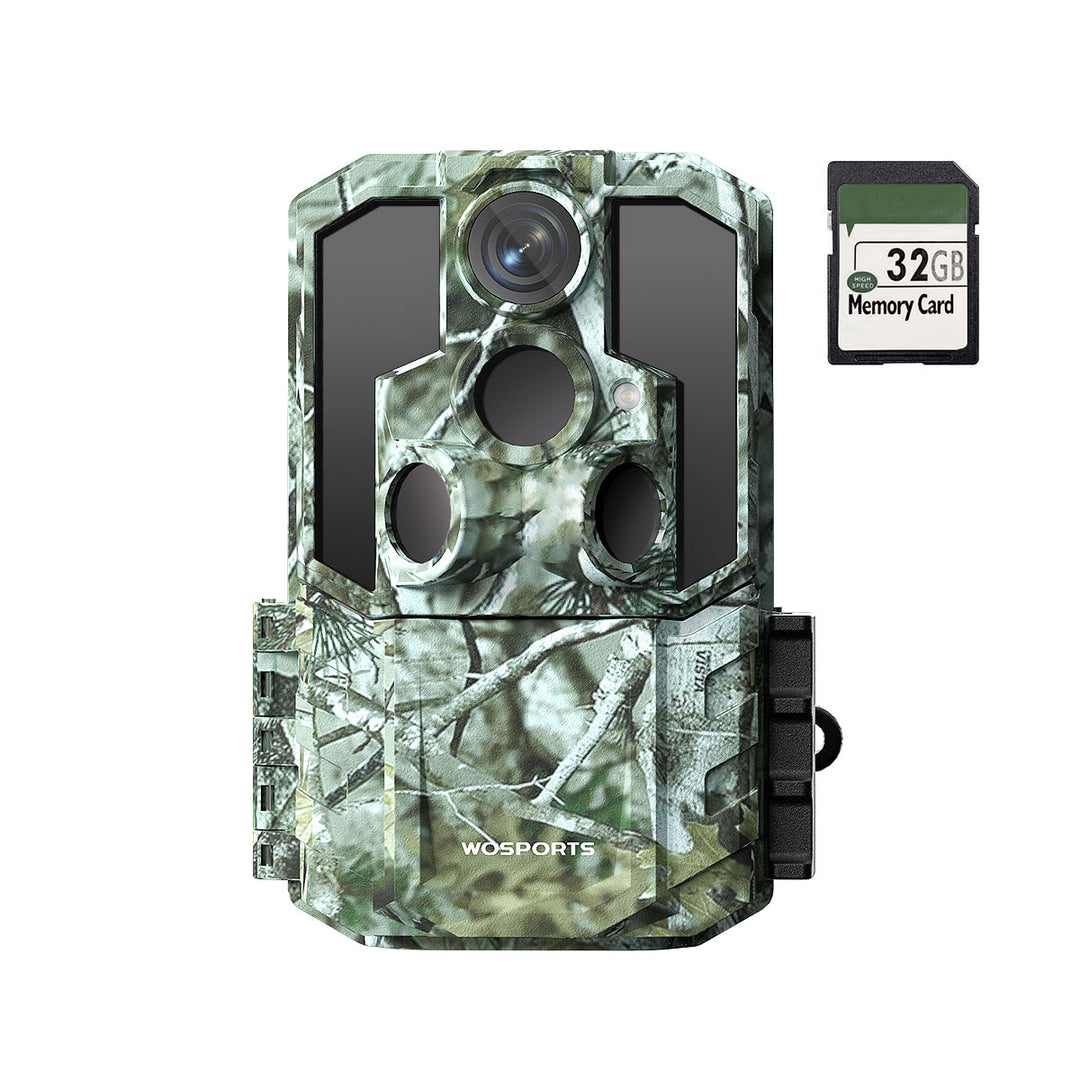
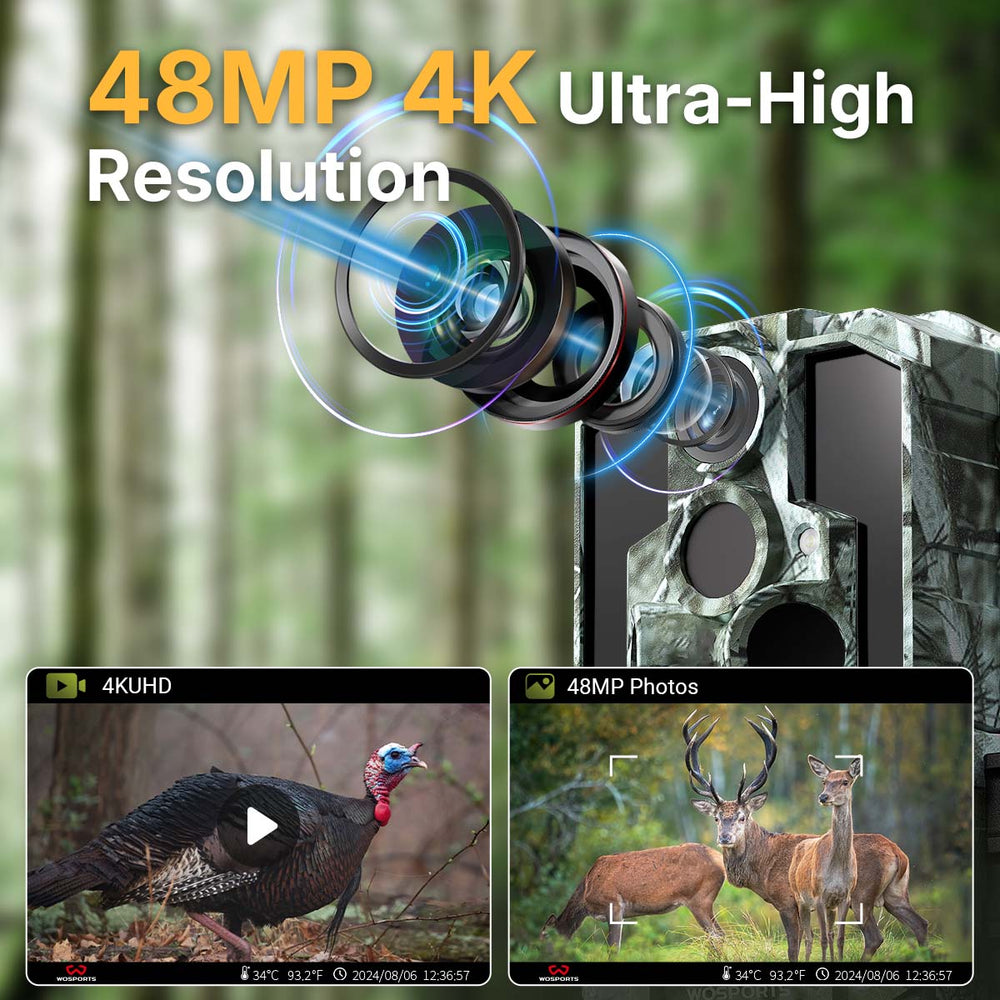
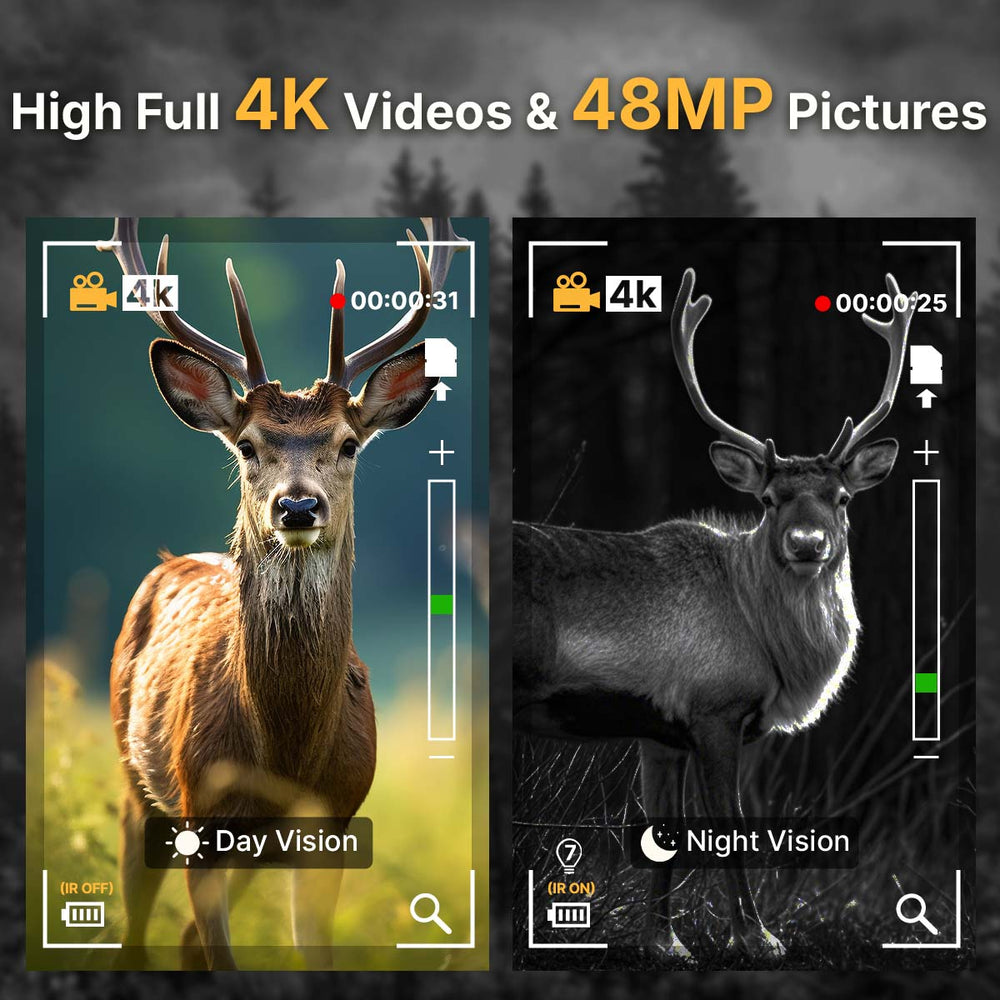
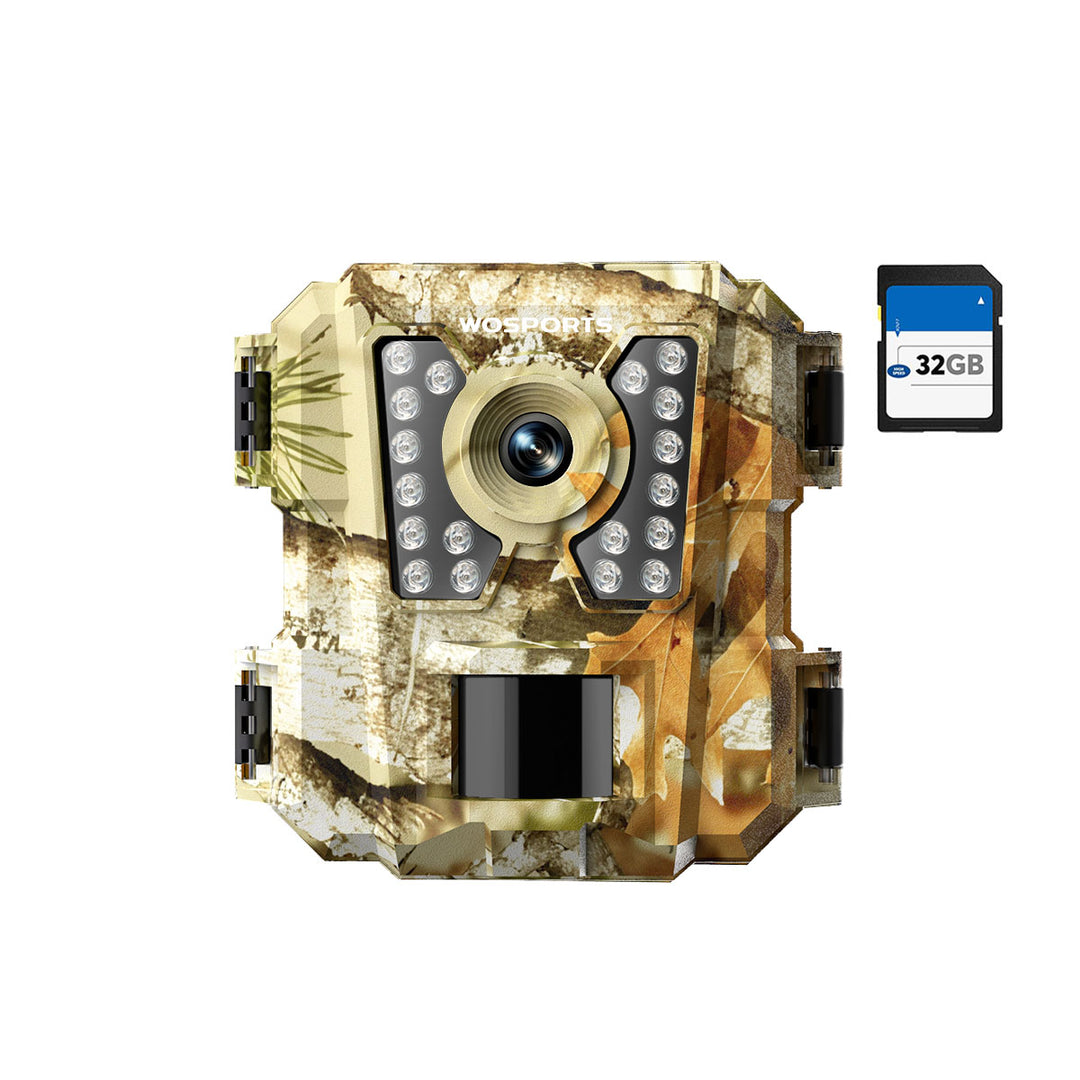
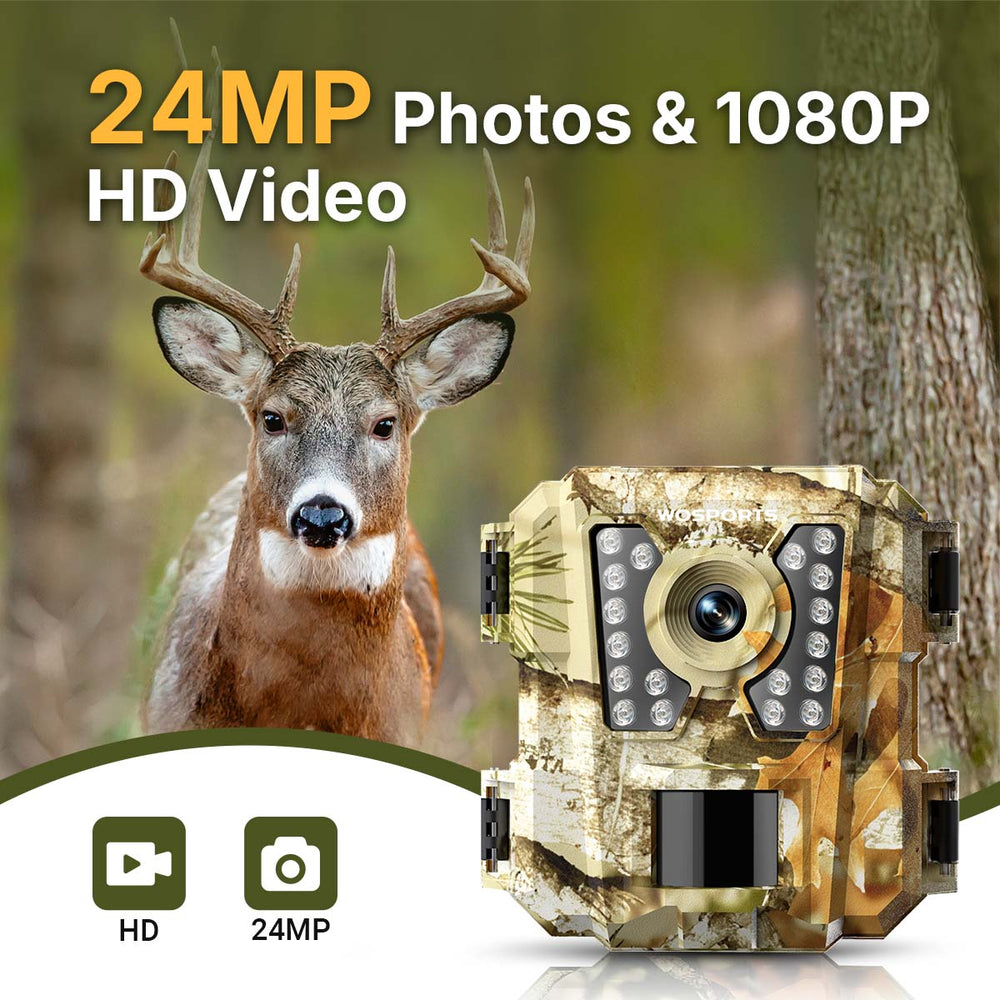
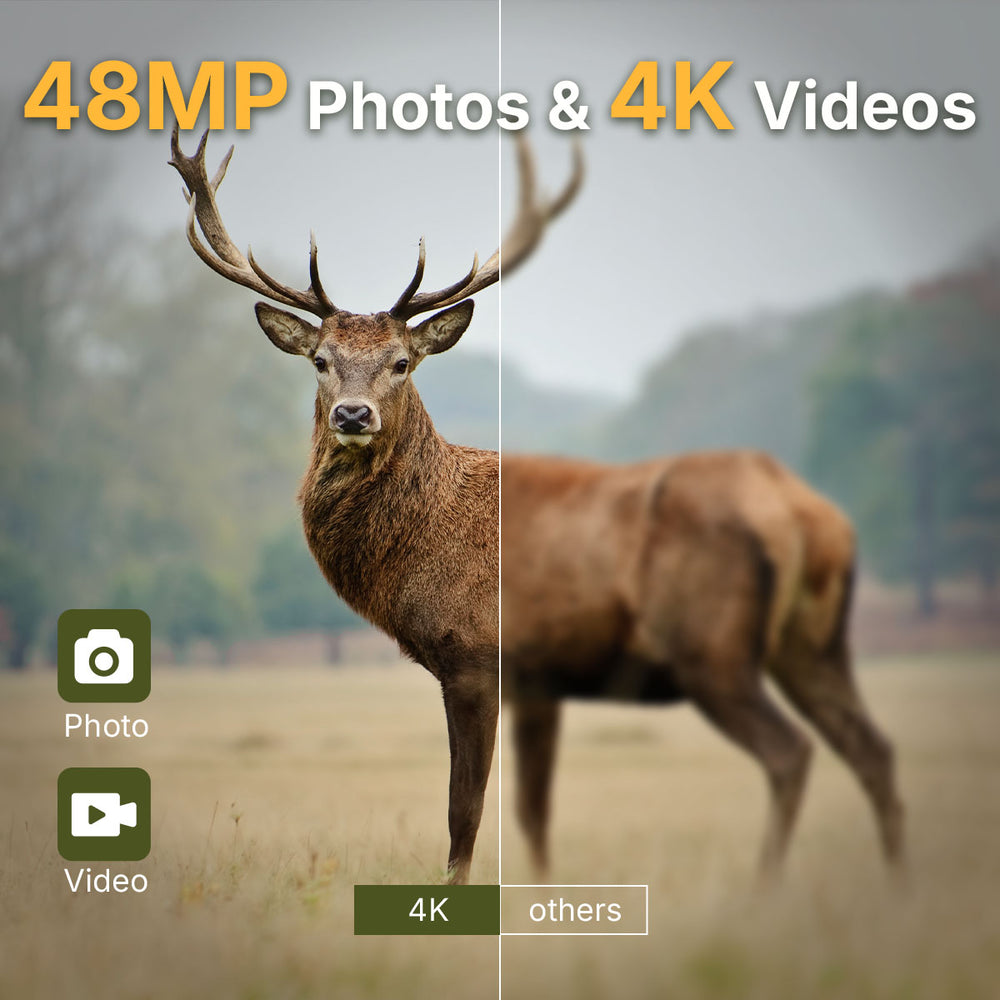
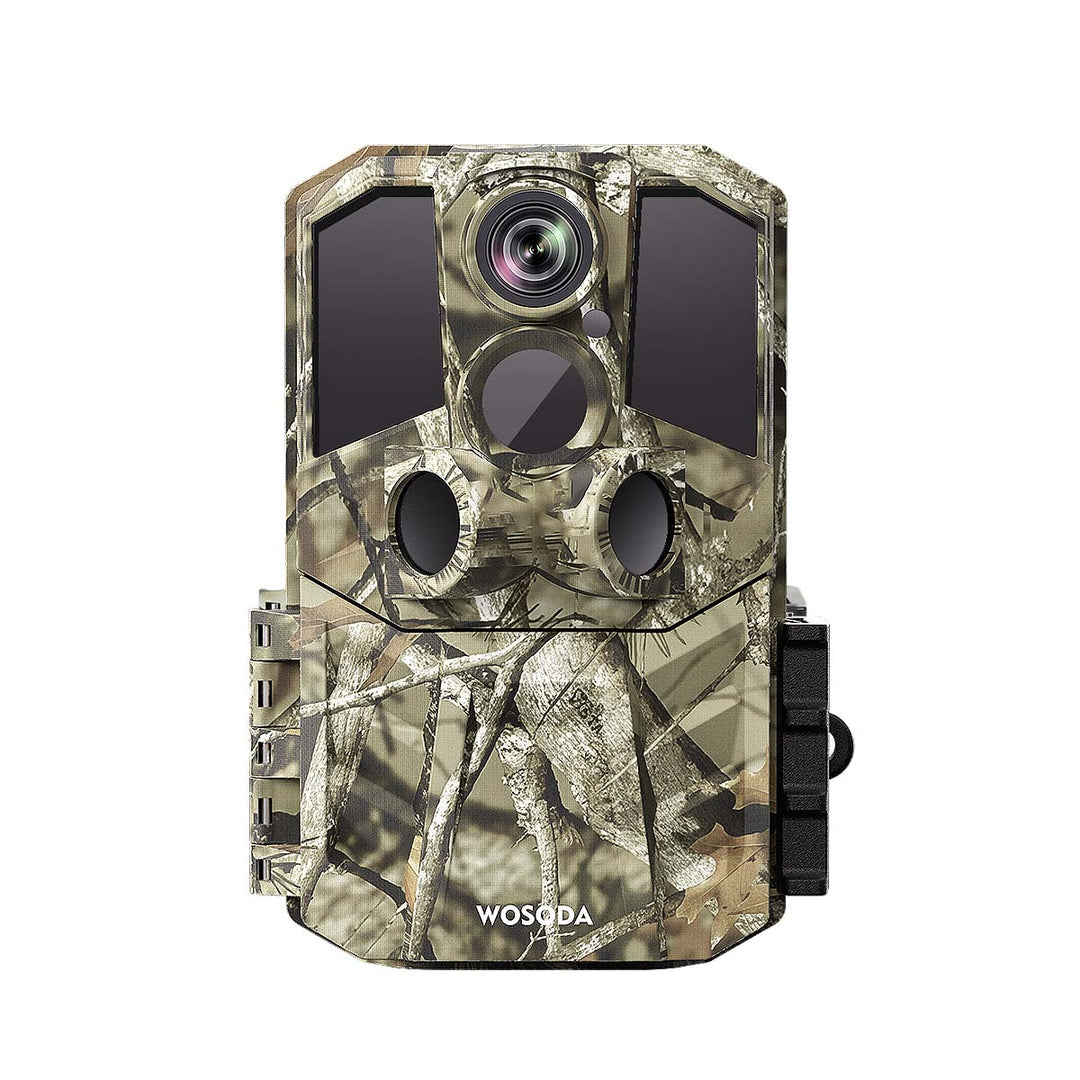
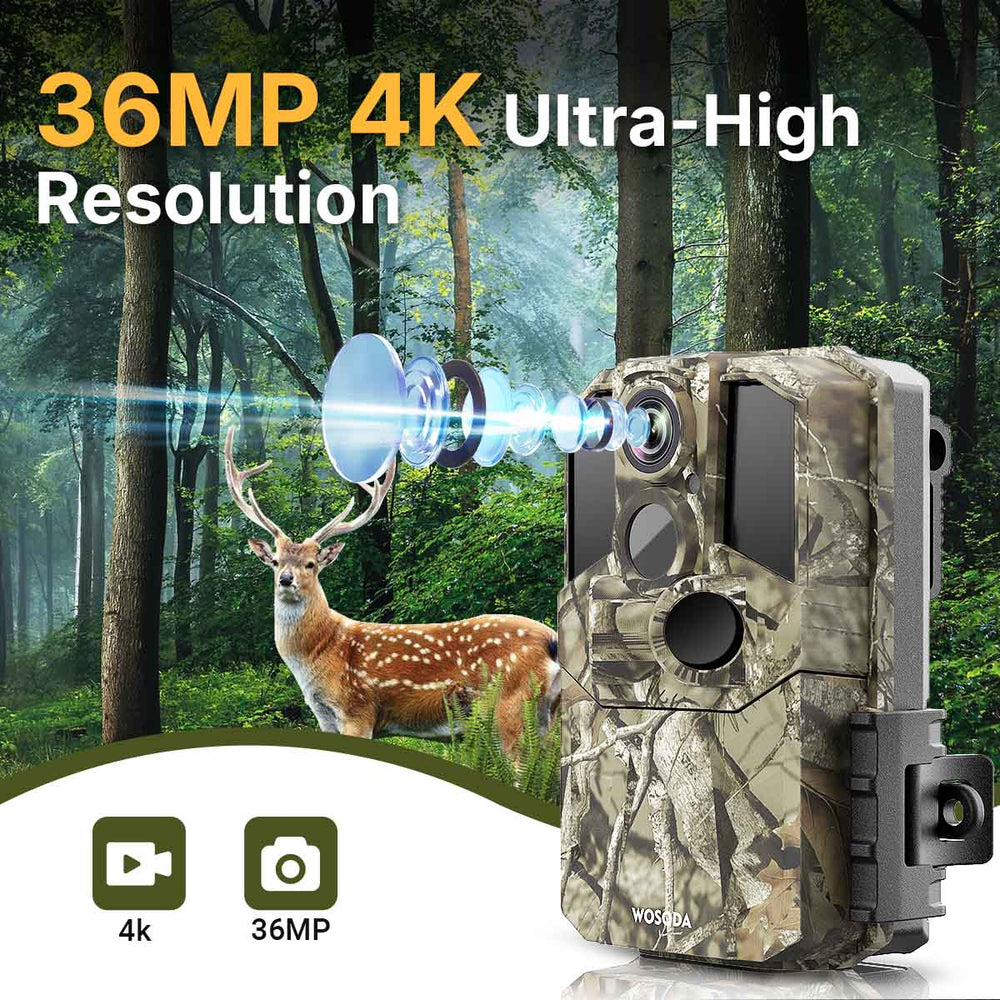
Image resolution really matters for how clear and detailed your wildlife photos look. If you want the wildlifes show up clearly, go for higher resolutions - like 16MP to 24MP for photos and 1080p or even 4K for videos. A better resolution is super helpful if you plan to crop your pictures later because it keeps things sharp even after you make big changes. The catch is that bigger files fill up your storage faster and run down your battery quicker, so it's important to find a good middle ground that works well. For really great detail like a professional, cameras like the WOSPORTS G600 Trail Camera give you awesome clarity without losing out on outdoor performance.

Fast Trigger Speed
Trigger speed determines the time taken for the camera to react once motion is detected. Nature does not wait for the perfect moment to shoot. For prompt subjects, a quick trigger speed should always be maintained (in the region of 0.2 to 0.5 seconds) in order to catch just the right moment. For slower animals, you may go for a slight relaxation, but a sharp response time will always supplement your chances.
Time-Lapse Mode
If you know animals show up in certain spots regularly – like at a watering hole, on their migration path, or near a feeding spot – time-lapse mode is super helpful. Instead of just waiting for movement to trigger the camera, it snaps photos every so often. This is great for research or watching stuff over a long time.
Night Photography
When taking pictures at night, an infrared flash usually works best. Low-glow IR gives off a little light, so you don't bother the animals too much. But if you're trying to photograph really skittish creatures, no-glow IR is totally invisible. Pick the right kind of flash to get bright pictures without scaring the animals away.

Time and Place of Stamping
Although it might not seem like much, enabling date, time, and GPS stamps gives your photos important context. You can follow seasonal migrations, habitat use, and animal behavior patterns by knowing the precise time and location of each photo. This information may be just as significant to wildlife researchers as the actual photograph.
SD Card Management
If you're taking lots of high-res photos or your camera is triggering often, you can fill them up fast. This means you might miss something cool! Using fast (Class 10) SD cards will help your camera save data quickly. Also, try to keep your files organized by date or location. It’ll make it easier to find stuff later when you're checking out animal behavior. Got a long project? Bring extra SD cards so you can swap them out without messing things up.
Bonus Tips for Getting the Most from Your Trail Camera
While mastering the basic settings is essential, there are a few extra strategies that can elevate your wildlife photography results even further.
Trail Camera Placement
Putting it a bit higher than where the animals look and tilting it down can stop the sun from shining right into the lens. This way, you won't get too much glare or super bright pictures. Try putting your camera where animals usually stop. This can really make your photos better. If you want more tips, check out our guide on where to put your trail camera!

Scent Control
Blending in and keeping your scent down really helps. Animals can smell or see a camera from far away. So, use a camo wrap to hide the device. Try to make it look like it's part of the plants around it. Even wearing gloves when you set it up keeps your human smell off it, so animals won't notice it as much.
Weather and Lighting Conditions
Weather and lighting can mess with your photos. If it's cloudy, try bumping up the exposure or ISO a bit to brighten up those dark spots. When it's super sunny, watch out for overblown highlights by tweaking your settings. Shooting in a spot with even lighting usually means you'll get better-looking, balanced photos.
Anti-theft Camera Setup
Keeping your trail cameras safe is something important to think about. If you're putting them in places where lots of people go, use a lock or cable to keep them from getting stolen or messed with. Also, putting the camera up high can help people not see it when they walk by.
How to Prevent Trail Camera Theft in the Wild>>
Regularly Check Your Camera
Also, remember to take care of your camera! Check it every few weeks to change the SD cards, put in fresh batteries, clean the lens, and update the software. Doing this keeps it in top shape and means you're less likely to miss something cool because of a tech problem.
Explore the full range of WOSPORTS trail cameras to find models designed for clarity, durability, and the demands of serious wildlife work.
Search
Popular Posts
Recent Posts

Nov 28, 2024
Troubleshooting Common Trail Camera Issues
Jan 10, 2025
Why Does My Trail Camera Stop Working at Night?


