7 Best Trail Camera Tips for Rainy Season
For hunters and wildlife enthusiasts, rainy season is a great time to capture unique animal activity. But moisture, fog, and storms can make things tricky for your equipment. If you want clear photos and long-lasting gear, you need to follow the right trail camera tips for rainy season.
Tip 1. Choose a Reliable Waterproof Trail Camera
Your gear is super important for keeping things dry. When you're getting a trail camera, make sure it's waterproof or at least weatherproof. Look for ratings like IP65 or IP66.
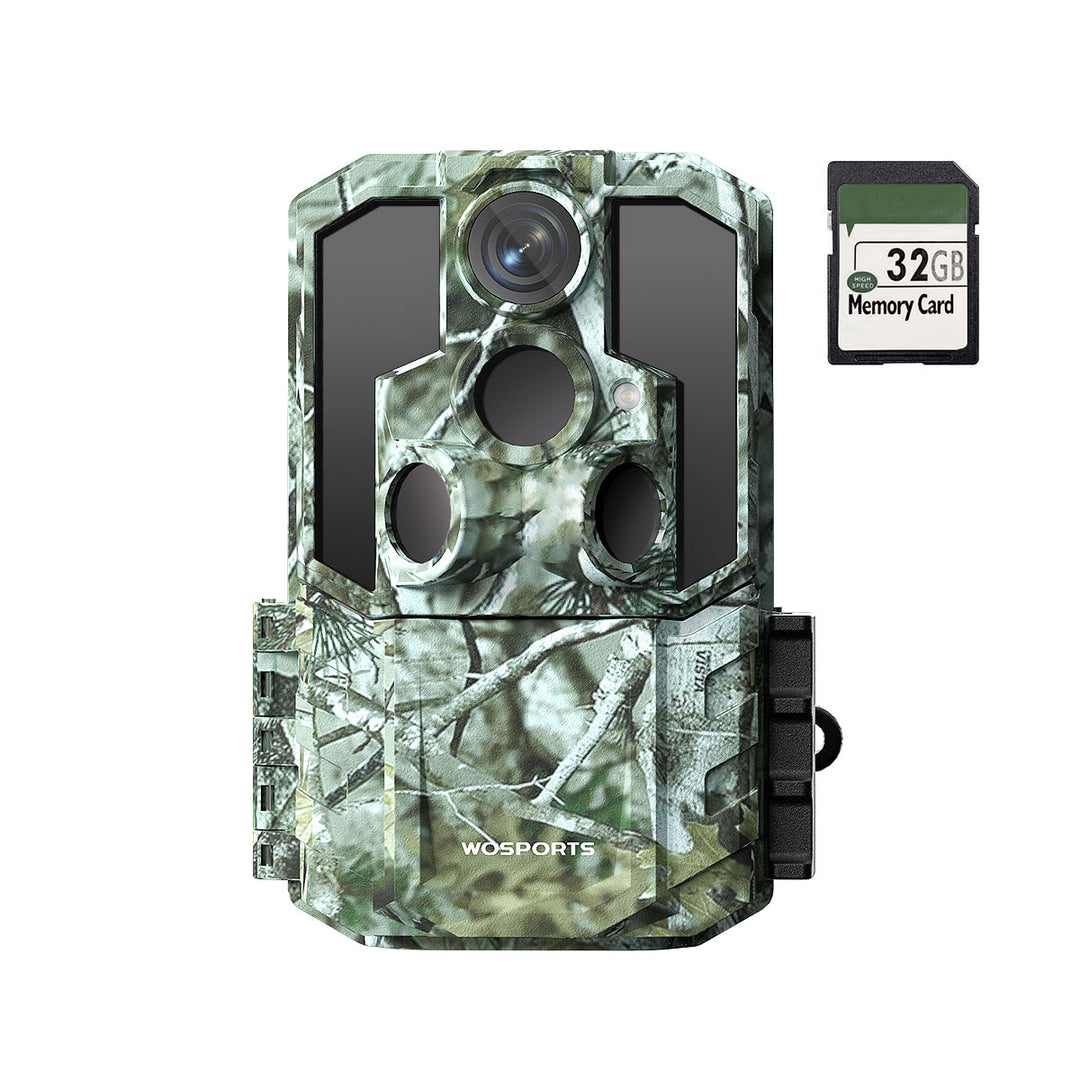
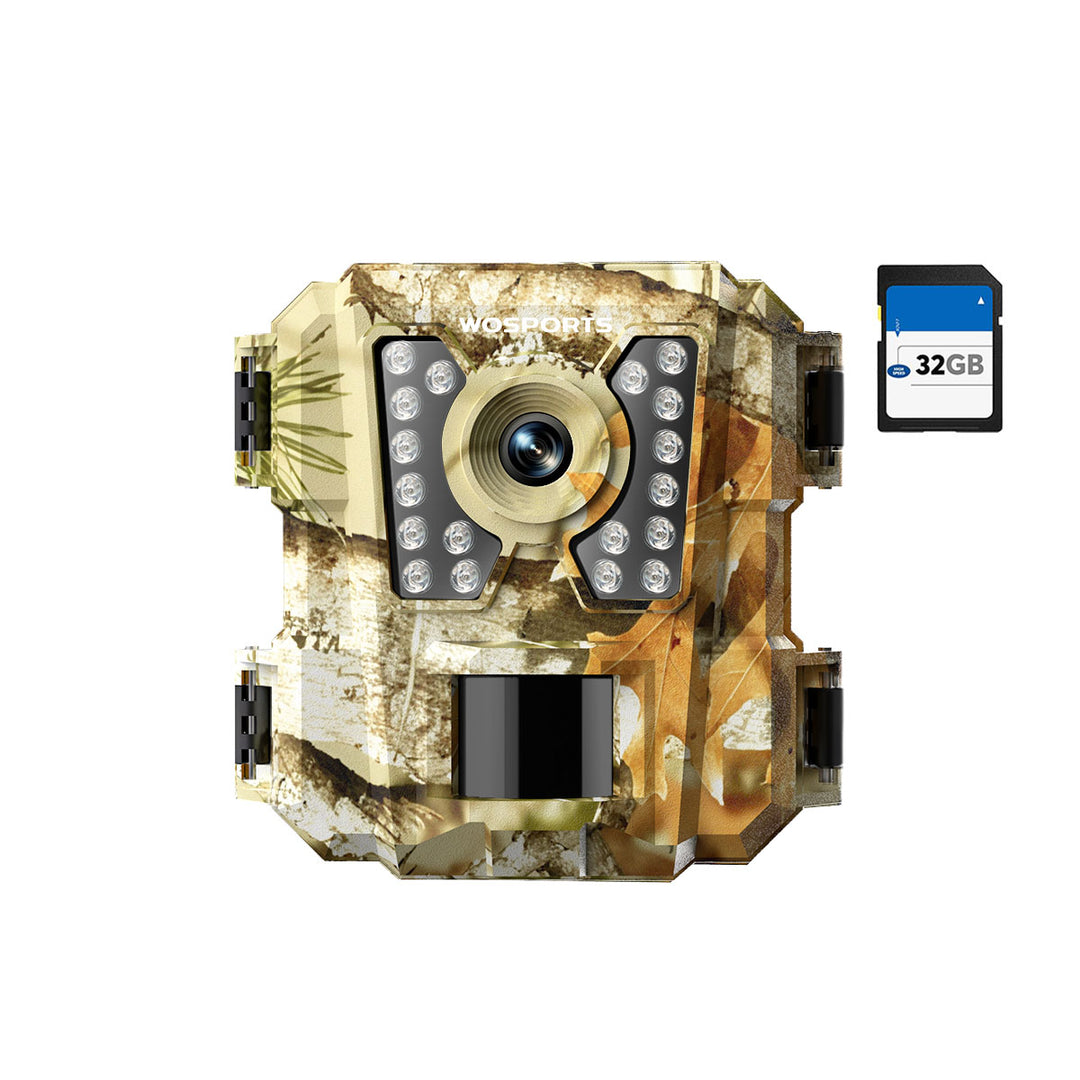
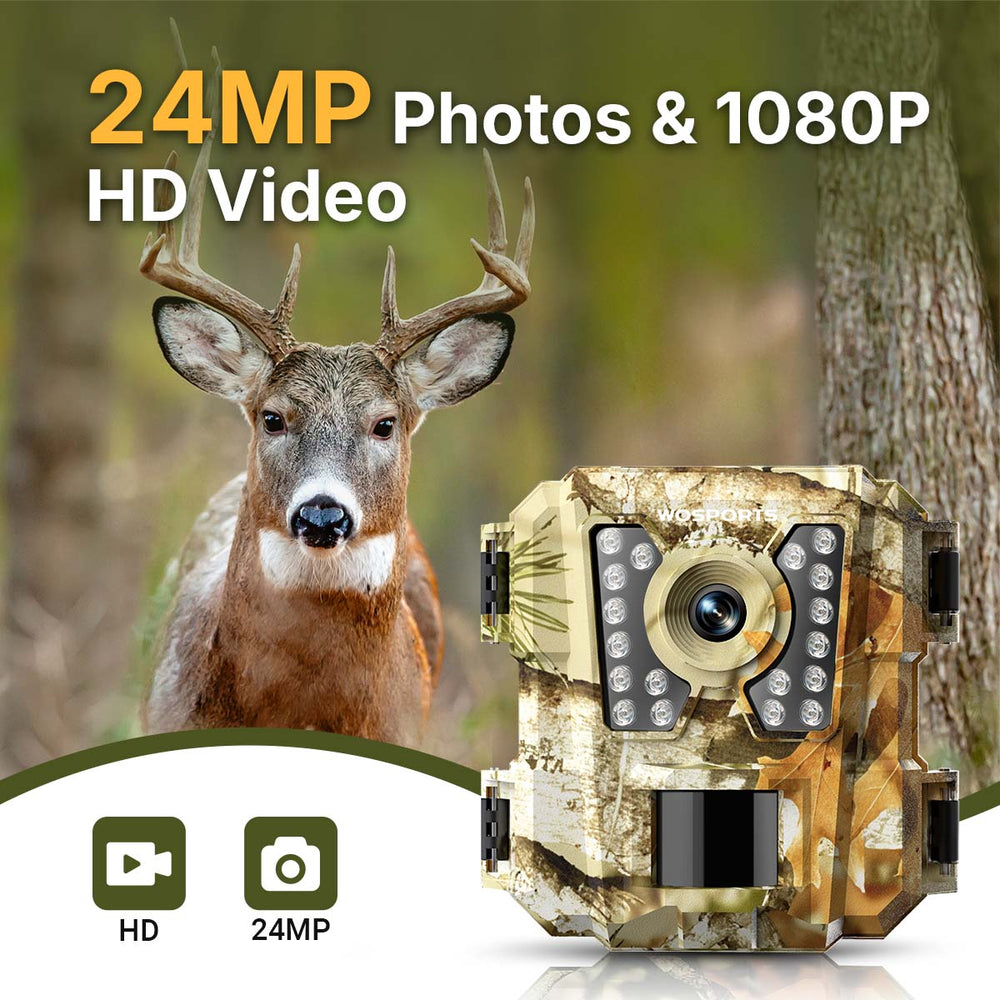
WOSPORTS has a bunch of cameras that can handle wet, muddy, and stormy weather. Here are a few:
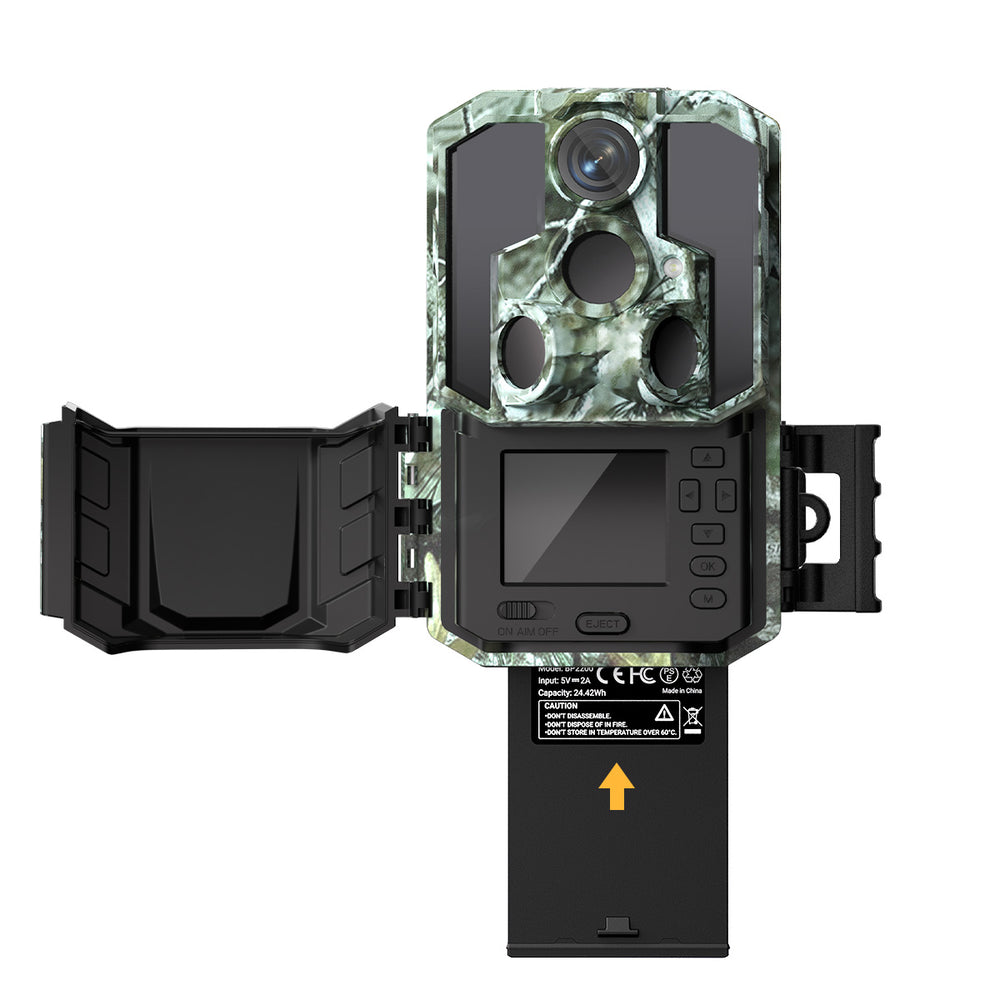
H29 Trail Camera: It's IP66 waterproof, spots stuff from wide angles, and takes clear pics in rain or fog.
G100 Trail Camera: This one works no matter what – rain, snow, or crazy temps.
G600 Trail Camera: It's got a battery that lasts and a strong build, so you can trust it in wet weather.
These cameras are all made to put up with rain, snow, and damp conditions. They're great if you use trail cameras a lot when it's raining or the weather's not so great.

Tip 2. Add Extra Layers of Protection
Even if your trail camera is waterproof, it's good to take extra steps. Here's how to make it last longer:
*Use a rain cover: This will keep water off the lens and sensor.
*Throw in silica gel packs: They soak up moisture and stop the case from fogging up.
*Look at the rubber seals: If they're cracked, get new ones.
*Put it under something for cover: Stick it under branches or rocks.
These little things will really help your camera survive the rain.
Tip 3: Smart Camera Placement in Rainy Season
Wet conditions greatly influence the performance of your trail camera and camera placement is the foremost factor. Take cue from these camera placement tips for the rainy season and you won't go wrong:
*Tilt the camera a little downwards: Rainwater will be directed away and will not collect.
*Stay away from low places and flood zones: Torrential rain might either submerge your camera or splash it.
*Position it on the side opposite to the wind: Wind-driven rain will be mainly hitting and will be causing more lens blur.
*Height of 3-4 feet from the ground: Less mud splattered and flooding by mistake.
The proper placement ensures that you get clear, stable, and bright images with no distortion from water or mist.

Tip 4. Power and Storage Management During Wet Weather
Moisture influences the operation of batteries and SD cards, therefore the maintenance of a good trail camera during the rainy season would involve protecting the power and data.
*Lithium batteries should be used: They are more resilient to humidity and temperature fluctuation than alkaline batteries.
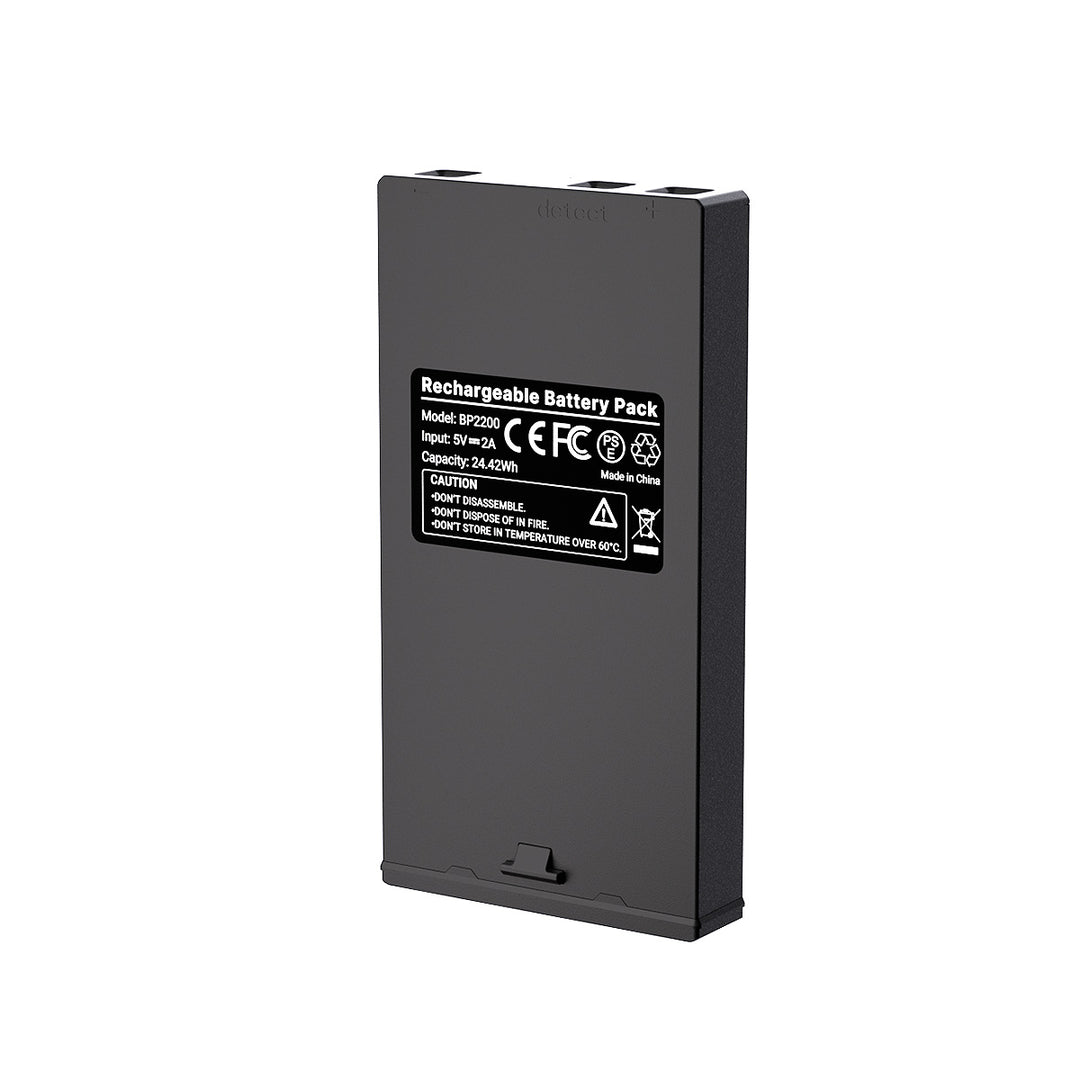
*Keep extra batteries in a dry place: Use sealed bags or waterproof containers for their storage.
*Do not open the housing when it is raining: Make sure that moisture does not gain access to the camera's core.
*Back up files regularly: More so after each heavy storm or scouting session.
By adopting these measures, you can be sure that your trail camera will continue to function well even during the long, wet nights.
How to Extend the Battery Life of Your Trail Camera>>
Tip 5. Prevent Lens Fogging and Condensation
Foggy lenses are super annoying in the rain. Even waterproof cameras get condensation when it's warmer inside than outside. This ruins pictures and night vision.
To fix it, prep your camera first. Use anti-fog spray or wipes to protect the lens. Stick silica gel packets inside to absorb moisture. Let the camera sit outside for a bit before sealing it, so it adjusts to the temperature and fogs less.
Don't take the camera from a warm house straight into the cold rain – it'll fog for sure. Waiting a bit before setup helps keep the lens clear, so you get good pictures even when it's wet.
Tip 6: Best Locations to Use Trail Cameras During Rainy Season
Where you put your trail cam matters, especially when it's wet. Rain messes with animal routines; they dodge mud and floods. Knowing this helps you find good spots that also keep your trail cam safe.
Trails with cover are great because animals like routes that shield them from rain. Trees and plants overhead help keep your cam dry, too. Food spots can also work. When the rain stops, animals often head to open areas to eat.
Water crossings are good when it's wet since animals often drink or look for food near streams between showers. Put your cam a bit higher up—3 or 4 feet—to dodge splashes and get clear shots.
If you can, try forest edges or high ground. These spots give you a view and keep the camera steady and dry while still being where animals go. Watch how rain changes animal habits, pick spots that mix view with cover, and you'll get the most from your cams when it rains.

Tip 7: Post-Rain Cleaning and Care
Proper post-rain maintenance is essential to keep your camera functioning well and to prevent long-term damage from moisture.
First, clean off any mud or water. A soft cloth is best. Then, open the camera in a dry place so any water inside can get out. Even if it looks dry, there might be water inside. Airing it out stops rust and mold. Check the parts to make sure they're tight and not broken. If they are, replace them. You can put a coating on the metal parts to help them last longer. When it's clean and dry, keep the camera in a cool, dry spot. Doing this keeps your camera ready to go, rain or shine.
Search
Popular Posts
Recent Posts

Nov 28, 2024
Troubleshooting Common Trail Camera Issues
Jan 10, 2025
Why Does My Trail Camera Stop Working at Night?


