Essential Trail Camera Strategies for Wildlife Observation and Hunting
Part 1: Choose the Right Trail Camera
1.1 Compare Different Types of Trail Cameras
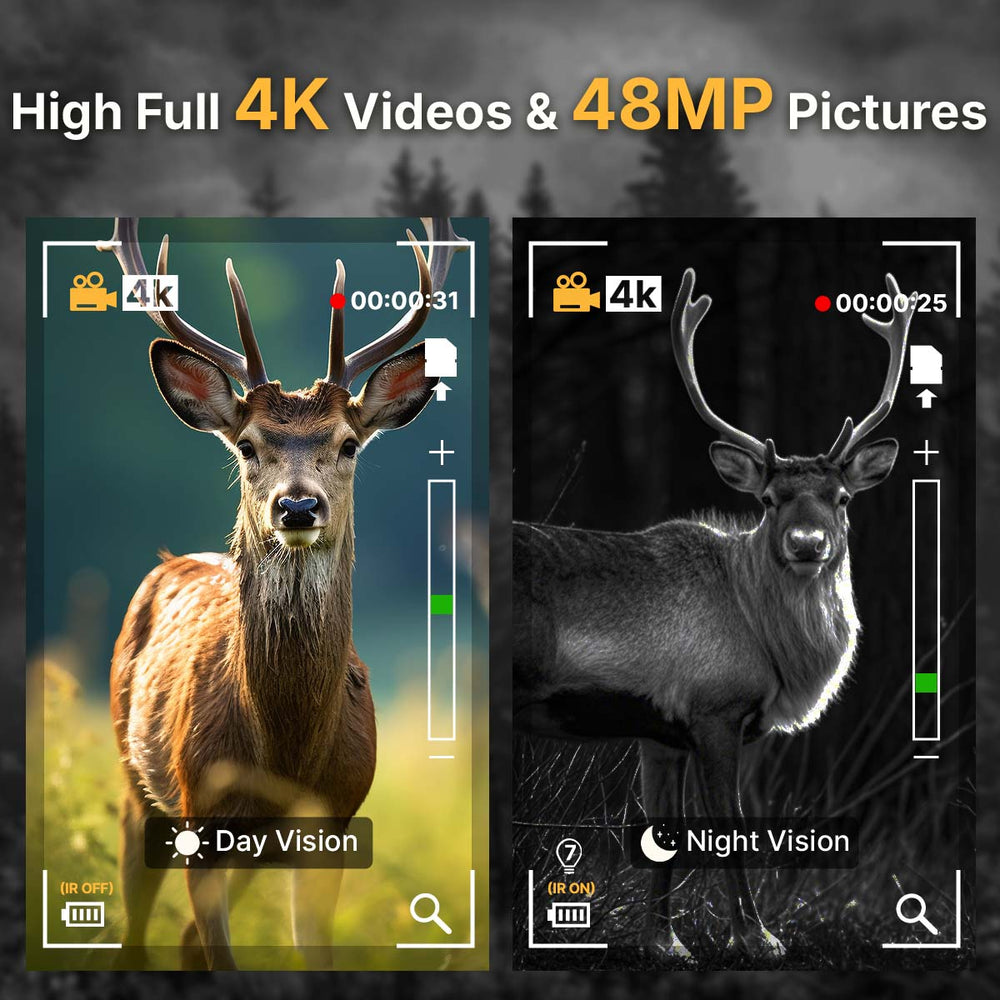
- Infrared Cameras vs. Flash Cameras: Infrared trail cameras are ideal for nighttime use as they capture images without startling animals, while flash cameras produce clearer, high-resolution photos but may scare wildlife away.
- Low-Light Performance: This feature is crucial for capturing clear images during dawn, dusk, or nighttime when animal activity is often highest.
1.2 Match the Camera to Your Needs
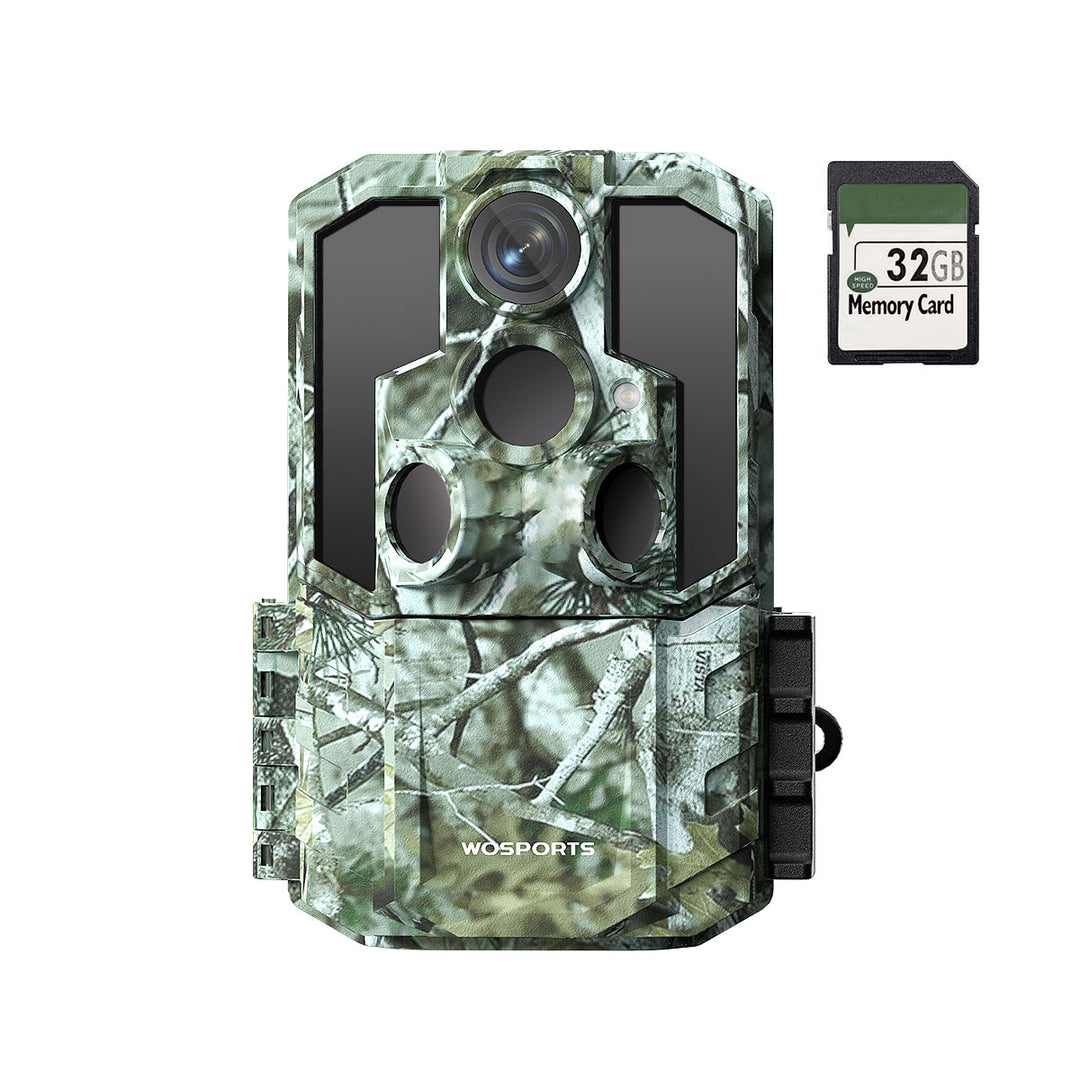
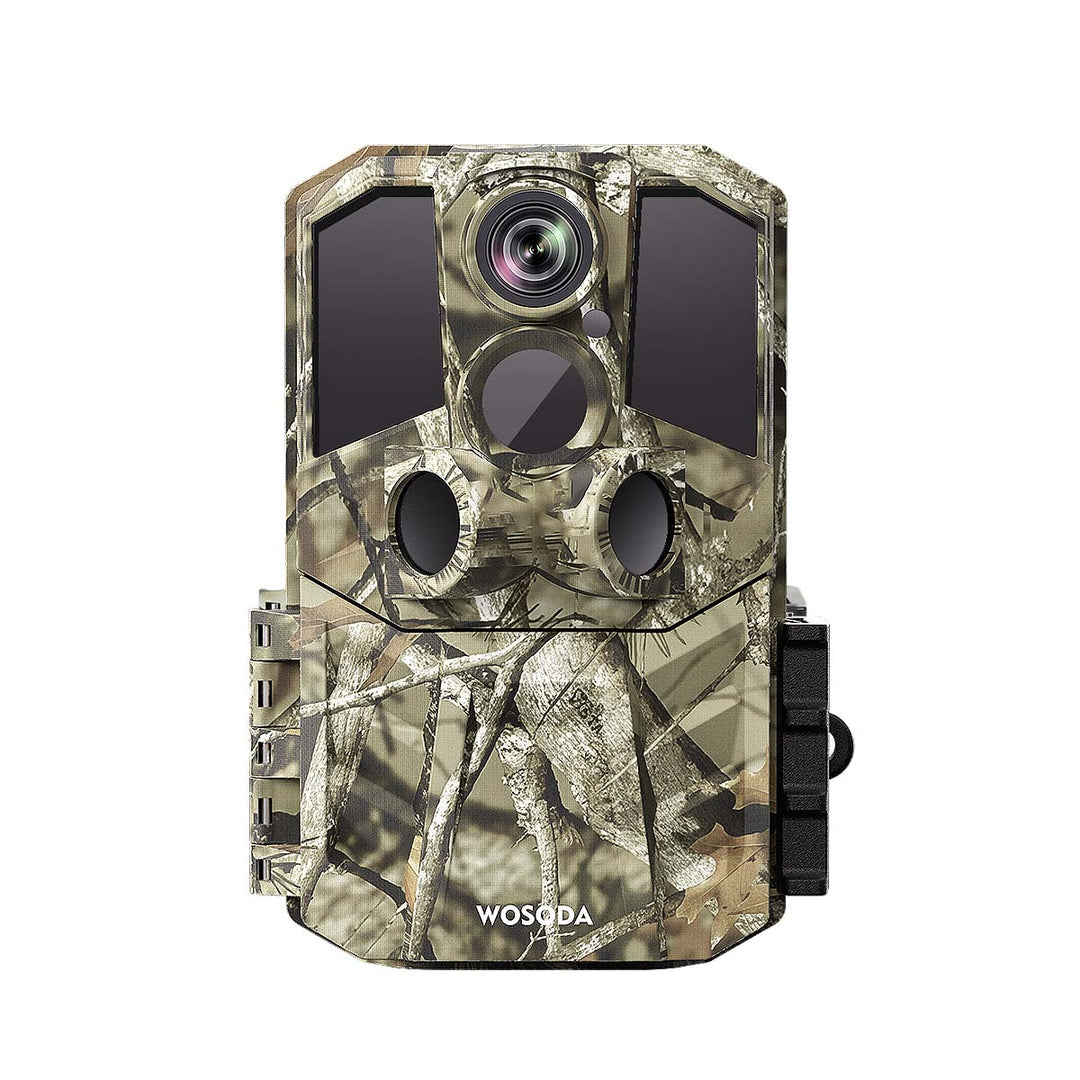
Wildlife Monitoring: Look for features such as motion detection, time-lapse modes, and camouflage design to blend seamlessly with natural surroundings.

Security Surveillance: Opt for models with wide-angle lenses, durable construction, and high-resolution video capabilities to monitor property effectively.
1.3 Additional Features to Consider
- Wireless Connectivity: Enables remote access to images and videos.
- Weather Resistance: Ensures functionality in harsh conditions.
- Battery Life: Look for cameras with extended battery life or solar-powered options for longer deployments.

Part 2: Optimal Installation Strategies
2.1 Select the Best Locations
- Identify high-traffic animal paths, water sources, or feeding areas. Observe animal tracks, droppings, or worn trails as indicators.
- Avoid placing cameras directly facing the rising or setting sun to reduce glare and overexposure in photos.
2.2 Adjust Height and Angles
- Mount cameras at chest height (approximately 4-5 feet) to capture a broad field of view and avoid excessive ground clutter.
- Tilt the camera slightly downward for better framing of smaller animals or ground-level activity.
2.3 Minimize Detection
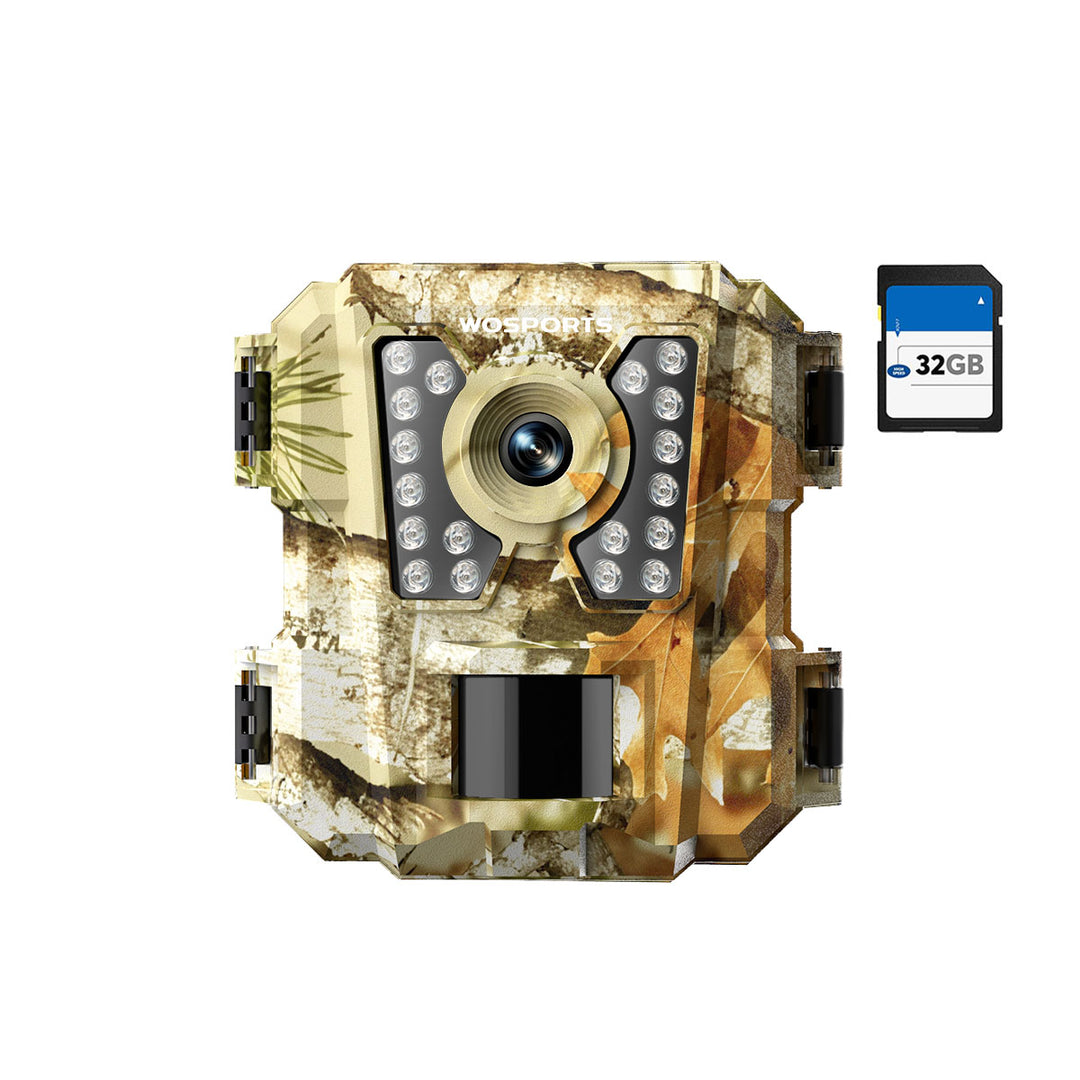
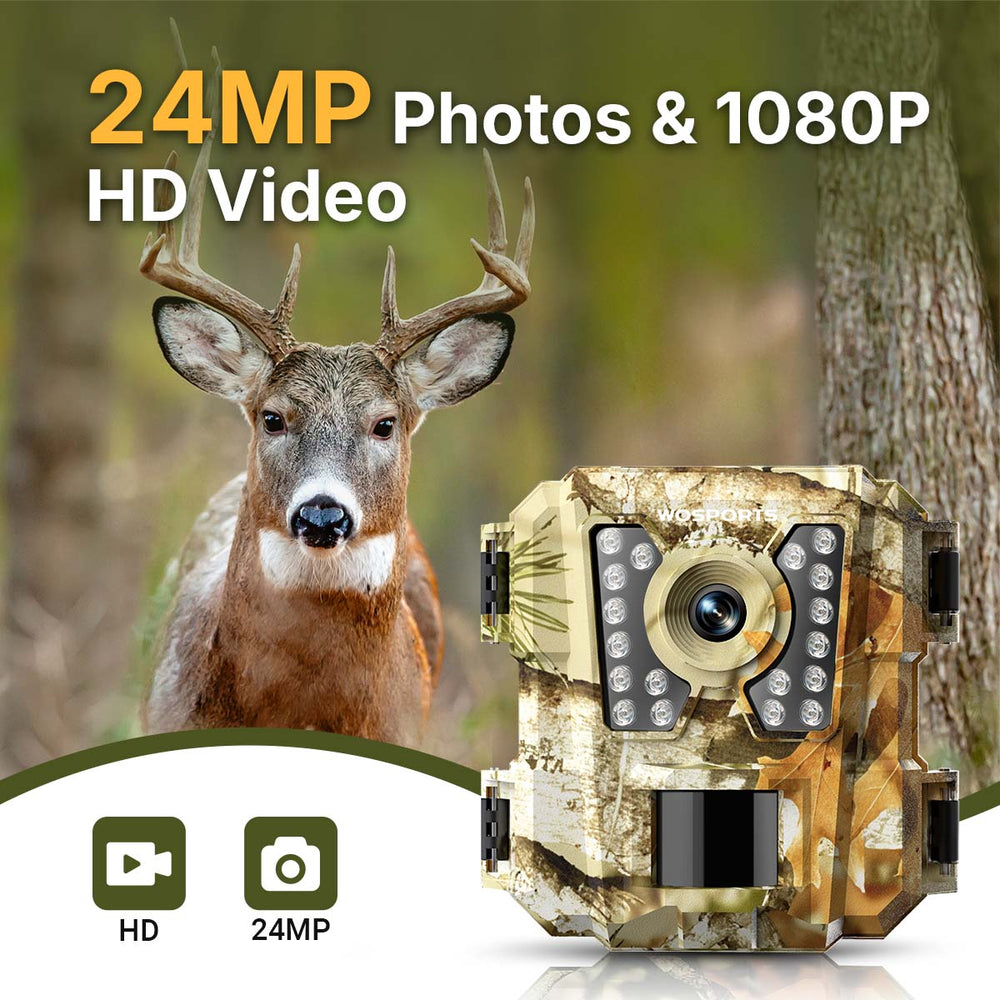
- Use natural camouflage or commercial wraps to blend the deer camera with its surroundings.
- Apply scent control measures, such as wearing gloves during installation, to avoid leaving human odors that may deter animals.
Part 3: Fine-Tuning Camera Settings
3.1 Adjust Key Parameters
- Sensitivity: Adjust based on environmental conditions. High sensitivity is ideal for small or fast-moving animals, while lower sensitivity reduces false triggers from wind or foliage.
- Trigger Speed: A faster trigger speed ensures the camera captures images as soon as motion is detected, essential for fleeting wildlife.
- Interval Timing: Set appropriate intervals between shots to balance data collection with storage capacity.

3.2 Leverage Time-Lapse Features
Use time-lapse photography to capture broader patterns, such as daily animal activity or changes in habitat over time. This is especially useful for monitoring open fields or large clearings.
3.3 Maximize Battery and Storage Efficiency
- Invest in long-lasting lithium batteries or solar chargers to extend deployment times.
- Use high-capacity SD cards and enable overwrite settings to prevent data loss during long-term monitoring.
Part 4: Maintenance and Data Analysis
4.1 Routine Camera Maintenance
- Clean lenses regularly to prevent dirt, dust, or water spots from obscuring images.
- Check for weatherproof seals and structural integrity to ensure the camera remains operational in adverse conditions.
- Replace or recharge batteries and swap out full SD cards during routine inspections.
4.2 Analyze Captured Data
- Use specialized software to organize and analyze photos, identifying patterns in animal movements, peak activity times, and habitat preferences.
- Tag and categorize images by species to build a comprehensive database for future reference.
- Share findings with local wildlife groups or research organizations to contribute to broader conservation efforts.

Part 5: Advanced Trail Camera Strategies
5.1 Use Multiple Cameras
- Deploy multiple cameras across different locations to monitor larger areas effectively.
- Position cameras at varying angles and distances to gain diverse perspectives of the same area.
- Synchronize data from all cameras to track animal movements across regions.
5.2 Seasonal Adjustments
- Adjust wildlife camera placements according to seasonal changes in animal behavior. For instance, during mating seasons, focus on breeding grounds; in winter, target food or shelter sources.
- Monitor migration patterns by setting cameras along known routes or natural corridors.
5.3 Advanced Monitoring Techniques
- Baiting: Use scent lures or food bait to attract specific species, but ensure compliance with local regulations.
- Video Recording: Switch to video mode for detailed behavioral studies, such as social interactions or hunting techniques.
Part 6: FAQs
Q1: How high should I mount my outdoor trail camera?
Mount it at chest height (approximately 4-5 feet) for best results.
Q2: What is the best way to prevent false triggers?
Avoid placing cameras near moving foliage, and adjust the sensitivity settings to match the environment.
Search
Popular Posts
Recent Posts

Nov 28, 2024
Troubleshooting Common Trail Camera Issues
Jan 10, 2025
Why Does My Trail Camera Stop Working at Night?


