How to Angle a Trail Camera: Capture the Perfect Field of View
The angle of trail camera determines what your lens “sees,” how quickly the sensor triggers, and how much detail appears in every frame. Learning how to angle your trail camera properly helps you make the most of your equipment, maximize motion detection, and reduce missed opportunities.
What is Field of View and Detection Zone
Before you mess with the camera angle, it's good to know what it can actually see.
Each trail camera has two main areas:
Field of View (FOV): What the lens can see.
Detection Zone: How far the motion sensor can detect movement.
If your camera's pointed too high, you'll get a lot of sky and miss what's happening on the ground. Too low, and you'll just film dirt, cutting off the animals. You want the lens and sensor lined up so the detection zone covers the area you're watching – like a food spot or animal trail.
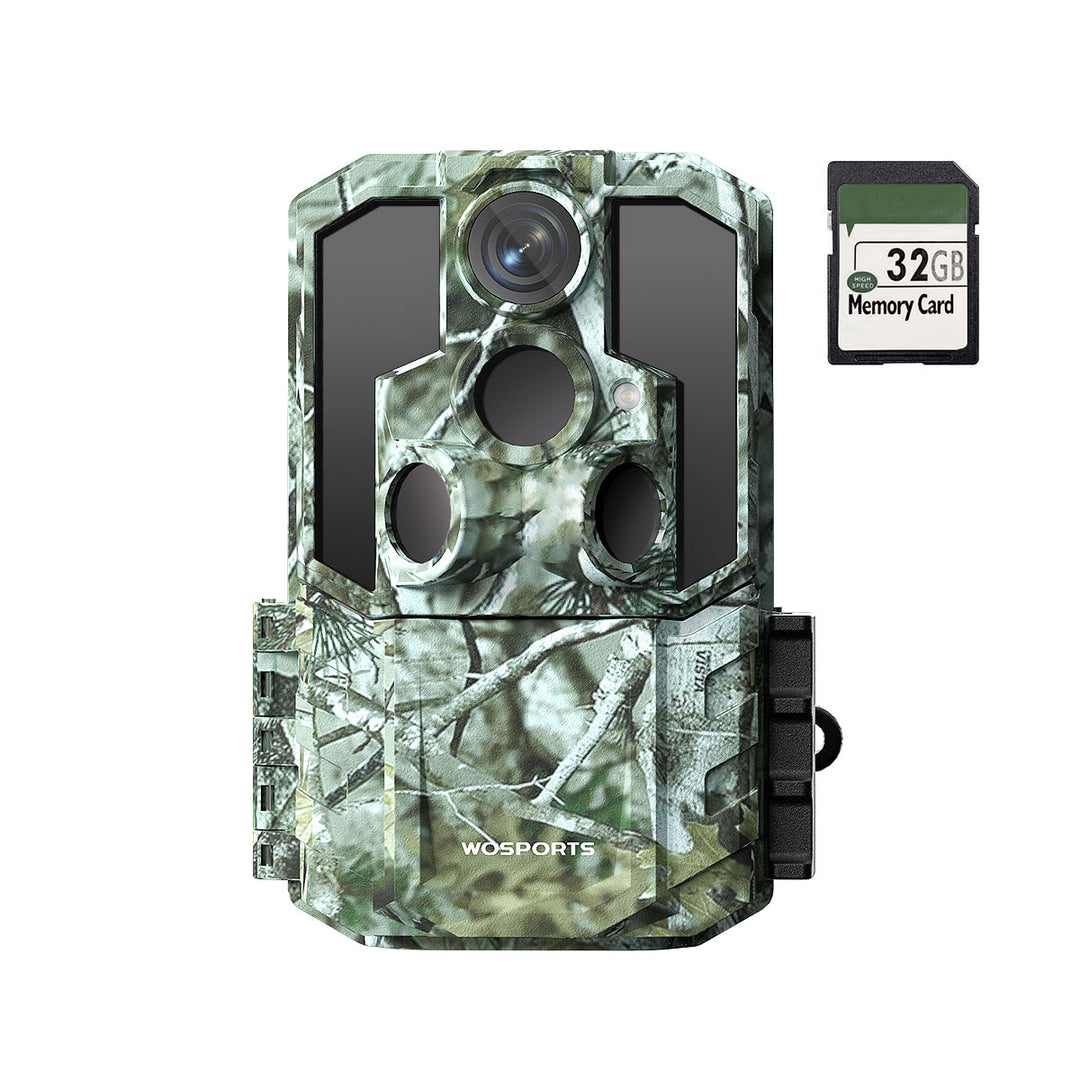
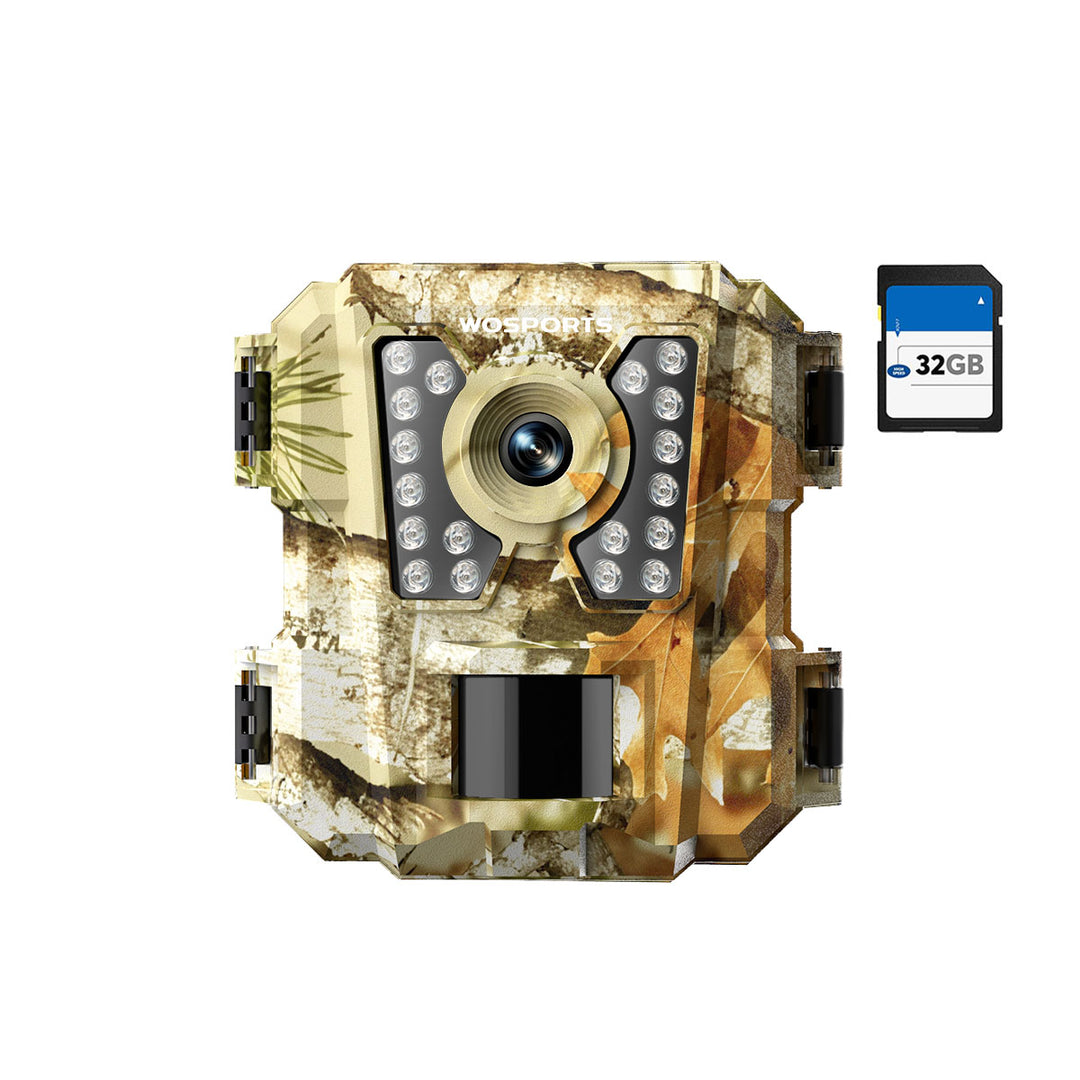
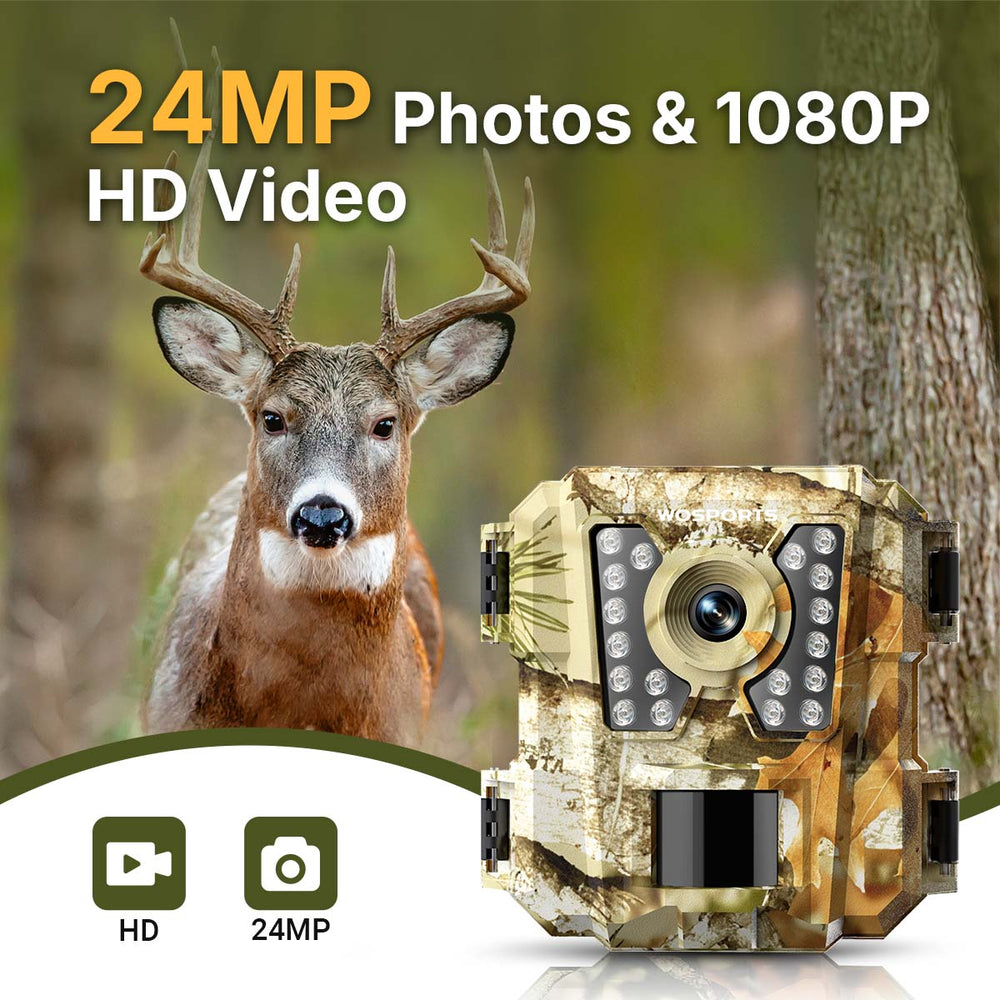
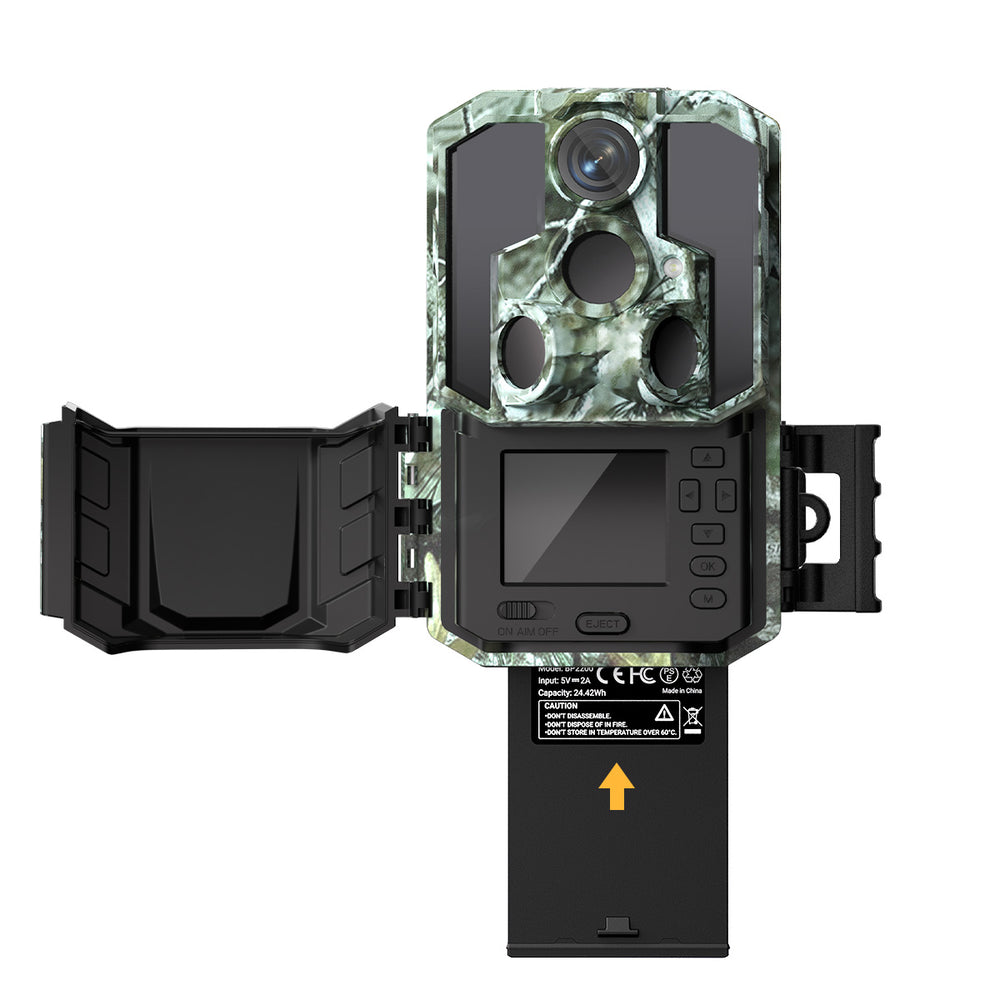
Good cameras, like the WOSPORTS H29, G100, and G600, have a wide view and adjustable settings, which gives you more options when setting them up. But even with good equipment, getting the angle right is still key.
Try to Find the Best Camera Angle for Different landscapes
The angle of your camera should fit the scene. There's no perfect setting, but here are some ideas that work for different terrains.
Flat ground: Keep the camera straight or tilt it down a bit (around 5–10 degrees). This makes sure you see everything in front without wasting space on the sky.
Sloped ground: If the ground goes down, angle the camera down more so that when something moves lower down, it still gets picked up.
Uphill spot: If you're setting up below a hill, point the camera up a little. That way, you'll see animals coming down the hill for longer.
A quick test shot can help you find the right angle. Lots of pros use a simple level or a phone app to check the tilt. These little things can really matter when you're looking at the footage later.
Adjust Trail Camera Angles for Target Animals
Animals follow different paths and therefore the height of your camera angle should correspond with the altitude of your subject.
Deer or Larger Game: Fix your camera about 3 feet high and slightly pointed down. This will keep the whole body in the picture.
Turkeys or Smaller Wildlife: Place your camera lower (around 2 feet) and point it more sharply downward to keep up with their movement zone.
Mixed Activity Areas: If you can't tell what is going through, go for a moderate angle — slightly down but covering both ground and mid-height levels.
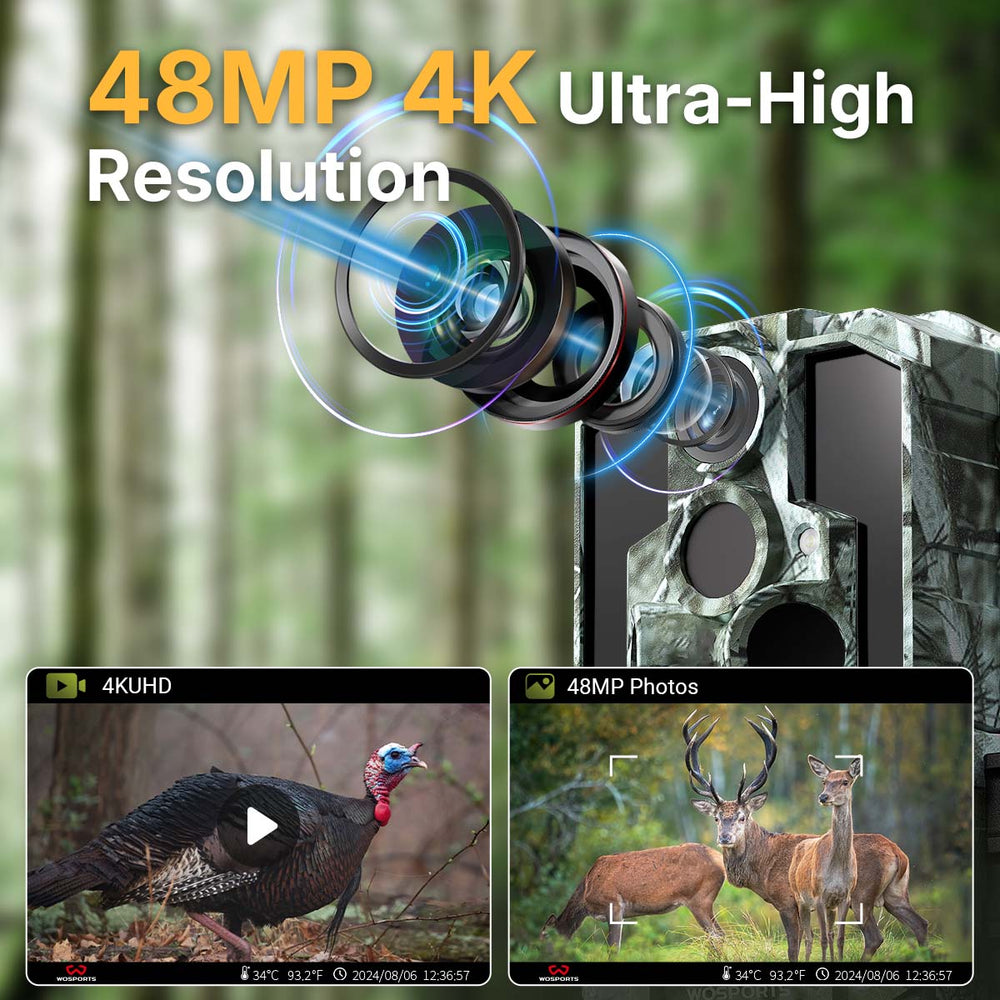
For instance, when scouting turkeys with the WOSPORTS G300 camera, its extensive 120° detection range permits a more gentle downward angle while still capturing action at ground level. At the same time, the WOSPORTS wildlife camera’s quick trigger speed makes it impossible for anything to slip by, even if the animals are moving fast through the detection zone.

IMPORTANT: Balance Angle with Light and Shadows
Angles and where you're pointing go together. How you angle your camera changes the light and shadows in your shot. Tilting down a bit not only makes the shot look better, but it also helps cut down on glare from the sky.
If you’re facing north (which is great), the light stays pretty much the same all day. But if you angle up too much, sunrise or sunset light might cause lens flares when it shines through trees. On the flip side, angling too far down can make your subject's face look dark.
Try a slight downward tilt, so the background looks normal and the lighting is even.
Trail Camera Deployment Guide>>
Practical Example: Setting Up for an Open Field vs. Forest Trail
Let’s say you’re setting up in an open field. The landscape is bright, flat, and expansive. You’ll want a mild downward tilt — about 5 degrees — to focus on ground movement while keeping the horizon visible.
Now, in a forest trail setup, the environment changes. The light is dimmer, shadows shift throughout the day, and animals often appear close to the lens. Here, angle your camera slightly more downward (around 10 degrees) and clear low branches or tall grass that might block the view.
Search
Popular Posts
Recent Posts

Nov 28, 2024
Troubleshooting Common Trail Camera Issues
Jan 10, 2025
Why Does My Trail Camera Stop Working at Night?


