What is The Best Direction to Face a Trail Camera?
Many first-time trail camera users think placement is all about height and location — but the direction your camera faces can make or break your footage. Learning how to face your trail camera correctly is one of the simplest ways to get professional-quality results.
Why Facing North Often Works Best
Here’s a tip I learned talking to some serious hunters and wildlife photographers: try to point that thing north if you can. Seriously, it makes a difference.
Want to know what the big deal is? First, you get way better light throughout the day. See, when your camera faces north, the sun isn't shining directly into the lens. That means your pictures and videos will have pretty even lighting from morning to evening. No more super bright mornings and dark afternoons, or vice versa.

Another thing, you will have way fewer of those false alarms. You know, when a shadow or a sunbeam triggers the camera for no reason? Facing north cuts way down on those because you’re avoiding that direct sunlight messing with the motion sensor. Trust me, you will spend less time sifting through empty photos of blowing leaves.
And the images look better, too! The light is softer and more natural, so animals don't end up all washed out or with weird shadows all over their faces. You get a clearer look at them.
Now, this trick works best if you're up north somewhere. Down south, or in really thick forests, you might have to tweak it a bit. Maybe go a little northeast or northwest instead. But just make sure you're not aiming straight at the sunrise or sunset, or you'll have the same glare problem. Keep the sun out of the camera's face the best you can, and you will be golden.
When to Face South, East, or West
No doubt, there is no one direction that would be suitable for every case. The best orientation vary according to the landscape type, the animals you are tracking, and the season even.
In the case of South, the orientation is very pleasant in the dark, but the light filtering in, forests. In winter, this orientation may even help to capture more hours of daylight for clearer photographs.

East is the direction that gives warm, very early morning light — for instance, catching birds feeding at sunrise.
For the active late afternoon or golden hour areas, the West may be a suitable face.
The key is to know your subject’s habits and the lighting conditions in your area. If you are not sure, try with a north-facing setup, run it for a few days and then change according to your findings.
How to Avoid False Triggers from Wind and Shadows
False triggers — when your trail camera takes photos of “nothing” — often happen when it faces open areas with shifting light or moving vegetation. Sunlight flickering through leaves or tall grass swaying in the wind can easily fool motion sensors.
Here's how to cut down on those pointless shots:
Don't point your cam at flimsy trees or tall grass that's always moving.
Try to have a steady background – like a hill, tree, or some thick bushes. This helps keep things stable in the picture.
Cut away any branches or plants right in front of the camera's sensor.
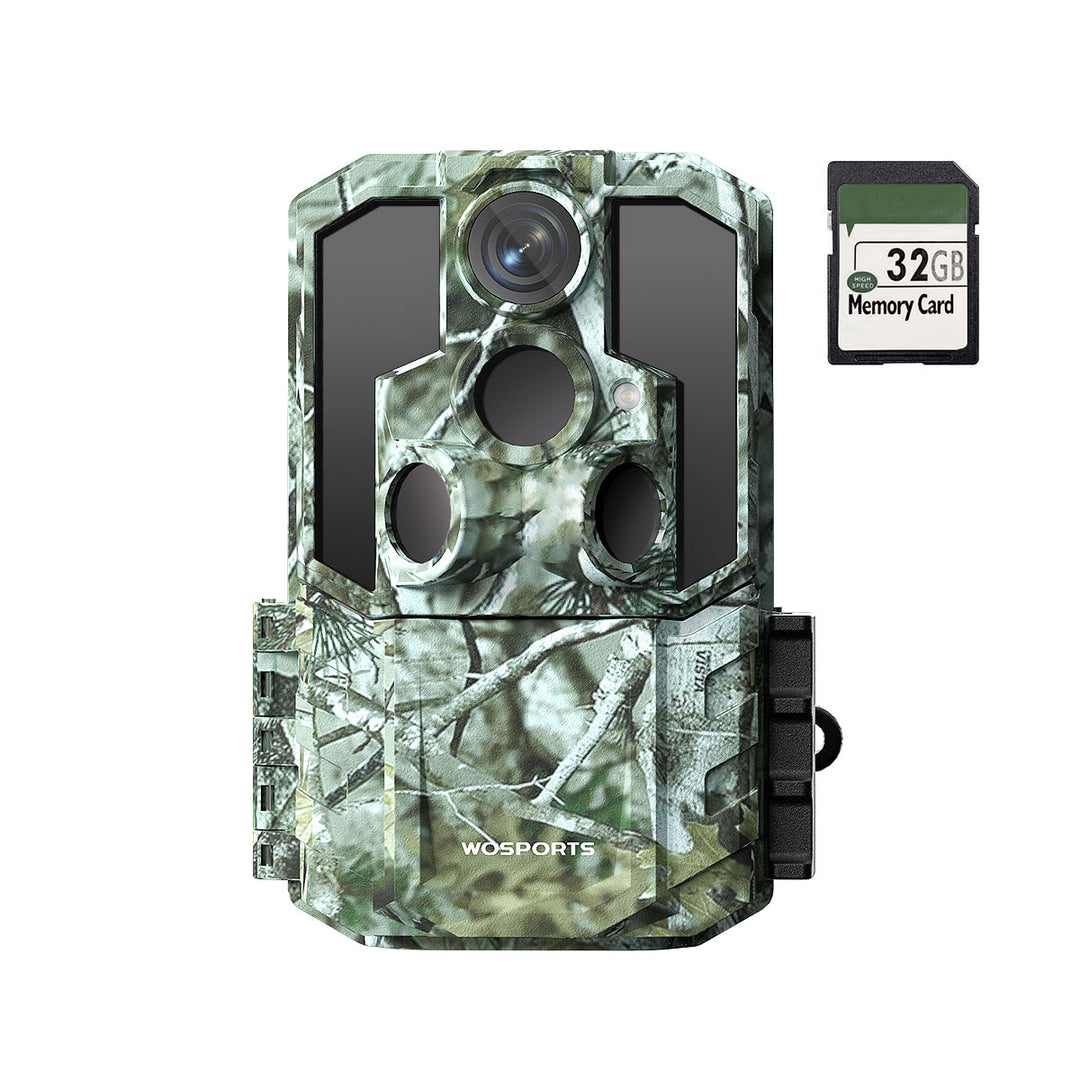
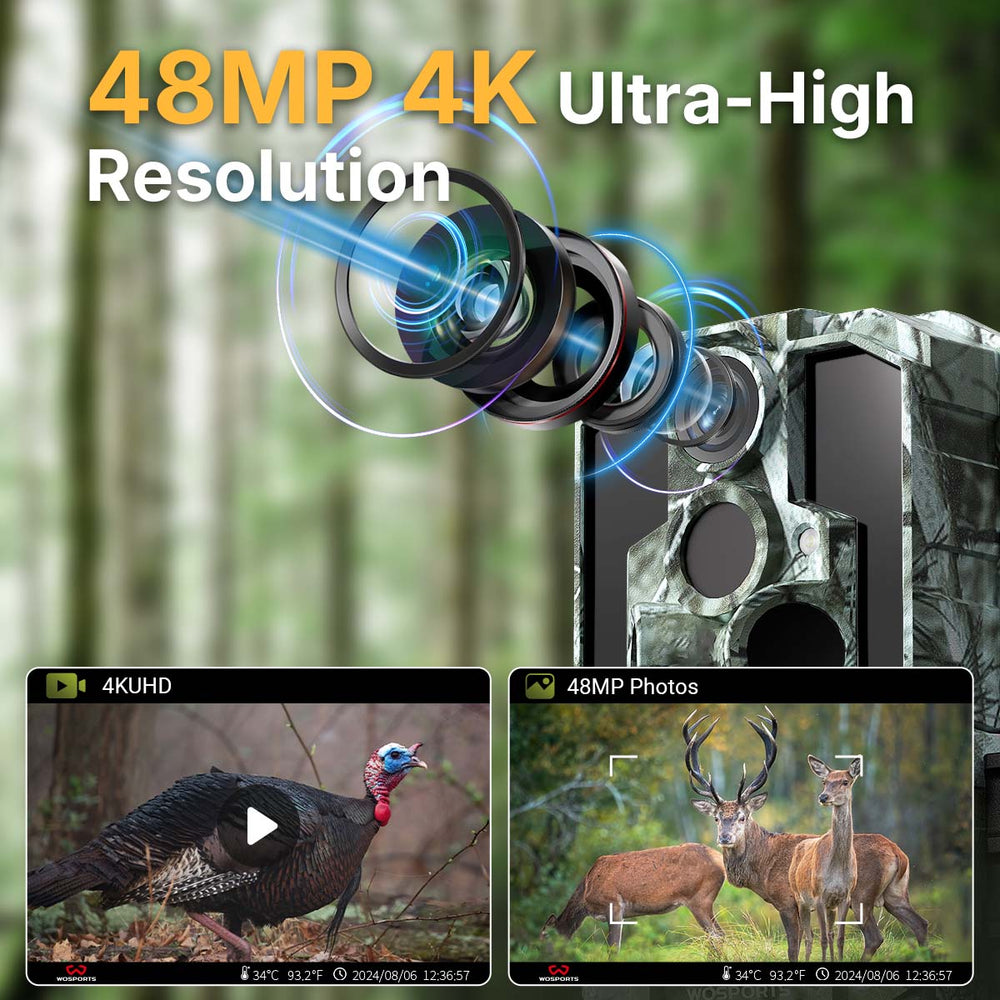
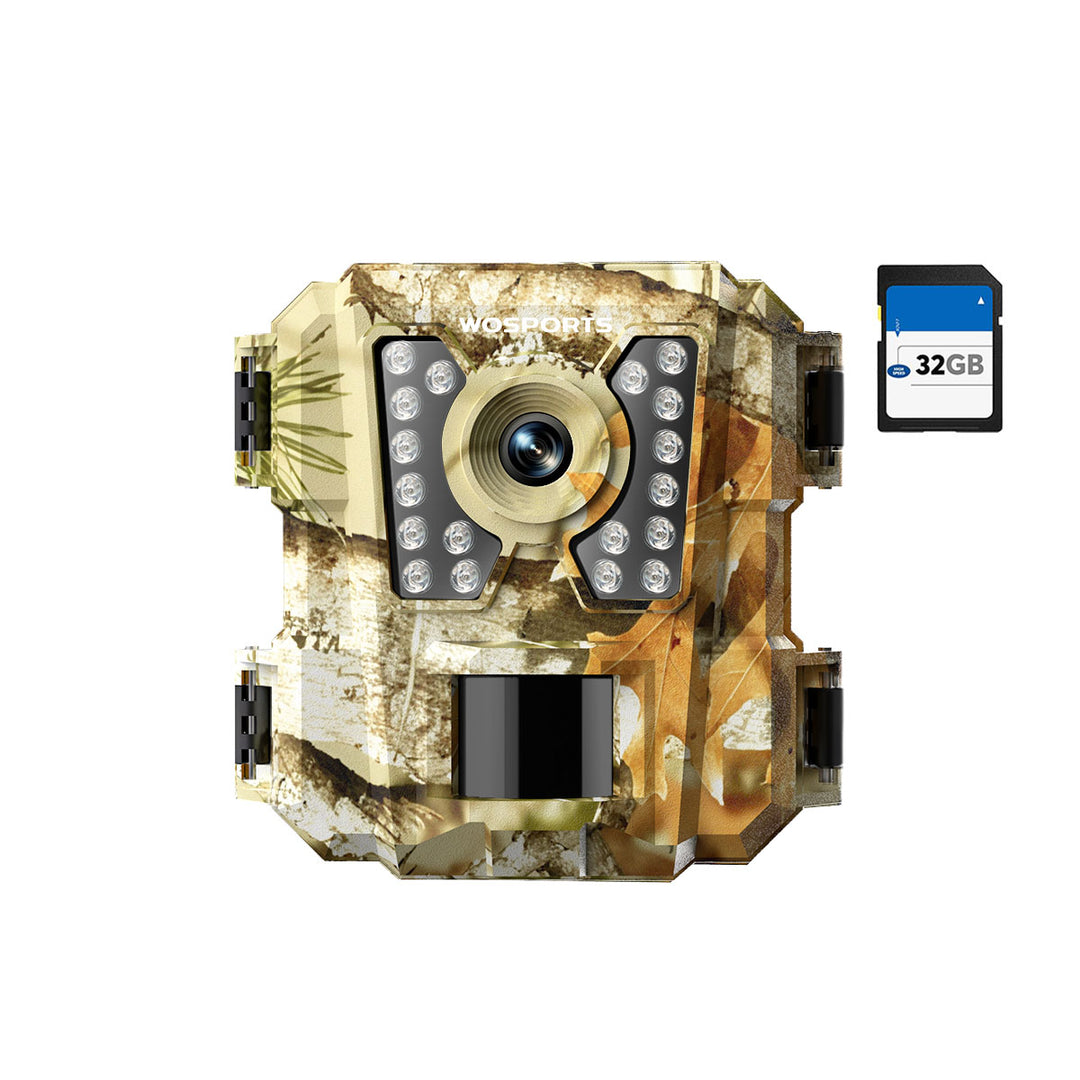
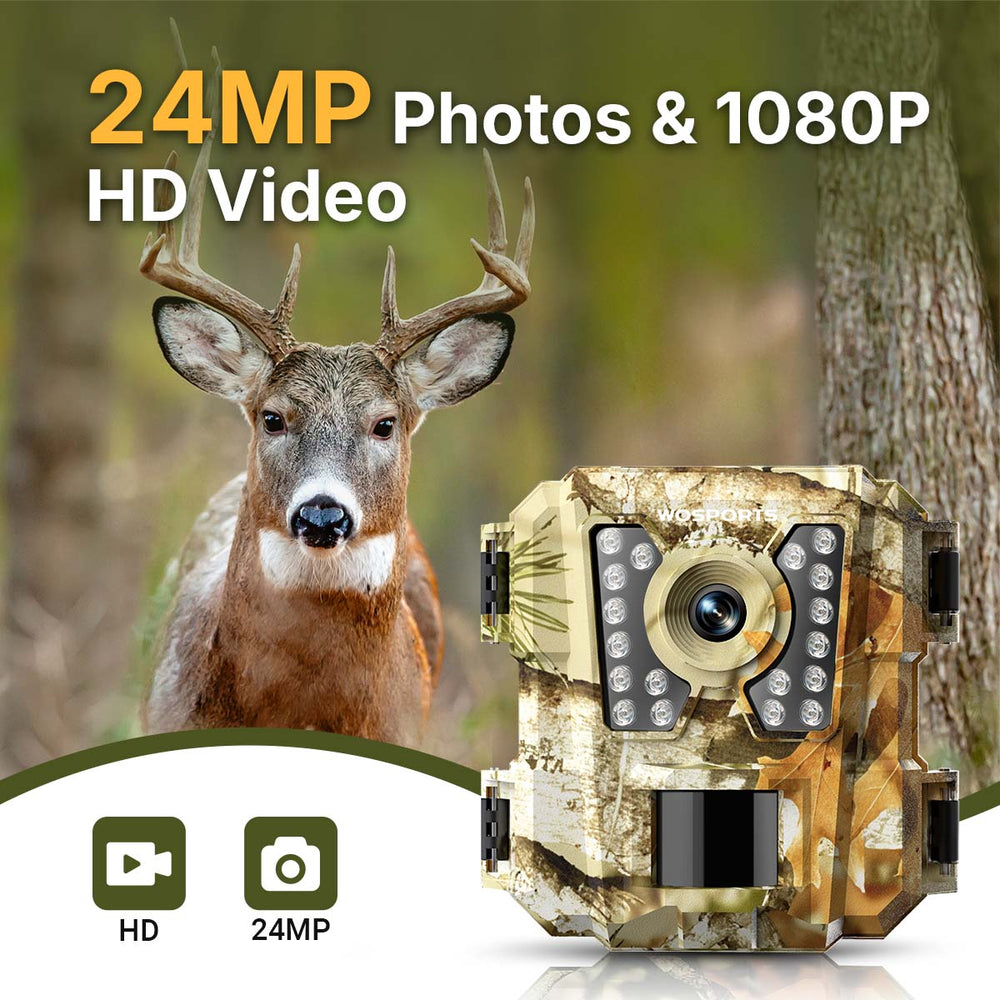
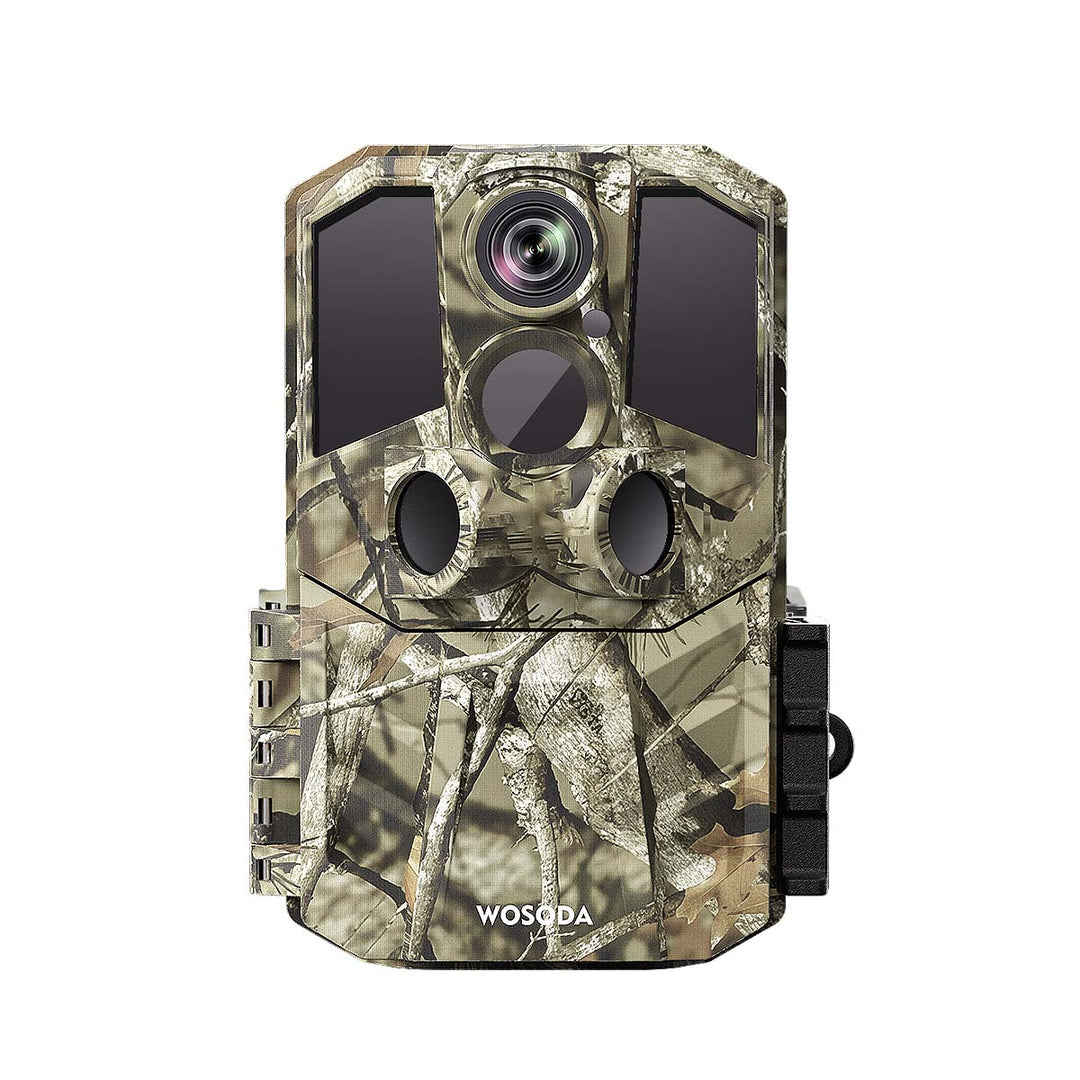
Newer trail cams, like the WOSPORTS G600, have fast trigger speed and high-resolution camera, but where you put the camera still matters a lot. The less junk moving around in view, the better it'll be at spotting what you want it to see.

Adjust Your Trail Camera Locations for Different Habitats
Different environments need different directional strategies.
In Woodlands: The trees give the sun a hard time, so positioning the camera north or a bit to the east will let you photograph the activity in the morning but will not.
In Meadows: West-facing setups are to be avoided unless you are scouting at dusk. Going for south or southeast shooting direction is better for light and shadow balance.
On Wildlife Trails: Make an easy decision to go with a camera placement that is at a right angle to the trail instead of face-on with it. This capturing is more naturals as bystanders move and the sensor is less likely to go off with head-on motion.
Every habitat alters the performance of sunlight over your camera. It is worth it to take a few extra minutes to monitor the light at your spot for a noticeable difference in capturing quality.
Common Mistakes When Positioning a Ourdoor Trail Camera
Place the camera too close to reflective surfaces like water or metal.
Mount it on a tree that sways in the wind.
Forget to test during the actual time of day when animals are active.
Ignore shadows — especially when branches or leaves move with changing light.
Remember to Test Before You Leave the Spot
After setting up your trail camera and picking your shot, snap some test pics before you walk off. Watch how the light looks on the lens at various times and how clear the background is.
Here's a great tip: stand where your subject will be and walk across the shot to see how your movement sets off the sensor. If it looks too bright or the background steals focus, tweak the camera a bit.
Taking 10 extra minutes to do these tests can save you from wasting days of film. Keep in mind, every place is different. Even a small camera move can totally change the lighting.
Search
Popular Posts
Recent Posts

Nov 28, 2024
Troubleshooting Common Trail Camera Issues
Jan 10, 2025
Why Does My Trail Camera Stop Working at Night?


