Why Does My Trail Camera Take Empty Photos?
Empty trail camera photos are one of the most common frustrations for users, especially when setting up in outdoor environments where movement and light constantly change. Fortunately, most of these “false triggers” have simple explanations—and even simpler solutions.
What Causes Empty Trail Camera Photos?
Wildlife trail cameras snap pictures when they sense movement combined with heat changes. If it detects something warm or moving, it takes a picture. But not every trigger means there's an animal.
Common causes:
- Wind moving plants (grass, branches, leaves)
- Sunlight changing or reflecting off water or metal
- Temperature going up and down between day and night
- Bugs or raindrops close to the sensor
- Where you put the camera (too low, facing moving things, or shaky)
Basically, your camera isn’t broken; it’s just super sensitive.

Motion Sensitivity Too High: The Main Source of False Triggers
If sensitivity is set too high, even tiny changes in light or movement can trigger a shot.
Try these quick adjustments:
- Lower the motion sensitivity level from “High” to “Medium.”
- Avoid aiming the camera directly at tall grass, tree limbs, or shrubs that sway with the wind.
- Test different sensitivity settings for a few days to find the balance between “missed shots” and “false triggers.”
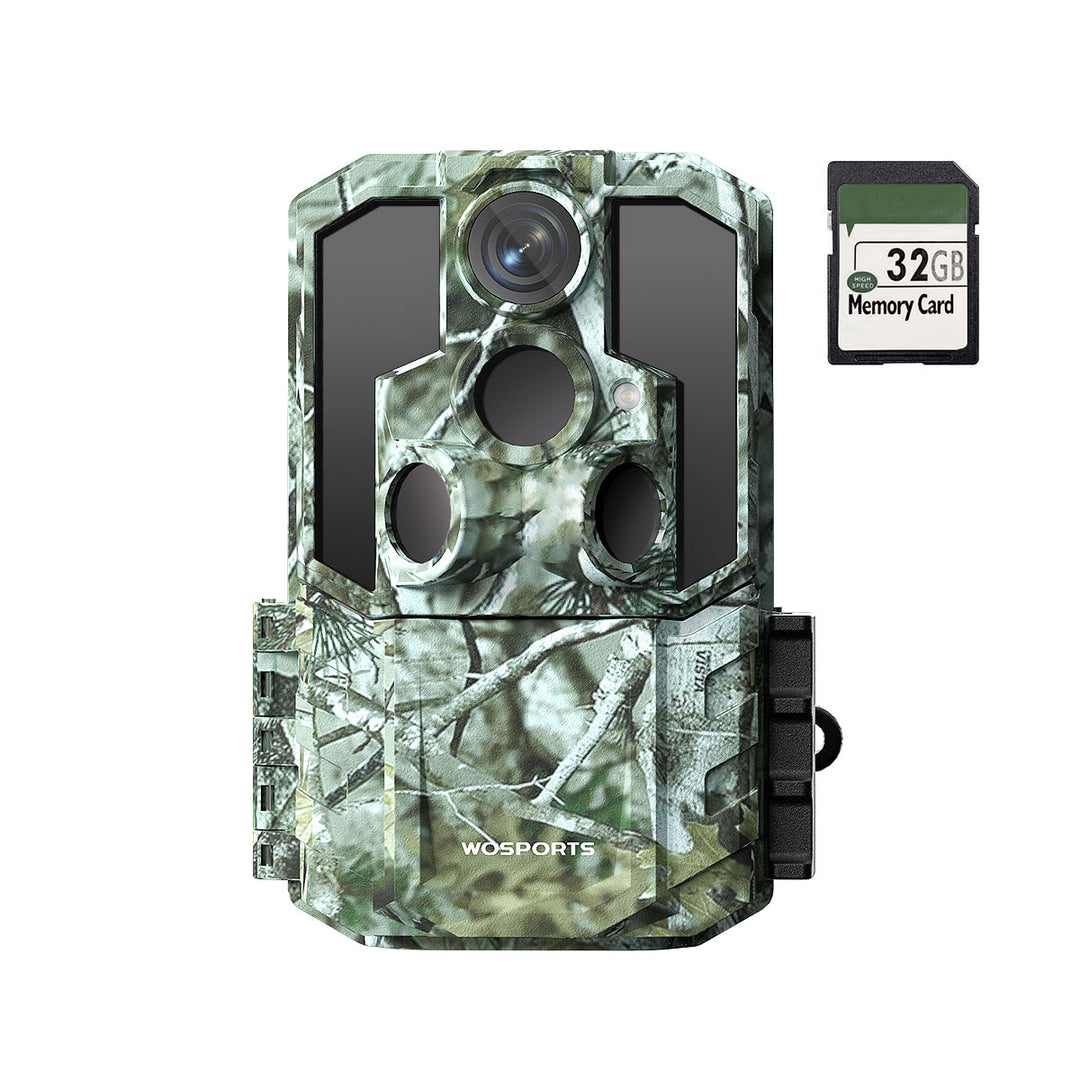
Pro Tip: The G600 outdoor trail camera’s advanced PIR (Passive Infrared) sensor system can better distinguish between small temperature changes and real animal movement, significantly reducing empty photos.

How Sunlight and Heat Confuse Your Trail Camera Sensor
Trail cameras use sensors that spot differences in heat to detect animals. But when it's really hot, the background gets close to an animal's temperature, which can fool the camera.
Here’s what you can do:
Point your camera north to keep it out of direct sunlight.
Don’t put it in wide-open areas where heat can mess with the readings.
Put the camera in shady spots where the temperature stays steady.
Moving Grass and Branches: The Hidden Cause of Blank Shots
Even a single blade of grass moving around can set off your camera and cause it to take a ton of empty photos.
Before you set up your trail camera:
-Chop down any grass, weeds, or low branches around.
-Use a tripod or something sturdy to mount your camera instead of a tree branch, which moves in the wind.
Basically, keep your camera area clean and stable, and you won't have to spend hours clearing out your SD card.

Mounting Mistakes That Lead to Empty Photos
Sometimes, your trail camera isn't broken—it just sees things in another way. If it's pointing up too much or at a weird angle, stuff like moving branches, shadows, or clouds can set off the sensor. Putting it too high or low could also make it miss what you need while capturing random stuff in the background.
To not have this happen, put your camera about 2–3 feet off the ground, pointing down a bit toward where you think it is. Be sure it's fixed tight on something steady, and cut away anything that might move in the wind. A good setup will help cut down on false alarms and make sure you get photos of the animals you want.
Low Battery and SD Card Issues That Affect Detection
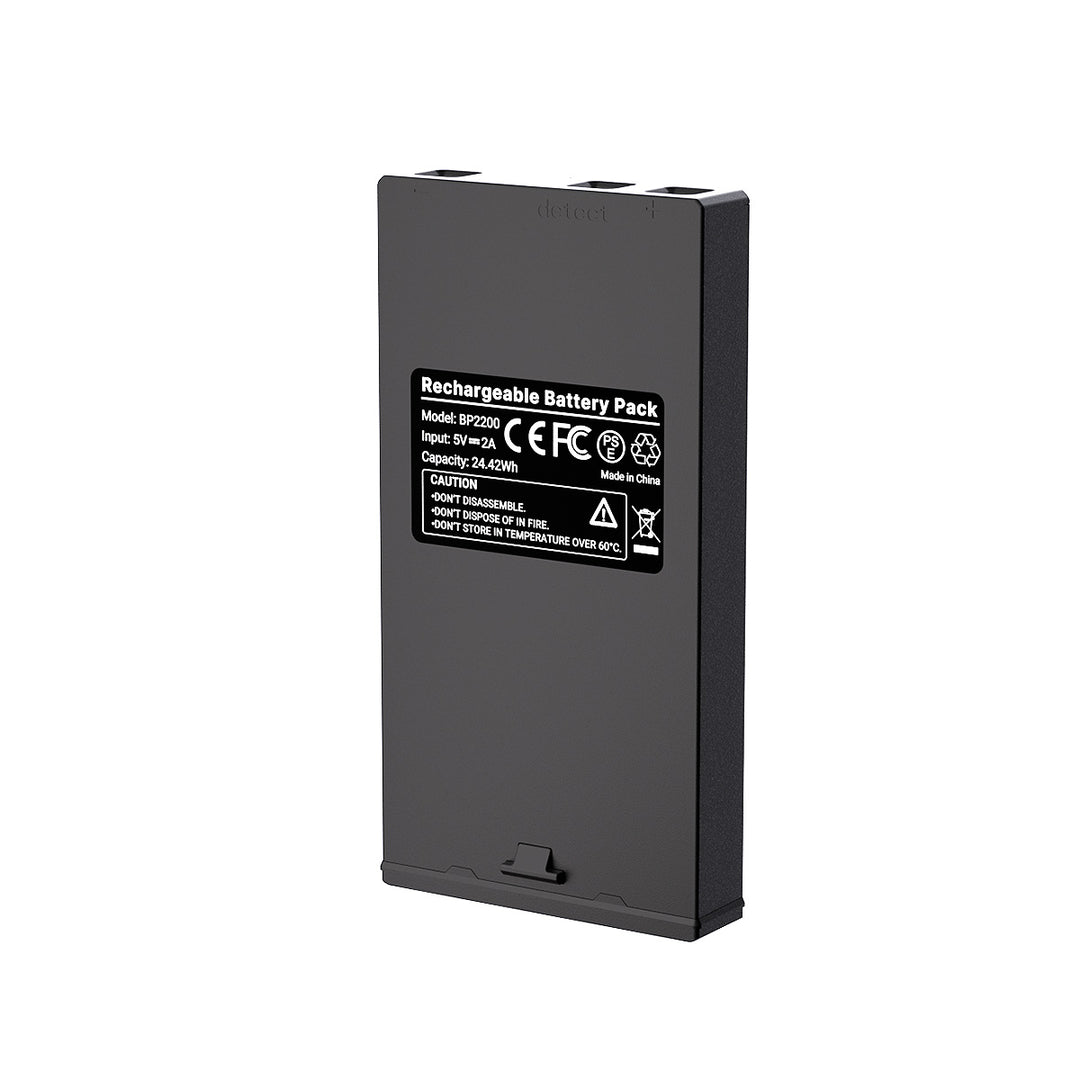
When batteries run low, the camera's motion sensor might get wonky. It could start taking pictures at the wrong time, or it just won't have enough juice to get a good shot.
Also, keep your camera away from things that mess with electricity, like power lines or electric fences. These can confuse the sensor and cause it to take pictures when nothing's there or only record bits of video.
To stop this from happening, use fresh batteries that are good quality. Don't mix old and new ones. Also, keep your camera away from anything that makes a lot of electricity. Check the battery often, especially when it's cold because that drains power faster. When your camera has enough power, it'll only take pictures when animals are actually there.
Test Before Deployment
The most effective method to avoid a large number of empty images is to perform a field test before your camera is placed for a long time.

Testing procedure:
- Put your camera in the spot where it will be used.
- Go in the area where detection takes place at different distances (5–30 ft).
- Check the pictures to verify the detection range and its correctness.
- Change the sensitivity or the angle according to your needs.
Doing the tests will not only save you time, memory space, and irritation but it will also allow you to know exactly how your camera “sees” the surroundings.
Search
Popular Posts
Recent Posts

Nov 28, 2024
Troubleshooting Common Trail Camera Issues
Jan 10, 2025
Why Does My Trail Camera Stop Working at Night?


