How Does Flag Lock Work on a Rangefinder?
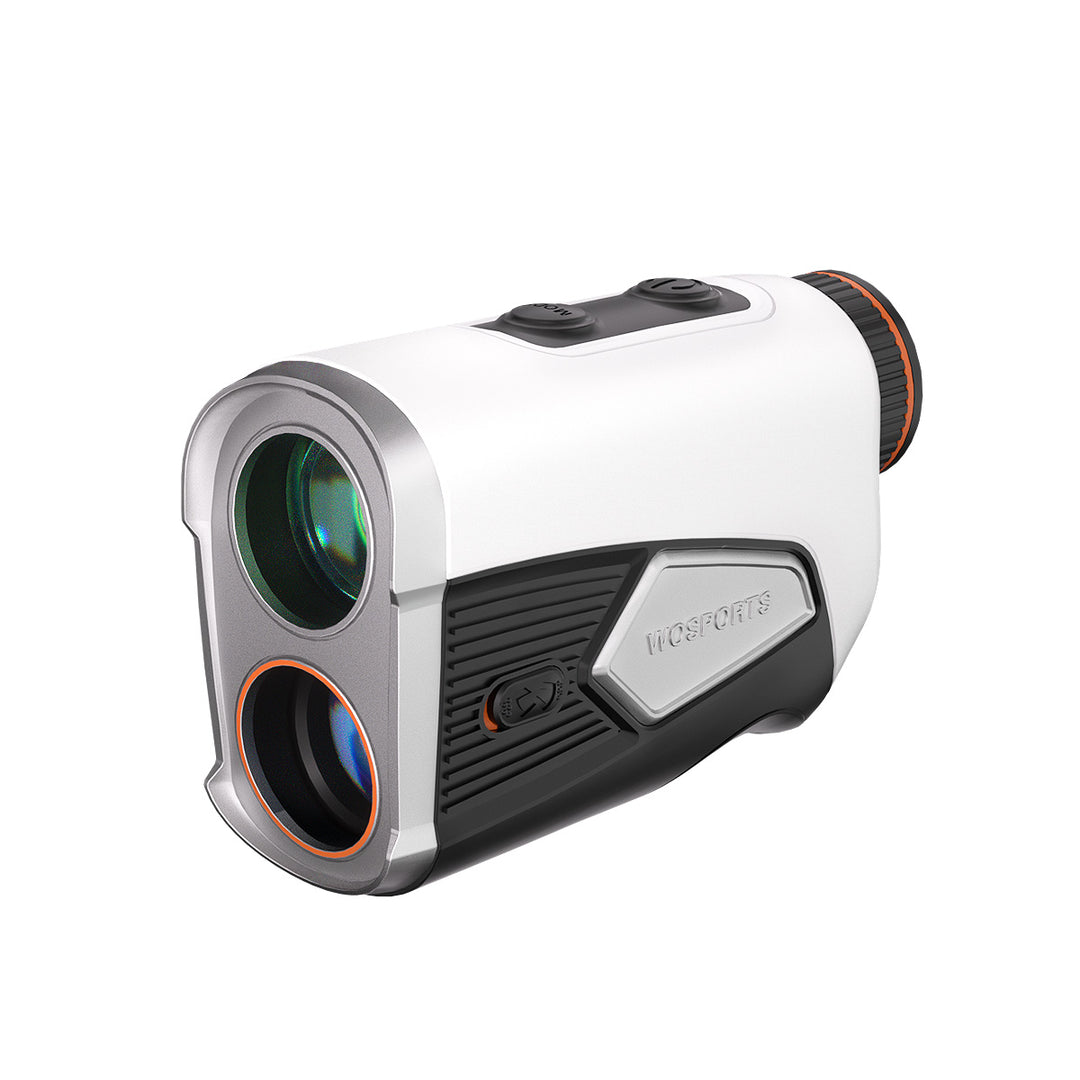
Today’s golf rangefinders come with a key feature called Flag Lock. But what exactly is flag lock, how does it work, and how can it help you play better golf? In this guide, we’ll break down the technology behind flag lock, explain how to use it correctly, and show you why it’s become a must-have feature for serious golfers.
What Is Flag Lock in a Golf Rangefinder?
How Does Flag Lock Work? (Step-by-Step Explanation)
Flag Lock technology might sound complex, but the process is quite elegant. Here’s what happens when you press that power button:
1. Emission of Laser Pulse
The rangefinder sends out a very quick succession of unseen laser pulses to the object you are targeting. These pulses, which are light, travel to the object and back instantaneously.
2. Reflection of Signals
All the different objects in your view such as the flag, trees and the surface of the green will reflect the laser beam in their own way. The rangefinder sensor will then pick up the signals that return.

3. Filtering and Analyzing of Data
The Flag Lock algorithm sorts through these reflections and picks out the signal that corresponds to the nearest stable object. The flag being upright and small normally produces a clear and strong signal which is easily recognized from the background.
4. Confirmation of Target
The moment the system recognizes the flag as the right target it not just locks but also visually confirms (usually via a blinking circle or focus reticle) and sometimes physically — with a brief vibration or “pulse.”
5. Display of Distance
At last, the laser rangefinder shows the exact distance to the flag which is often less than a yard. For advanced models, data about slope compensation and elevation adjustment are included in the displayed distance.
How to Use Flag Lock Effectively
Even though the technology is advanced, still technique is important. Here are a couple of easy ways that can help you along with the Flag Lock feature:
1. Hold the Device Steady
Stabilize your grip by using both hands or by resting your elbows against your chest. To be more precise, many golfers prefer to place their hand on a golf cart or use the magnetic mount to get extra support.
2. Start Wide, Then Narrow Down
Start with a scan of the area where the green is located. After that, when you spot the flag, carefully shift the crosshair to it. The system will recognize it and also lock onto it automatically.
3. Use the Vibration or Visual Cue
When the lock is done, most rangefinders give you a tactile or visual signal - a quick buzz, flash or sound cue. Wait for that signal before you take your measurement.
4. Clean the Lens Regularly
A lens that has smudges or dust can cause the laser to lose its accuracy. Always have a microfiber cloth ready in your golf bag.
5. Practice on the Range
Before using it during a game, try locking onto the practice greens or flags at your local driving range. You can be sure that the more acquainted you are with your device’s feedback, the faster and more self-assured you’ll be on the course.

Search
Popular Posts
Recent Posts

Nov 28, 2024
Troubleshooting Common Trail Camera Issues
Jan 10, 2025
Why Does My Trail Camera Stop Working at Night?


