How to Get the Most Out of Your Pre-Season Trail Cameras [Expert Guide]
Used strategically during the pre-season, trail cameras help uncover patterns, track movement, and provide insight into local deer behavior. In this comprehensive guide, we’ll walk you through best practices, camera placement strategies, key settings, and common pitfalls to avoid.
Before You Start: Choose the Right Trail Camera
Before setting up a outdoor trail camera, it's crucial to pick the right one for the job. For your pre-season observations, it’s essential that the camera matches your requirements and comes within your budget so that it has the required features. Consider these trail camera selection features and guidelines:
The quality of image and videos captured
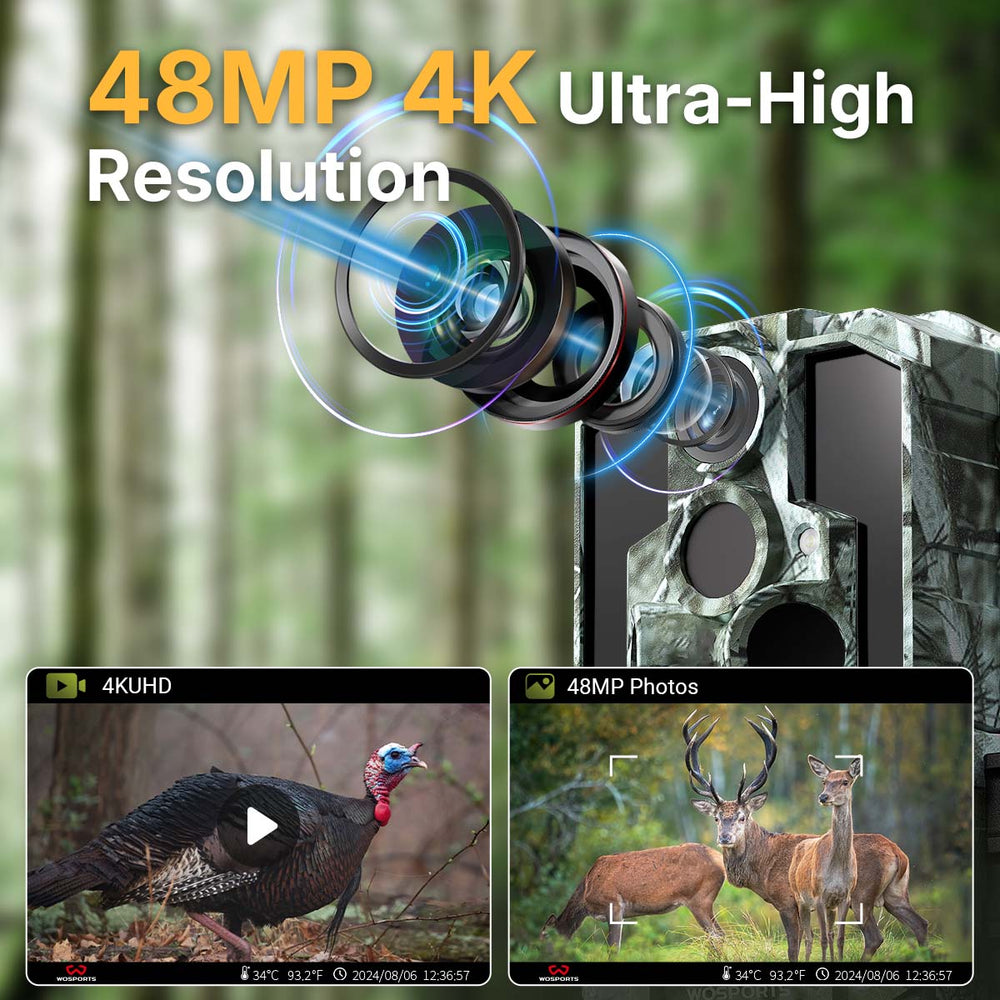
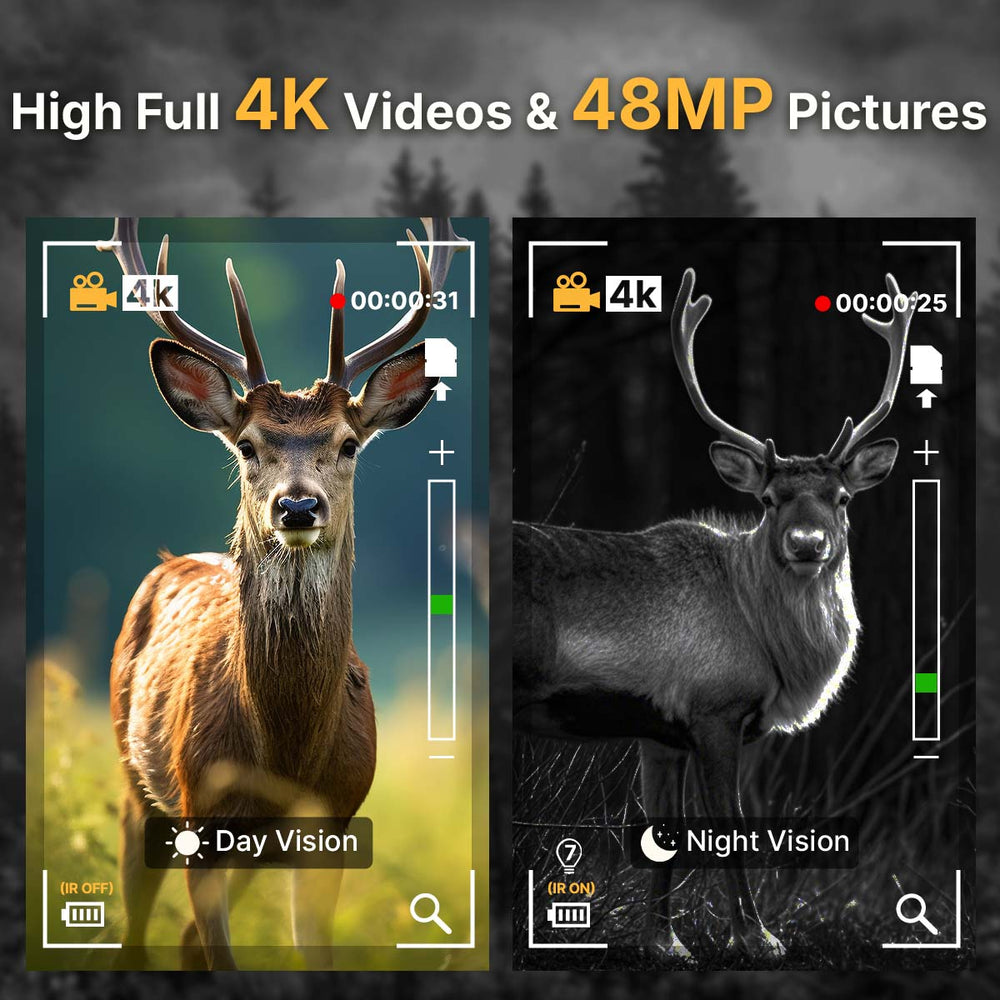
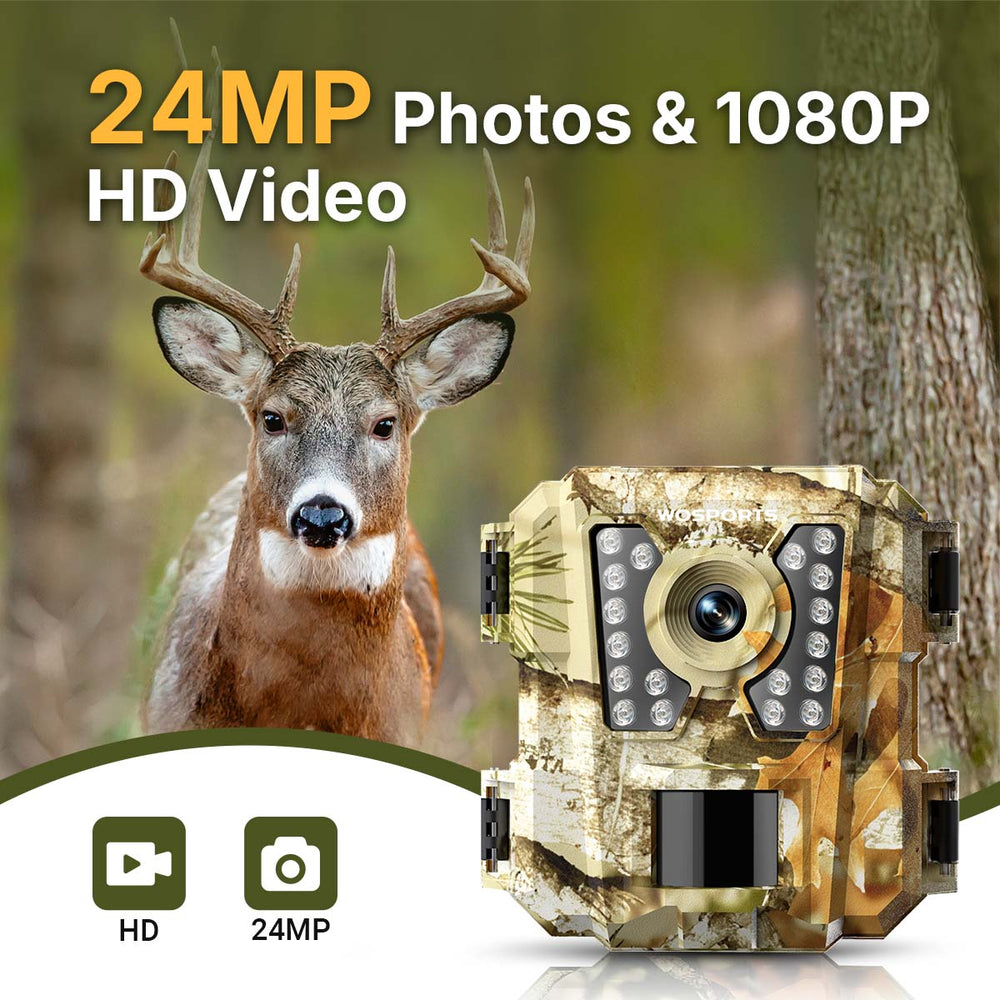
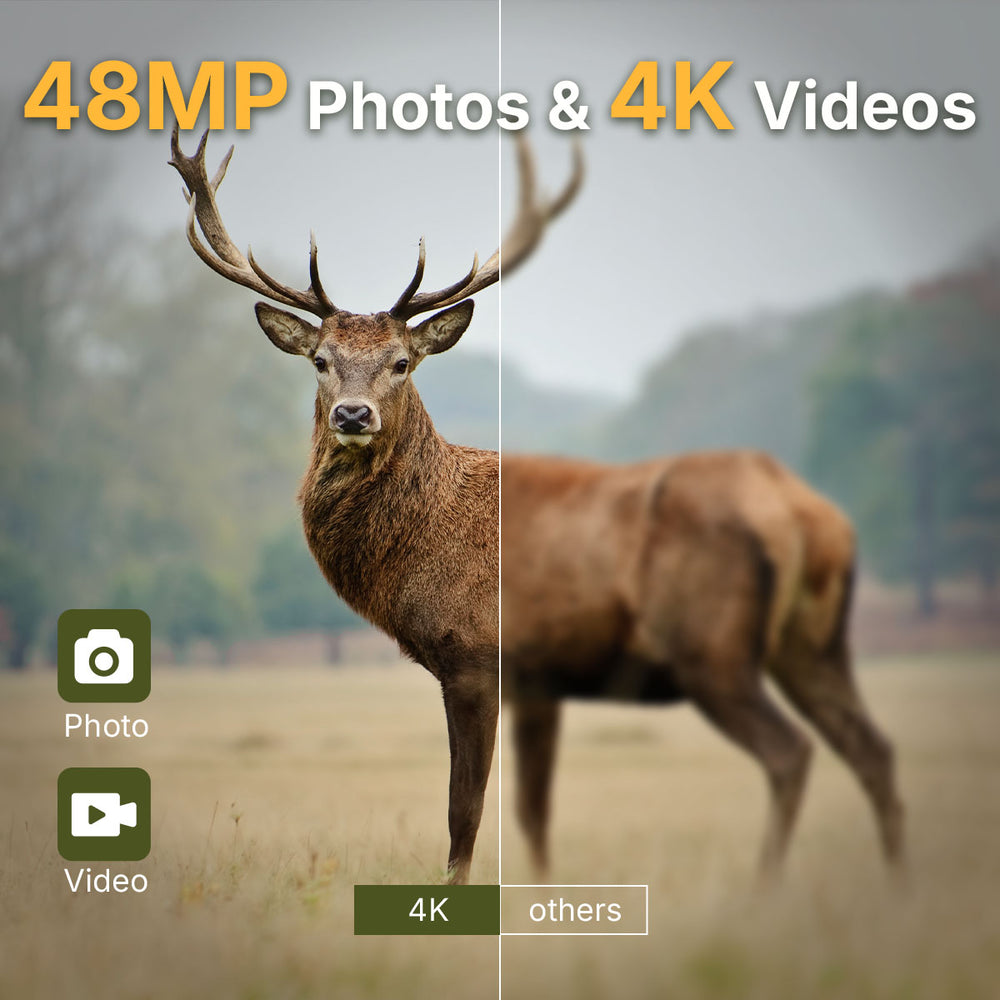
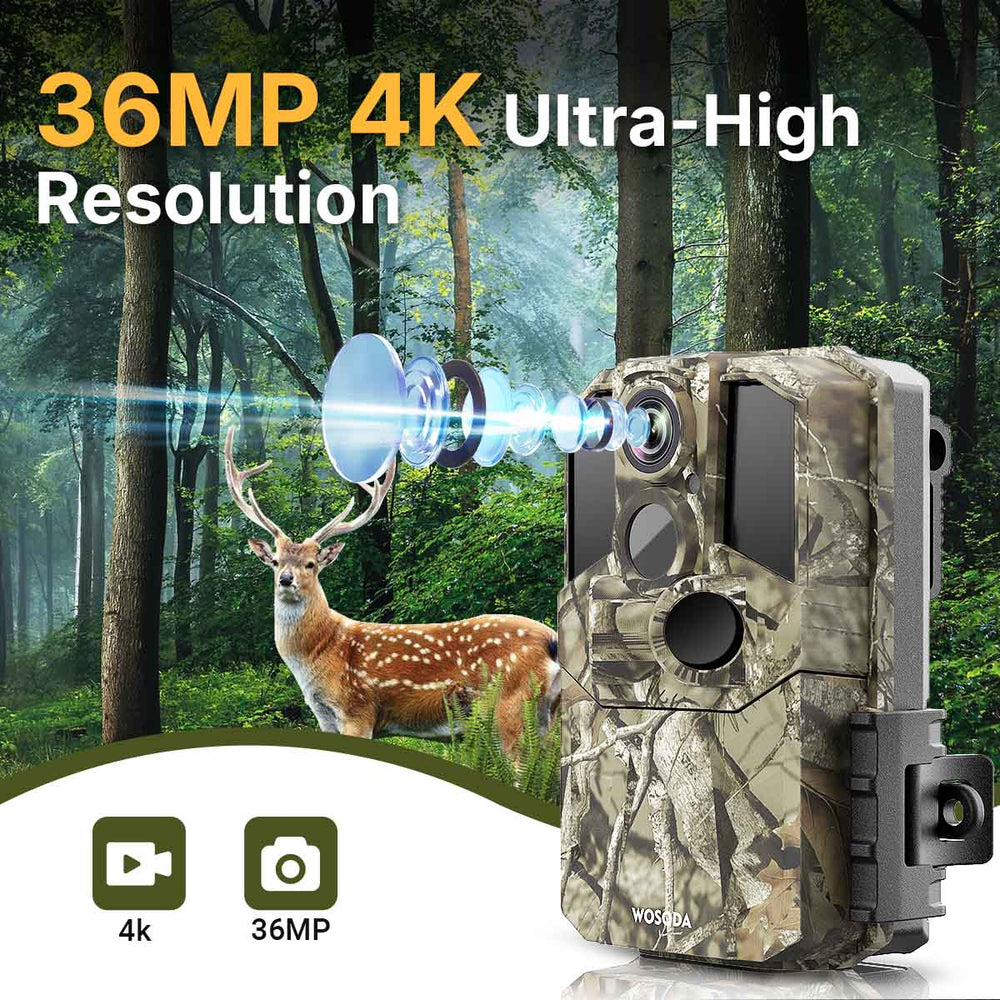
You will want to choose a camera that never misses out on the action, so having a high resolution camera is a necessity. Also check if the camera supports recording in HD or 4K resolution, as nighttime recording capabilities are equally important for animals that prefer operating in the dark.
Trigger time
For better results, you should select a camera that has a shutter trigger time that is under one second.

Battery life
Reasons that require enhanced battery life such as pre-season observation necessitate long stays in the field. Due to this, cameras should be selected with a longer battery duration to avoid spending more time replacing batteries in the field.
Storage Limit
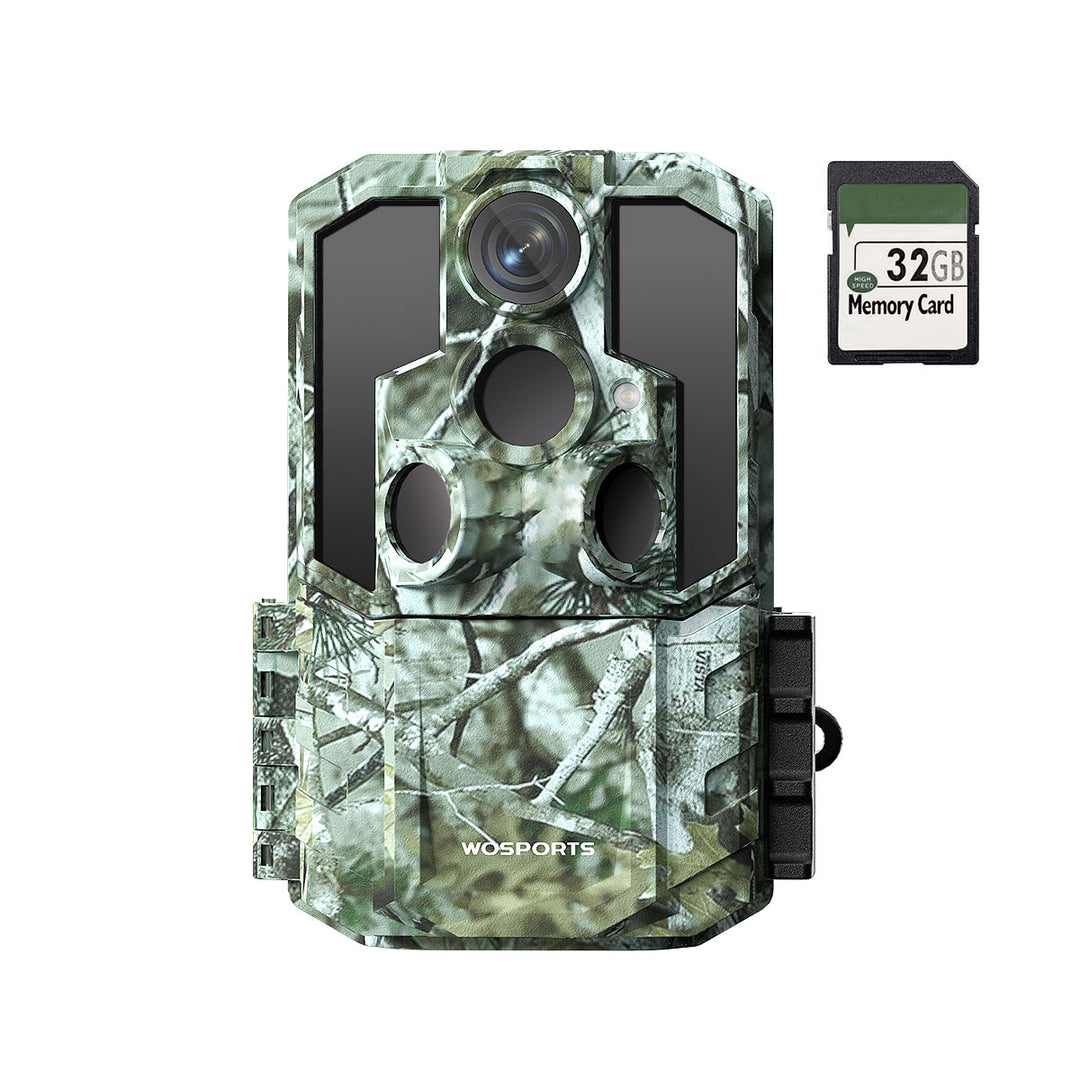
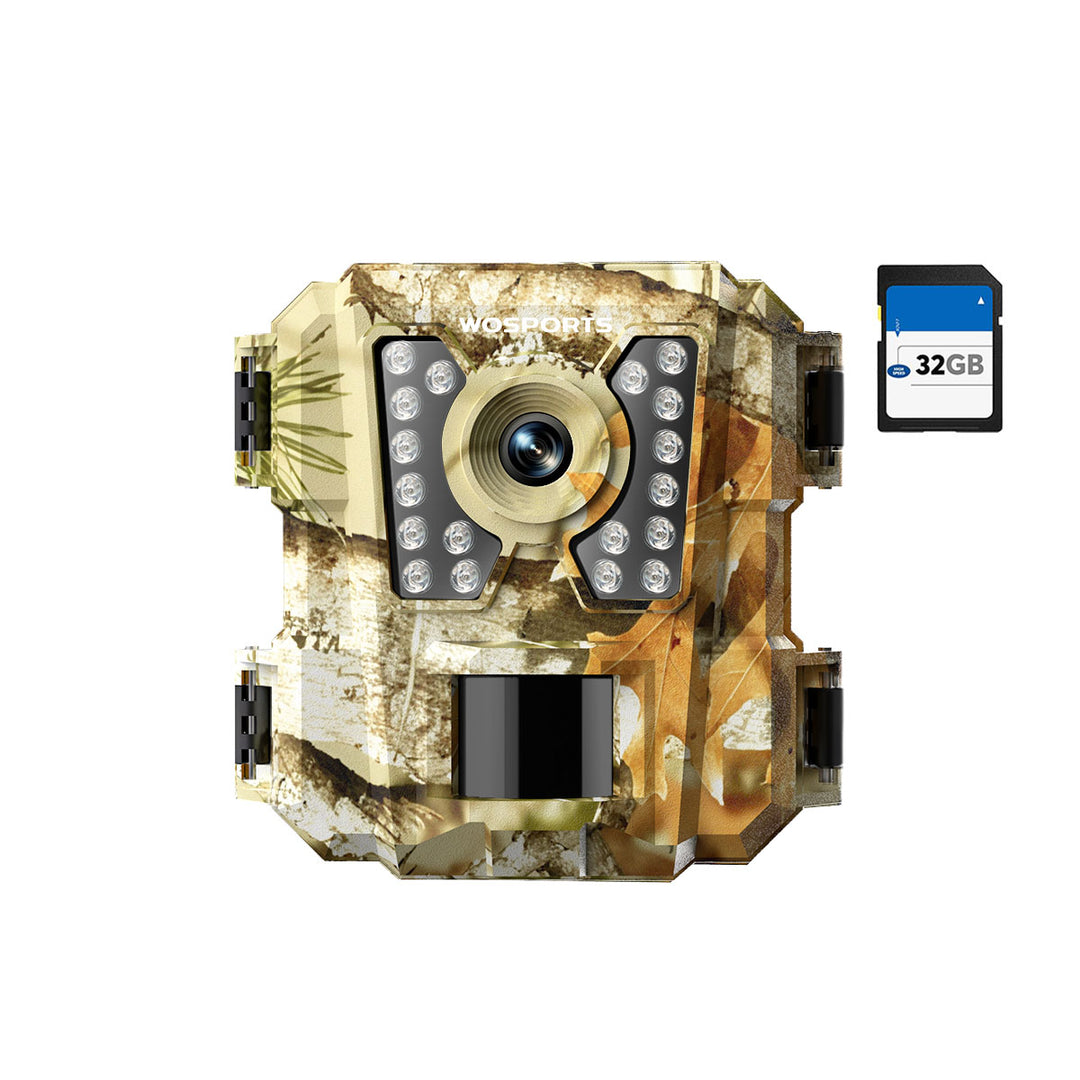
Most trail cameras have a built in SD card where images and videos are stored. These days SD cards with 32 GB memory are standard and offer ample storage without the hassle of frequent replacements, so prefer cameras that offer expandable memory slots.
Related Reading:
How to Choose the Best Trail Camera>>
Best Time to Set Out Pre-Season Trail Cameras
when to put out trail cameras:
Most whitetail hunters begin placing trail cameras from late June to early August. The bucks are in their velvet phase, and their daily pattern is relatively consistent. By setting up cameras early, you will have enough information before bucks alter their habits due to hormone changes, food, or hunting pressure later in the season.
How Often to Check Trail Cameras:
Checking your cameras more often than needed can deposit scent paths and, in the process, alter deer patterns. Ideally, wait 2 to 3 weeks between checks. Alternatively, employ cellular trail cameras that transmit images remotely. Not only will this leave deer in their natural undisturbed state, but it also saves your time and restricts frequent trips to the field.
How Often to Check Your Trail Camera>>
Pro Tip: Handle cameras and SD cards with rubber gloves and boots. Scent control is as important preseason as it is while hunting.
Best Trail Camera Placement Tips
The proper placement of a trail cam is crucial for capturing quality video footage and acquiring valuable information. Think of your trail camera as a passive scout; it must be placed where it can observe without interfering.
Deer Feeding Areas
As creatures of stamina and repetition, detection and feeding provides them with great insight into their movement. Position cameras around oak trees that drop acorns, and agricultural fields give insight into where deer frequent. It will also be possible for you to discern the frequency of their visits, whether it is on a consistent basis or driven by hunger.
Trails and Funnels
Deer trails serve as highways between feeding and bedding zones. Funnels that appear like narrow strips of timber between two open spaces are more advantageous since they have higher deer movement and increases the probability of the capture of consistent activity.
Water Sources
In hotter and drier places, water becomes the most crucial resource. Placing cameras close to ponds, creeks, troughs, and tanks can uncover concealed activity. Bucks are especially notorious for mid-day water visits during hot summers.
Things to avoid when placing trail cameras:
- Mounting cameras too high or too low; the best height is between 3 and 4 feet.
- Facing cameras east or west, which makes the sun's glare worse when it rises or sets.
- Mounting on trees that are thin or unstable and move a lot in the wind.
- Not having enough cameras to cover your scouting area.
Common Mistakes That Make Your Pre-Season Work Useless
No matter how good the camera is, it can't make up for bad planning or execution. Don't make these common mistakes before the season starts:
Checking too often: Deer get scared when people come by a lot because of the smells and sounds they leave behind.
Using batteries that aren't very good: Batteries that aren't very good can leak, die quickly, or not work well in bad weather.
Not testing your setup: Always walk in front of your camera to check the angle, focus, and trigger range.
Formatting the SD card incorrectly: Old files or bad formatting can make data go missing.
Not installing firmware updates: Some camera brands offer software updates to fix bugs and make the camera work better.
Recommended Trail Cameras for Pre-Season Deer Scouting

Search
Popular Posts
Recent Posts

Nov 28, 2024
Troubleshooting Common Trail Camera Issues
Jan 10, 2025
Why Does My Trail Camera Stop Working at Night?


