How to Set Up a Trail Camera for the First Time: A Step-by-Step Guide
Setting up a trail camera for the first time doesn't have to be complicated. With the right preparation, you can install your camera, test its detection area, and start recording wildlife in just a few simple steps.
The basic process is:
- Choose a suitable location.
- Prepare the batteries and SD card.
- Configure the camera's basic settings.
- Mount and aim the camera.
- Test the detection zone.
- Check the first recordings and adjust if needed.
This guide walks through each step and explains common setup mistakes to avoid. Whether you're using a trail camera for deer scouting, wildlife observation, or monitoring activity around your property, a careful setup can help you capture more useful footage.
Before You Start: What Do You Need?
Gather your equipment before heading outside. That way, you can finish setup without making extra trips.
| Item | Why You Need It |
|---|---|
| Trail camera | The camera you'll install and configure |
| Compatible SD card | Stores photos and videos |
| Batteries | Powers the camera in the field |
| Camera strap or mounting hardware | Secures the camera to a tree or other stable support |
| User manual | Explains model-specific controls and settings |
| Phone or notebook | Optional, for recording the location and setup details |
Check your camera's manual for its supported SD card type, capacity, and speed requirements. Don't assume every camera supports every card.
If you're using a model that requires AA batteries, bring the correct number and type. For rechargeable or solar-assisted models, follow the manufacturer's power instructions.
Step 1: Choose the Right Location
Location is one of the most important parts of trail camera setup. Even a camera with excellent image quality can't capture useful footage if it's aimed at an area wildlife rarely visits.
Start by identifying what you want to monitor.
For deer scouting, look for:
- Established deer trails
- Food plots and feeding areas
- Water sources
- Travel routes between bedding and feeding areas
- Funnels, crossings, and other natural movement corridors
For general wildlife observation, look for signs of animal activity such as tracks, droppings, trails, feeding evidence, or regularly used water sources.
For property monitoring, choose a location that covers the area you need to observe while respecting privacy and applicable rules.
Tip: Think about how you'll access the camera later. A location that requires frequent trips through a sensitive wildlife area may be less practical than one you can reach with less disturbance.
Step 2: Prepare the SD Card
Your trail camera needs a compatible memory card to save photos and videos.
Before installing the card:
- Check the camera manual for supported card specifications.
- Use a reliable card from a reputable manufacturer.
- Make sure the card has enough available space for your planned use.
- Back up any files already on the card before formatting or reusing it.
If your camera provides an in-camera formatting option, follow the manual's instructions to prepare the card. Formatting usually erases existing files, so make sure you've saved anything you want to keep.
Important: Don't remove the SD card while the camera is saving files or recording. Turn the camera off first, unless the manual for your specific model instructs otherwise.
How much storage do you need?
Your storage needs depend on how often the camera triggers, whether it records photos or video, the length and resolution of video clips, and how frequently you check the camera.
A camera placed on a busy trail may create far more files than one monitoring a quiet area. If you're planning to record lots of video, allow more space than you would for occasional still photos.
Step 3: Install the Batteries
Power requirements vary by camera, so check the user manual before inserting batteries.
For a camera that uses replaceable batteries:
- Open the battery compartment.
- Check the polarity markings inside the compartment.
- Insert the required batteries in the correct direction.
- Close the compartment securely.
- Check the display or indicator to confirm the camera has power.
Use the battery type recommended by the manufacturer. Mixing old and new batteries, or mixing different battery types, can cause inconsistent performance.
If your camera uses an external power source, follow the model-specific instructions and make sure any cable or connector is secured as recommended.
Step 4: Turn On the Camera and Set the Date and Time
Once the SD card and power source are ready, turn on the camera according to the manual.
Set the correct date and time if your model offers these options.
Why does this matter?
Timestamps can help you understand wildlife activity patterns, compare observations across days, and identify when a particular event occurred. An incorrect clock can make your recordings harder to interpret.
If the camera offers additional options such as time format or date format, choose the format you prefer and keep it consistent.
Tip: If you change batteries or reset the camera later, check that the date and time are still correct.
Step 5: Choose Photo, Video, or Photo-and-Video Mode
Many trail cameras let you choose between still photos, video clips, or a combination of both. The available options vary by model.
Choose a mode based on what you want to learn.
| Mode | Useful For |
|---|---|
| Photo | Checking animal presence and reviewing still images |
| Video | Observing movement and behavior |
| Photo + Video | Capturing a still image and a video record, if supported |
Photos can be convenient when you want to review many detections quickly. Video can show how an animal moves through the area, interacts with other animals, or behaves around a food or water source.
If you choose video, consider the clip length and resolution. Longer or higher-resolution recordings can use more storage and power.
Start with a practical setting for your needs. You can adjust it after reviewing your first recordings.
Step 6: Review Motion Detection and Other Available Settings
Depending on the model, you may be able to adjust settings such as motion sensitivity, detection behavior, recording length, or the delay between captures.
Read the manual to understand what each option does before changing it.
Motion sensitivity
If your camera offers sensitivity settings, they may help you adapt it to the environment.
For example, a location with moving grass or branches may require a different setup from a sheltered trail with little vegetation movement.
Don't assume the highest sensitivity is always the best choice. Excessive triggers can create many empty files and fill the memory card more quickly.
Capture delay or interval
Some cameras let you set a pause between triggers or recordings. A longer delay may reduce the number of files, while a shorter delay may allow the camera to capture more closely spaced events.
The best setting depends on how frequently wildlife passes through the area and how much storage you have available.
Night settings
If your camera offers nighttime recording options, check the manual for how they work. Test the camera after dark if night activity is important to your project.
Step 7: Mount the Camera Securely
Once the camera is configured, choose a stable mounting point.
A tree is a common option, but the support should be sturdy enough to keep the camera from shifting in wind or changing weather.
When mounting:
- Secure the strap or bracket according to the instructions.
- Make sure the camera is stable.
- Avoid placing it where branches will constantly move across the frame.
- Keep the lens and sensor area unobstructed.
- Check that the camera door and battery compartment are properly closed.
Follow the product's instructions for weather protection. Even a weather-resistant camera needs its doors, covers, and seals closed correctly.
Step 8: Aim the Camera at the Area You Want to Monitor
Before you leave, make sure the camera is pointed at the right spot.
For a trail, many users position the camera slightly to the side and aim it across the travel route. This can help capture animals as they pass through the scene.
Consider these factors:
Field of view: Make sure the important part of the scene fits within the camera's view.
Detection area: The animal should pass through the camera's motion-detection zone, not just appear at the edge of the image.
Sunlight: When practical, avoid aiming directly toward strong sunlight during the hours you expect activity.
Distance: Leave enough space for the camera to capture the animal's full body and movement.
There isn't one mounting height or distance that works for every property. Terrain, camera design, animal size, and the width of the trail all affect the best position.
Step 9: Test the Camera Before Leaving
This is one of the most useful steps in the entire setup process.
After mounting and aiming the camera, test it while you're still at the location.
- Activate the camera's test or setup mode, if available.
- Walk through the area where you expect wildlife to pass.
- Check whether the camera detects your movement.
- Review the test image or recording, if your model allows it.
- Adjust the angle or position if the subject is cut off or outside the intended area.
- Repeat the test until the scene is framed properly.
A test can reveal problems that aren't obvious when you're standing behind the camera, such as a blocked view, a poor angle, or a detection zone that doesn't cover the trail.
Remember to return the camera to its normal operating mode before leaving.
Step 10: Check Your First Photos and Videos
After the camera has been running for a while, review the recordings.
Look for:
- Whether the target area is visible
- Whether animals appear fully in the frame
- Whether images are too bright or too dark
- Whether moving vegetation causes empty triggers
- Whether the camera is recording at the expected times
- Whether the SD card has enough free space
- Whether the battery level remains adequate
If you see repeated empty photos, check the camera angle and look for vegetation or changing shadows in the detection area.
If animals appear only at the edge of the frame, adjust the camera's position or angle.
If you have few or no recordings, first confirm that the camera is powered on, the card is compatible and inserted correctly, and the area has signs of animal activity. A quiet camera location may simply have little wildlife movement during the period you monitored.
Common First-Time Trail Camera Setup Mistakes
| Mistake | Why It Can Cause Problems | What to Do |
|---|---|---|
| Using an unsupported SD card | The camera may not recognize or reliably record to it | Check the manual's card requirements |
| Forgetting to set the clock | Timestamps may be inaccurate | Set and verify date and time |
| Pointing at moving branches | Wind can cause repeated empty triggers | Clear or avoid problematic vegetation |
| Aiming directly into strong sunlight | Glare may reduce image quality | Consider the sun's position during expected activity |
| Mounting on an unstable surface | The camera can shift and change its framing | Secure it to a stable support |
| Skipping the test | Setup problems may go unnoticed | Walk through the detection area before leaving |
| Choosing video settings without considering storage | Files may fill the card faster than expected | Match resolution and clip length to your storage plan |
| Forgetting to switch out of setup mode | The camera may not record normally | Confirm the normal operating mode is active |
How to Set Up a Trail Camera for Nighttime Wildlife
If you're monitoring wildlife after dark, test the camera's nighttime performance as well as its daytime framing.
A few things to check:
- Is the area you want to monitor within the camera's useful night-vision range?
- Is the subject likely to pass close enough for a useful image?
- Are there objects very close to the lens that could affect nighttime images?
- Does the camera capture the area you intended?
- Are the nighttime images clear enough for your purpose?
Infrared night vision can help a trail camera record in low-light or dark conditions, but actual results depend on the camera, distance, environment, and subject movement.
If nighttime images are consistently too bright, too dark, or blurry, review the manual's available settings and consider changing the camera's position.
How the WOSPORTS G600 Fits Into a First-Time Setup
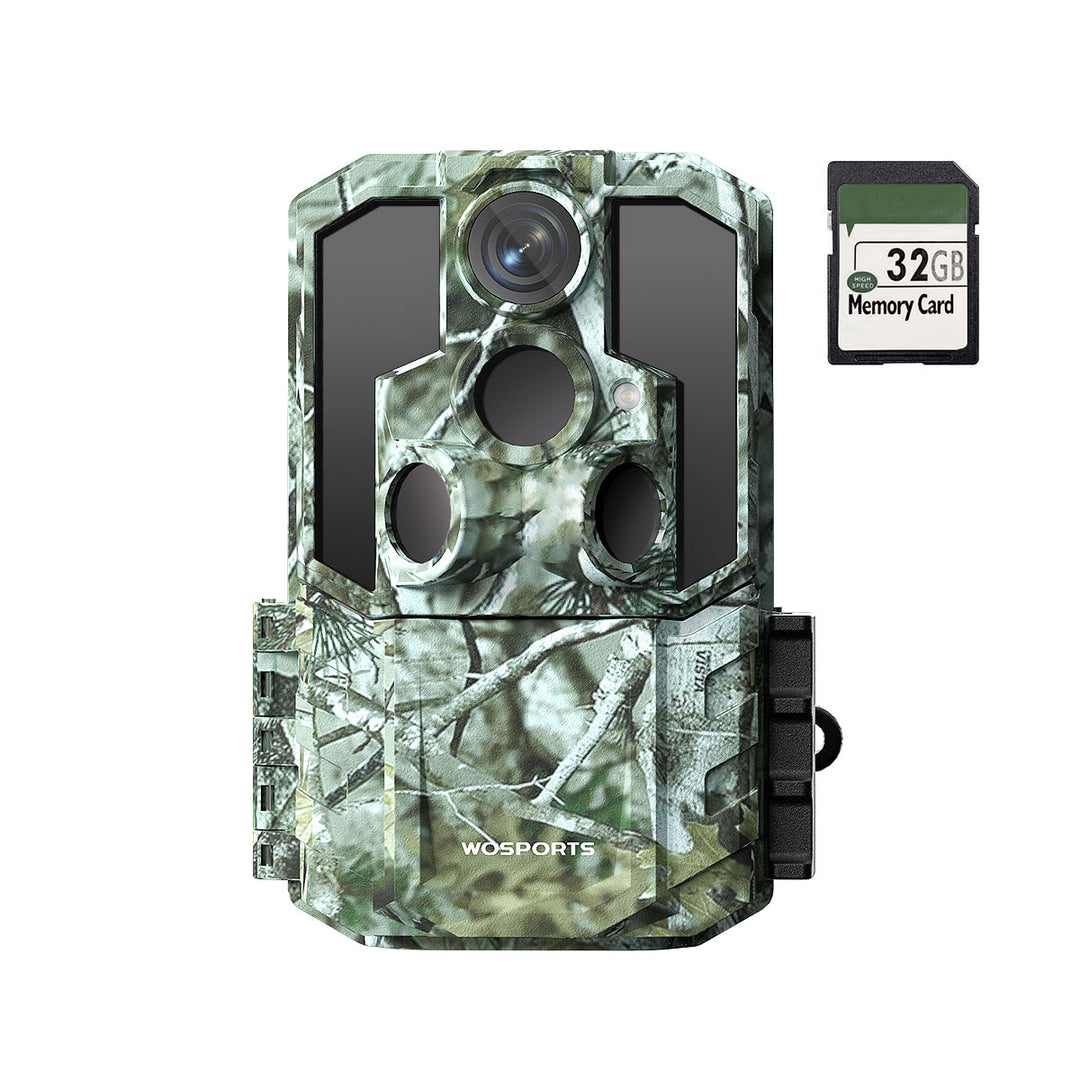
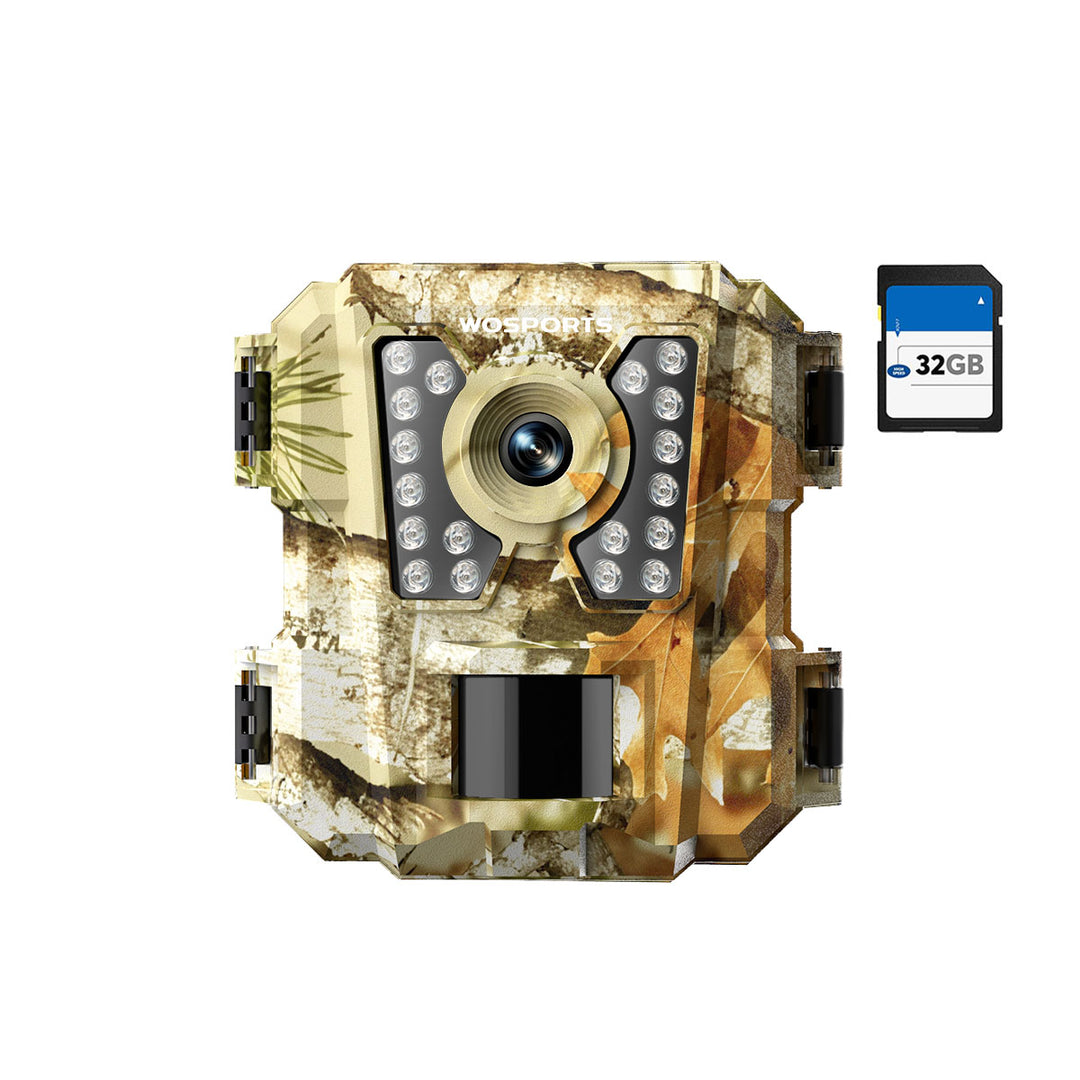
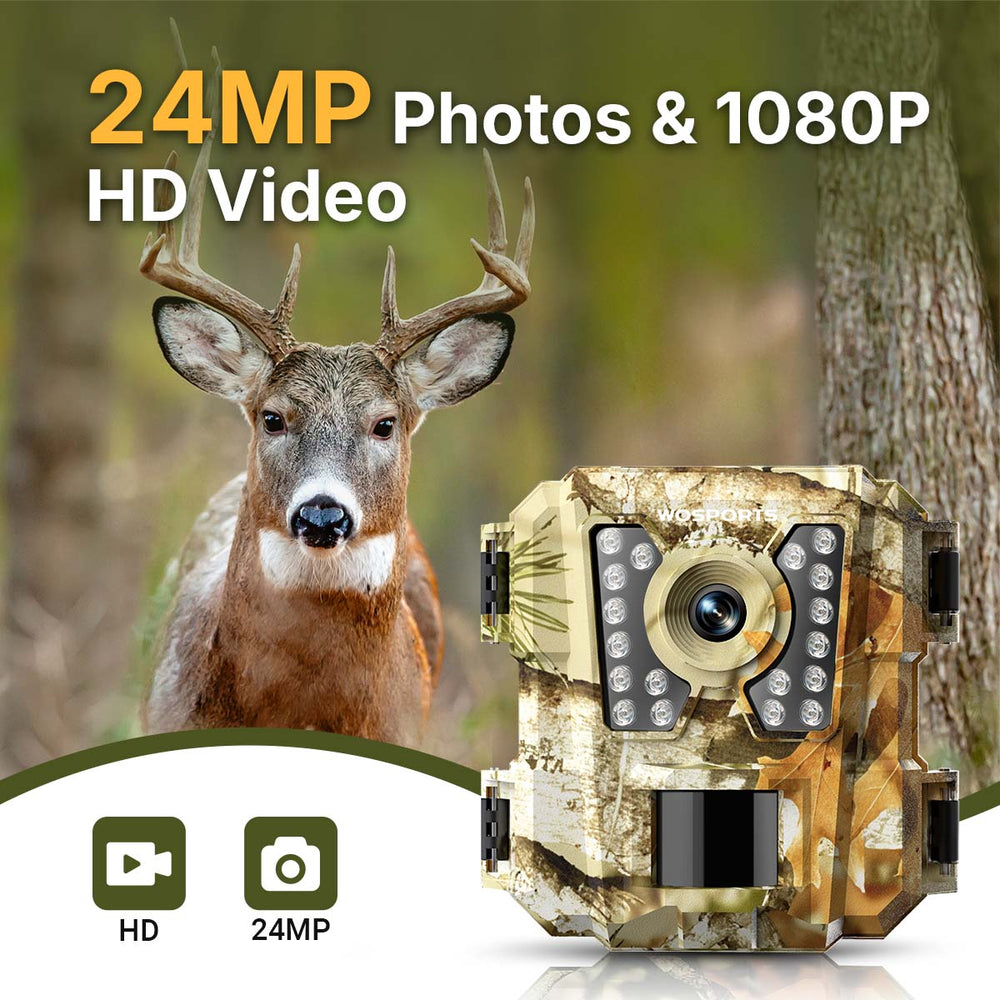
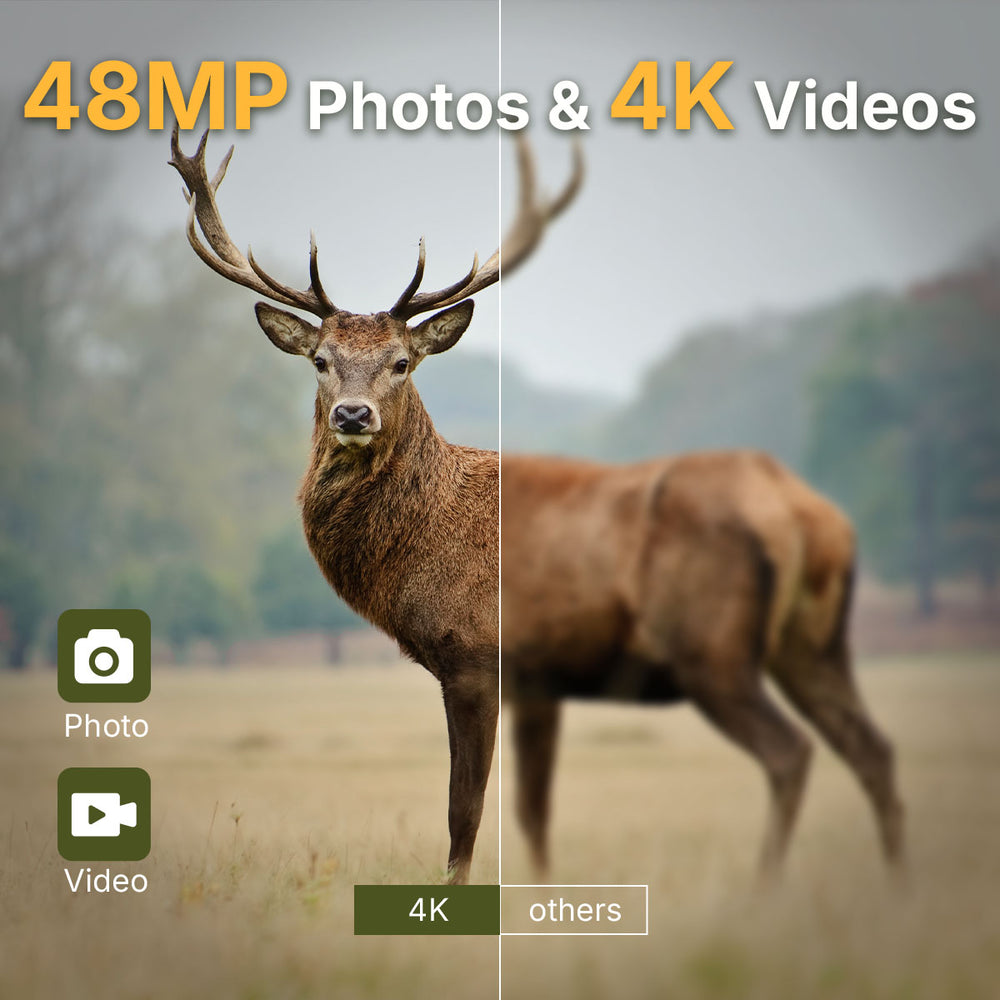
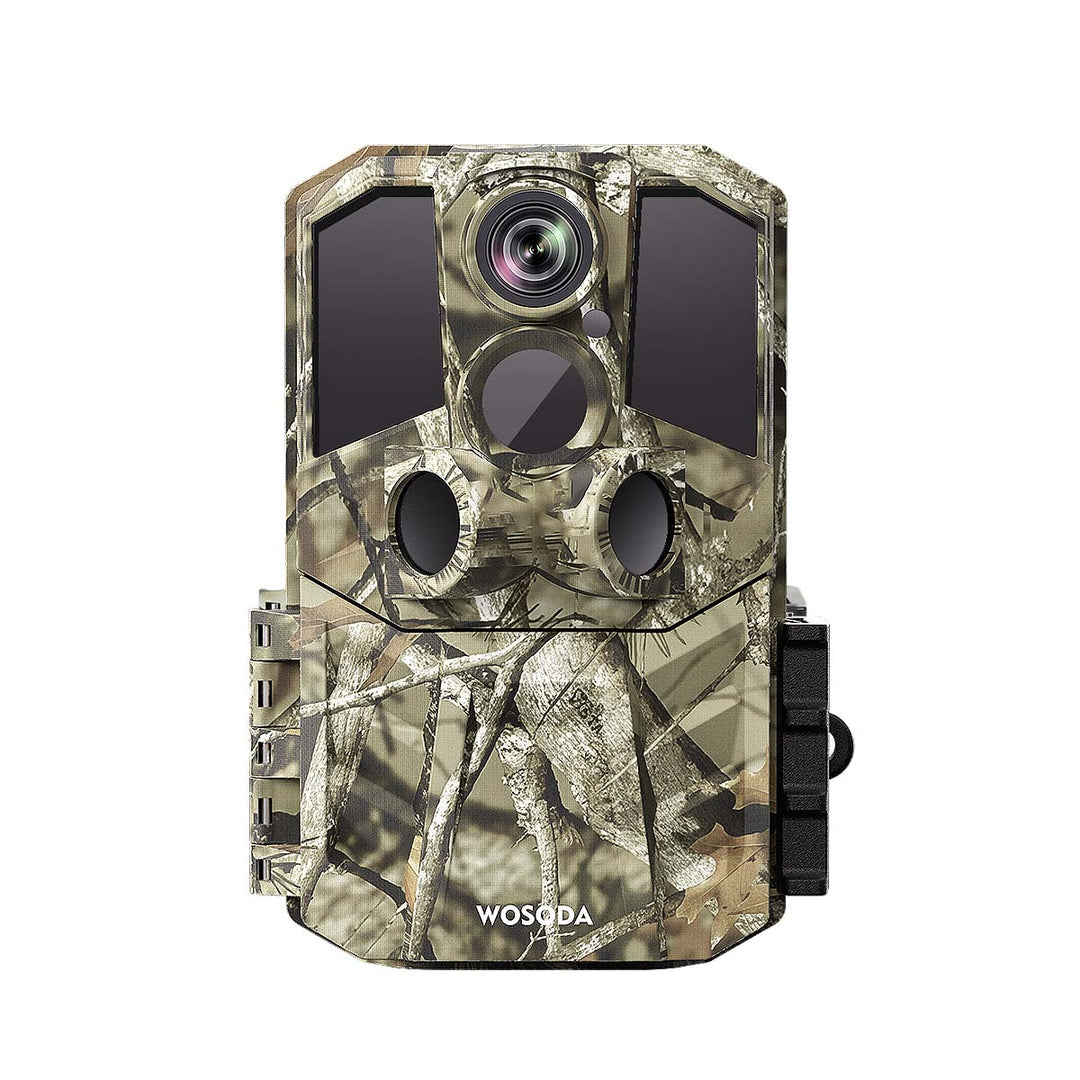
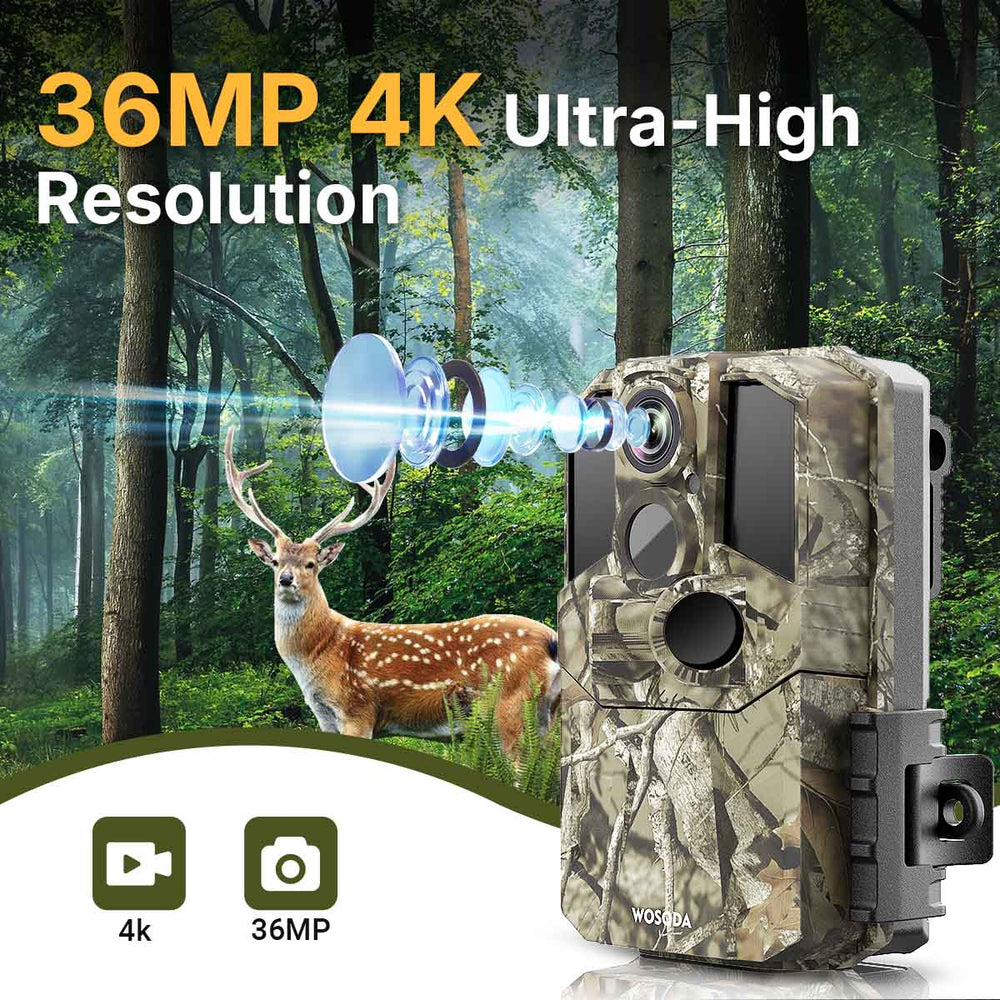
The WOSPORTS G600 is a non-cellular trail camera designed for local wildlife monitoring. It records photos and videos to an SD card, so you can review the footage on the camera or by using the card with a compatible device.
Its listed features include:
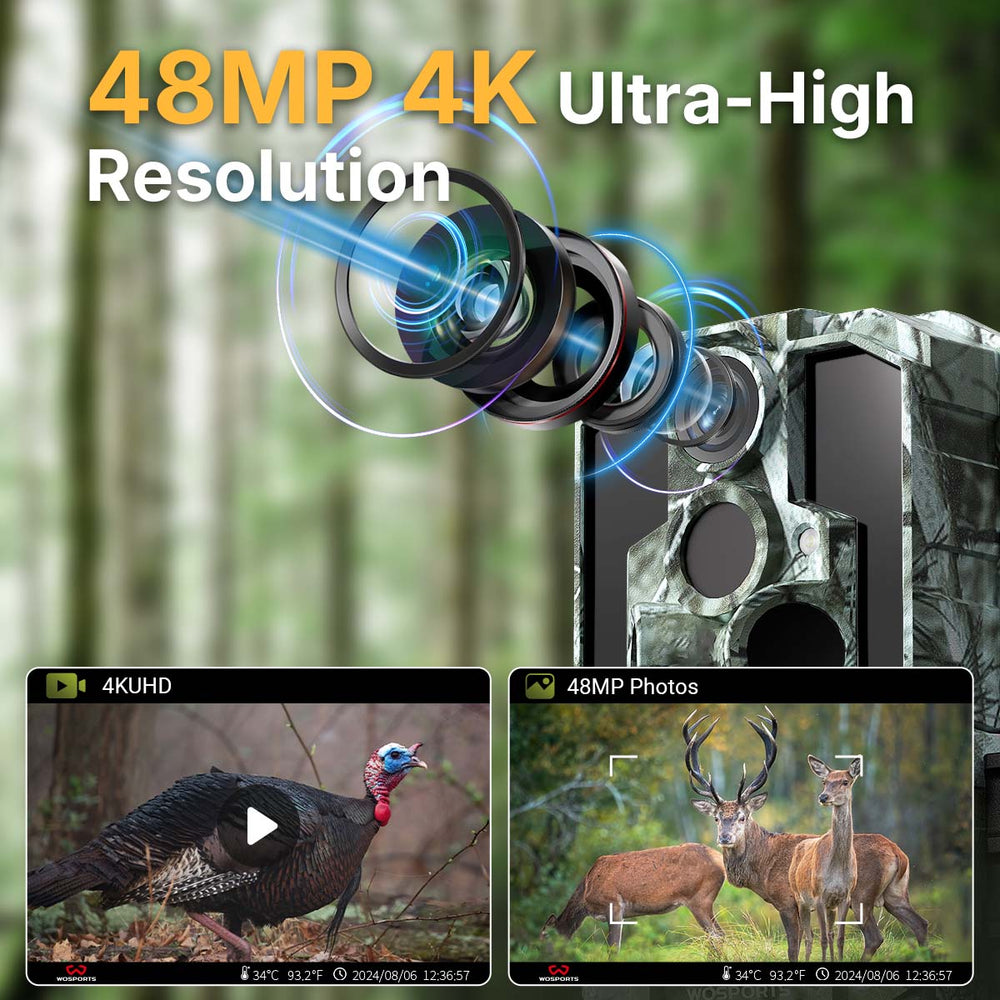
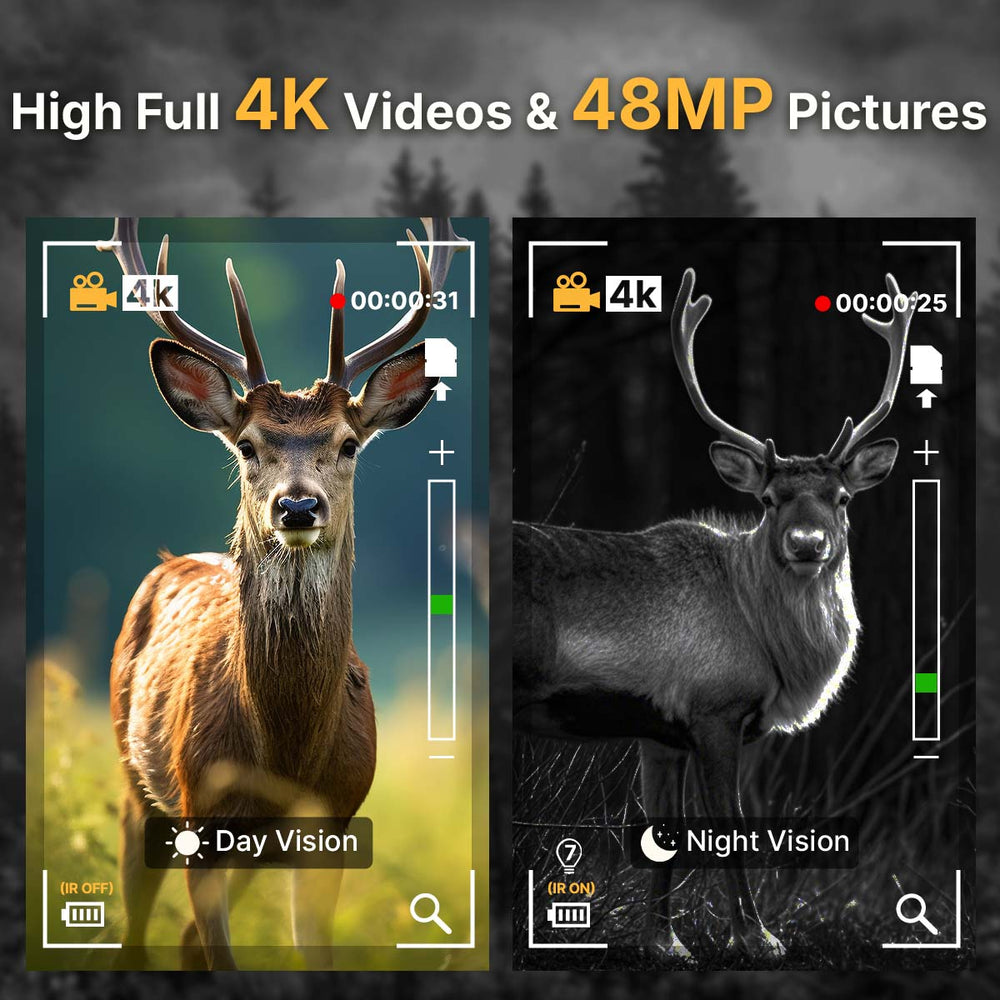
- Up to 48MP photos
- 4K video
- Approx. 0.2-second trigger speed
- 120° wide-angle view
- PIR detection up to 70 ft
- Automatic day/night monitoring
- Night vision
- IP66 weather protection
- 2-inch TFT LCD screen
- 8 AA batteries
For a first-time user, the built-in screen can be useful for checking settings and reviewing captured images in the field. Since the G600 stores footage locally rather than sending it through a mobile app, plan to retrieve the SD card or use the camera's screen when you want to review recordings.
Always check the current product manual for model-specific instructions, supported SD card requirements, and operating details.
Final Thoughts
A successful first-time trail camera setup is about more than turning the device on. Choose a location with real signs of activity, prepare the storage and power correctly, set the camera's basic options, and take time to test the detection area.
Once the camera is running, review the first recordings and make small adjustments if needed. A slight change in angle or position can sometimes make a meaningful difference to the footage you collect.
Set it up carefully, test before you leave, and let the camera help you learn what's happening outdoors.
Frequently Asked Questions
Do I need to format an SD card before using it in a trail camera?
Follow the camera manual. If the camera has an in-camera formatting option, the manufacturer may recommend using it to prepare the card. Back up any files you want to keep first, because formatting typically erases stored data.
Should I test my trail camera before leaving it outside?
Yes. Testing helps confirm that the camera is powered, aimed correctly, and able to detect movement in the area you want to monitor.
How do I know if my trail camera is recording?
Check the camera's status indicators or display according to the manual. If available, use setup or test mode to confirm detection and review a sample capture. After the camera has been operating, inspect the SD card or playback screen for saved files.
Where should I place my trail camera for deer?
Look for active deer trails, food and water sources, crossings, funnels, and travel routes. Position the camera so the expected movement passes through its useful detection and viewing area.
Why is my trail camera taking empty photos?
Moving vegetation, shadows, changing sunlight, small animals, or a poorly aimed detection zone can cause empty triggers. Inspect the scene and adjust the camera position or settings as needed.
Can I use a trail camera without Wi-Fi or cellular service?
Yes. Non-cellular trail cameras store recordings locally on a memory card. You retrieve and review the footage directly from the camera or by accessing the card with a compatible device.
How often should I check a trail camera?
It depends on your camera settings, battery capacity, storage space, wildlife activity, and monitoring goal. Check it when you need to review footage or maintain the camera, while considering whether visits could disturb wildlife.
Search
Popular Posts
Recent Posts


Nov 28, 2024
Troubleshooting Common Trail Camera Issues
Jan 10, 2025
Why Does My Trail Camera Stop Working at Night?