Summer Trail Camera Tips - How to Use Trail Cameras in Hot Weather
For your trail cameras, summer can be a challenging time — with blazing heat, humidity, bugs, and bright sunlight putting your equipment to the test. To help you get the best results, here are practical summer trail camera tips to keep your gear running smoothly and your photos crystal clear, even in the hottest months.
1. Choose the Right Location for Hot Weather
When it's summer, where you put your camera is super important. Animals move differently when it's hot and depending on where to get food, so putting your camera in the correct spot makes a difference.
Things to look for:
Shady spots: Put your camera under trees or near bushes so it's not in direct sunlight. This keeps it from getting too hot. Plus, your videos won't be too bright.
Water: Streams, ponds, and creeks are where animals go when it’s hot. Deer, raccoons, and even predators come to drink and cool off.
Animal paths: Look for tracks connecting where animals eat and sleep. These paths are still used when it's warm.

Tips
Where to Place Trail Cameras>>
2. Prevent Overheating and Extend Battery Life
Summer heat can really mess with your trail camera. Hot weather can damage the sensors and batteries, which can make your camera not work well or even turn off.
Here's how to keep it running smoothly:
- Use lithium batteries; they work better than alkaline ones when it's super hot or cold.
- Put something over your camera to give it shade from the sun.
- Think about using solar panels so you don't have to change batteries all the time.
Set your camera to only take pictures when it senses movement instead of taking pictures all the time; this will save battery on those super hot days.
How to Extend the Battery Life of Your Trail Camera>>
3. Protect Against Moisture, Dust, and Insects
The summer season comes along with not only the heat but also the moisture, sudden showers, and insects which can cause problems with the camera’s functioning.
Here are the ways to protect your setup:
Tight enclosure is a must: Before closing the door of the camera, always check the rubber gasket if it is properly installed and clean.
Don’t place your camera in low places where rainwater gets collected or where the moisture from the ground makes it condensation at night.
Use insect repellent (in the area surrounding, not on the camera) to prevent insects like ants and spiders from nesting near the lens.
Put desiccant packs inside the camera housing to soak up the moisture and keep the fogging off.
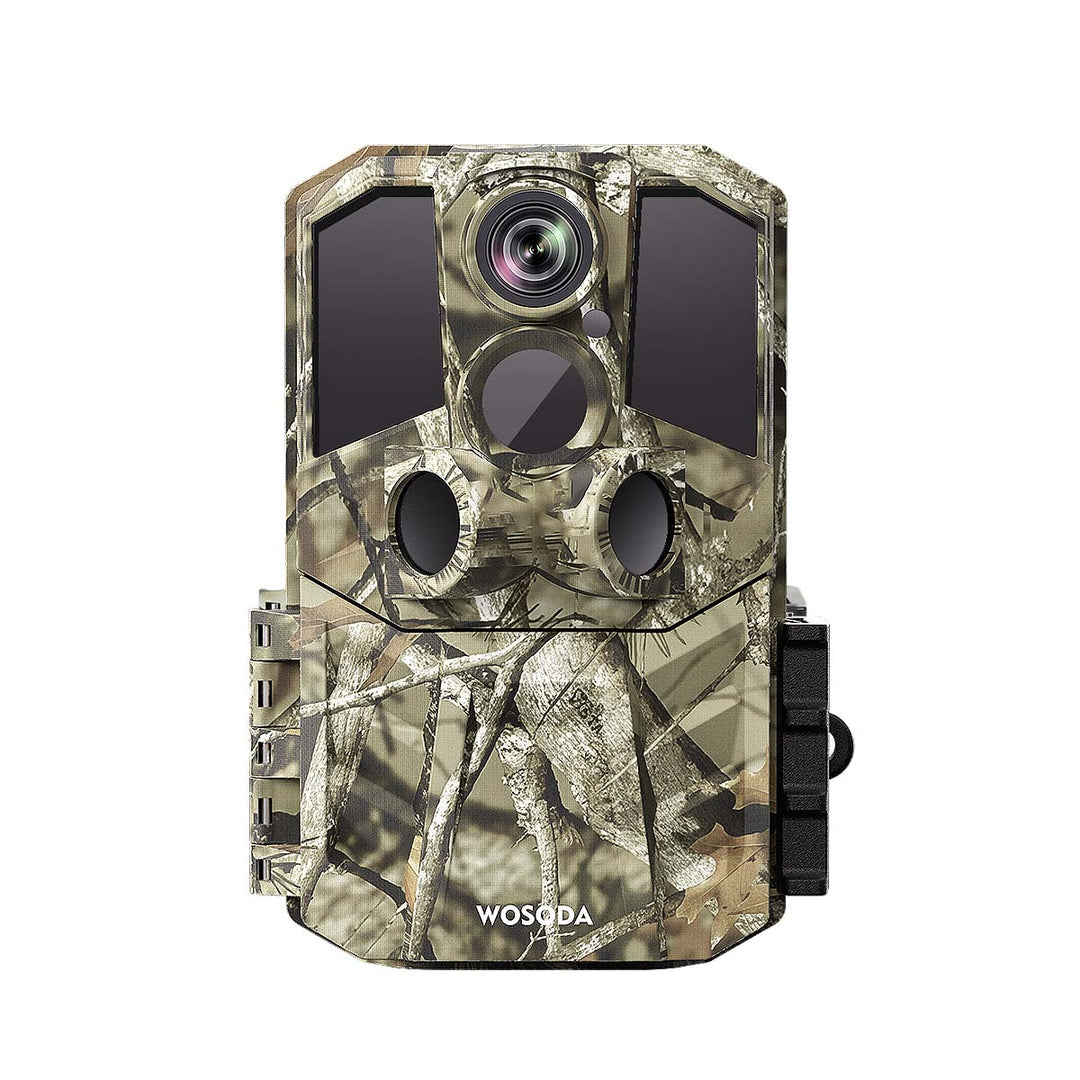
WOSPORTS wildlife trail cameras come with the IP66 waterproof ratings which means they are well protected against rain and humidity — a must for the long-term usage during the unpredictable summer storms.

4. Optimize Camera Settings for Bright Summer Light
Bright summer sunlight is a photographer's biggest challenge. With the sun at its highest and most intense, your trail camera might produce images that are totally white and thus the details of the animals or the landscape are lost. Properly adjusting your settings can have a very significant positive impact on the quality of your photos.
At midday, when the light intensity is at its highest, lowering the exposure level is a good way of preventing glare and blown-out images.
Summer is the time of long days and fast-moving shadows as well, so timing is as important as settings. The early morning and late evening hours—approximately 5–8 a.m. and 6–9 p.m.—provide softer light and more animal movement. If you set up your trail camera to be active during these time periods, you will get the benefits of balanced lighting and also more natural wildlife behavior.
5. Understand Animal Behavior During Summer
The summer wildlife movement has distinct different rhythms to that of the fall or winter. Knowing these different habits might lead you to the right place and the right time for your trail cameras.
You could even move your camera location for maximum results after predicting the most common animals' appearance spots by studying the summer patterns.
Noted: It will be a good idea to rotate the cameras between the feeding and watering spots every few weeks for more varied footage.

6. Keep Your Lens Clear and Sensors Clean
Summer can easily cover your lens with dirt and pollen. Even a small layer of dirt can spoil the sharpness or activate incorrect motion alerts.
To get rid of the impure footage, gently cleanse the lens and infrared sensor with a microfiber cloth every few days.
Or you can employ a lens hood or shade to eliminate sunlight glare.
Regular maintenance not only prolongs your camera's life but also ensures that even during the day, the surrounding wildlife like deer, birds, and small mammals will be captured in ultimate clarity.
7. Post-Summer Maintenance and Storage
All the maintenance work that summer requires for trail cameras is done by now so, let them be used and checked thoroughly for autumn and winter seasons at the very least.
This is the way to do that:
Take out the batteries and SD cards — put them in separate cool and dry places.
Wipe the housing, seals, and lens with a soft brush and mild cloth.
Look at the mounting straps and check if there is any wear or mold.
Transfer and make a backup of your most beautiful summer video clips to a safe drive or cloud storage.
Bonus Tip: Use Multiple Cameras for Broader Coverage
Using a few trail cameras can give you the full story on where the animals are moving. What's happening by the water might be totally different than what's going on in a field or wooded area.
Try putting cameras:
Near water or food sources, where animals eat and cool down.
Along paths or the edge of fields to watch how they move around.
Close to where they sleep or near mineral licks – it could be quiet, but regular.
Looking at videos from different spots helps you see animal behavior patterns that one camera might miss.
If you’re managing larger-scale monitoring or supply for outdoor retailers, check out our Wholesale Trail Cameras — ideal for bulk purchasing and professional wildlife management projects.
Search
Popular Posts
Recent Posts

Nov 28, 2024
Troubleshooting Common Trail Camera Issues
Jan 10, 2025
Why Does My Trail Camera Stop Working at Night?


