Where to Place Trail Cameras for Effective Pre-Season Deer Scouting
In this guide, we’ll explore the best locations to set up trail cameras for pre-season deer scouting, common placement mistakes to avoid.
Best Locations to Place Trail Cameras for Deer
1. Feeding Areas
In summer and early fall, deer hang out in fields, food plots, or near acorns. Put cameras at the edge of these spots to see which bucks are around and how often they show up.
Quick Tip: Don't put cameras right out in the open; keep them just off the edge of the field. This way, you don't scare the deer, and your photos will be better up close.
2. Trails and Travel Corridors
Deer usually take the same routes between their beds and where they eat. If you spot these paths, you can figure out their patterns and guess where to set up your stand.
- Keep an eye out for clear paths with footprints and poop.
- Put your camera about 10–15 feet from the path, pointing down a bit to see more.
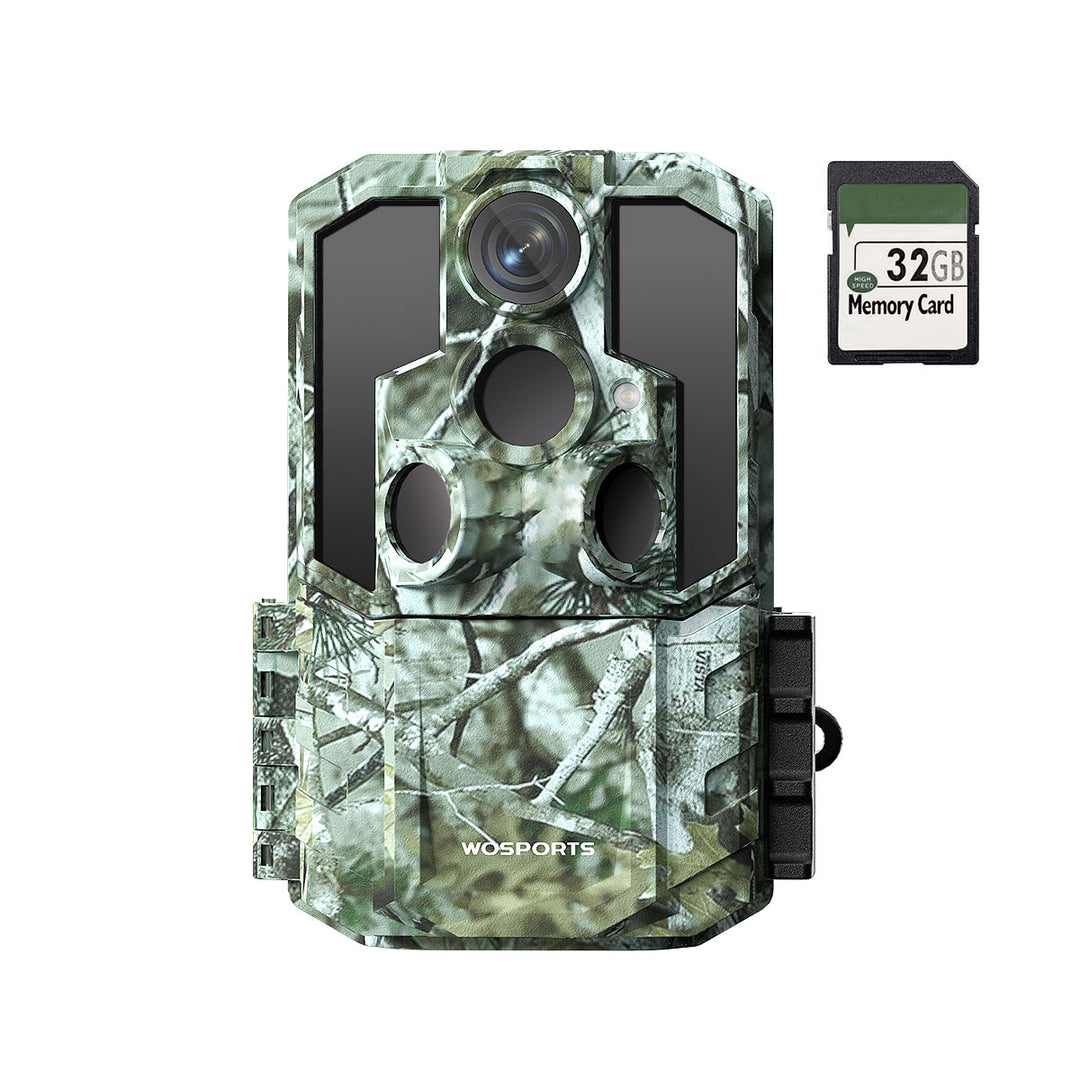
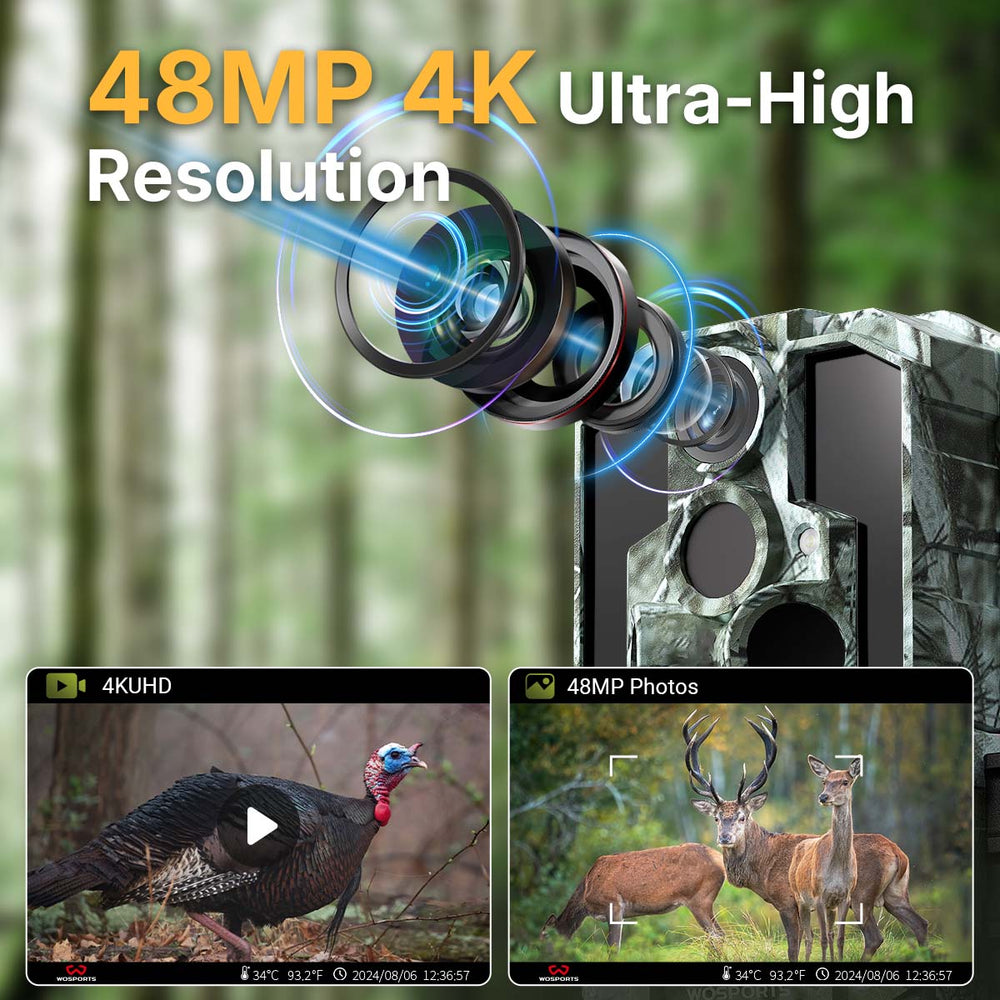
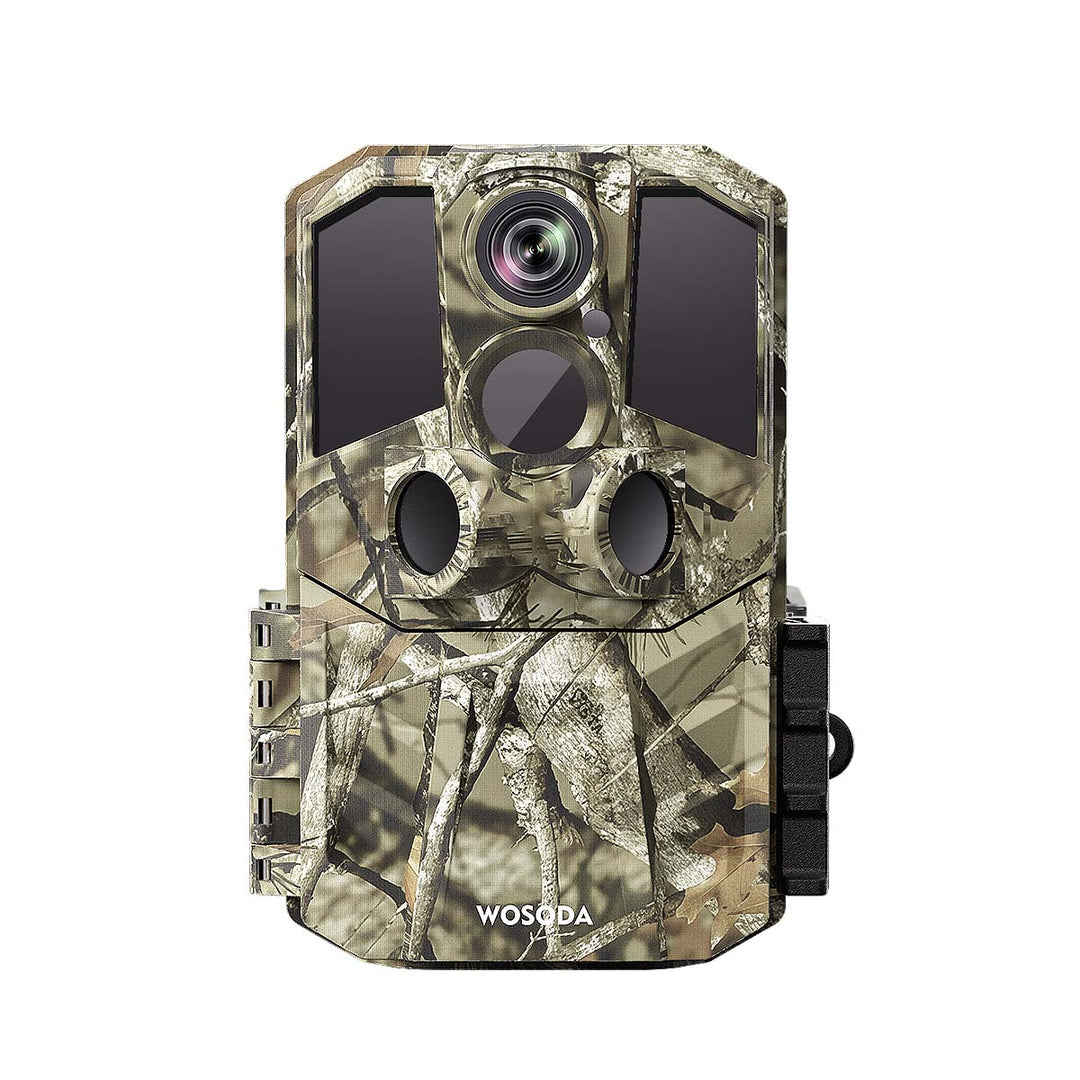
A camera that snaps fast, like the WOSPORTS G600 Wildlife Outdoor Camera, is great for catching deer on the move.

3. Water Sources
When it's hot before the season, water is key. Deer tend to hang around ponds, creeks, and small waterholes. Putting cameras in these spots can help you figure out how many deer there are and how often they come by.
Bonus tip: Water sources can also show you what's moving around at night, especially if your camera has good infrared or no-glow night vision.
4. Bedding Area Borders
Walking right into where deer sleep can scare them off. Instead, put your camera on the edge of these spots to see when they come and go. This is great for planning your evening hunts.
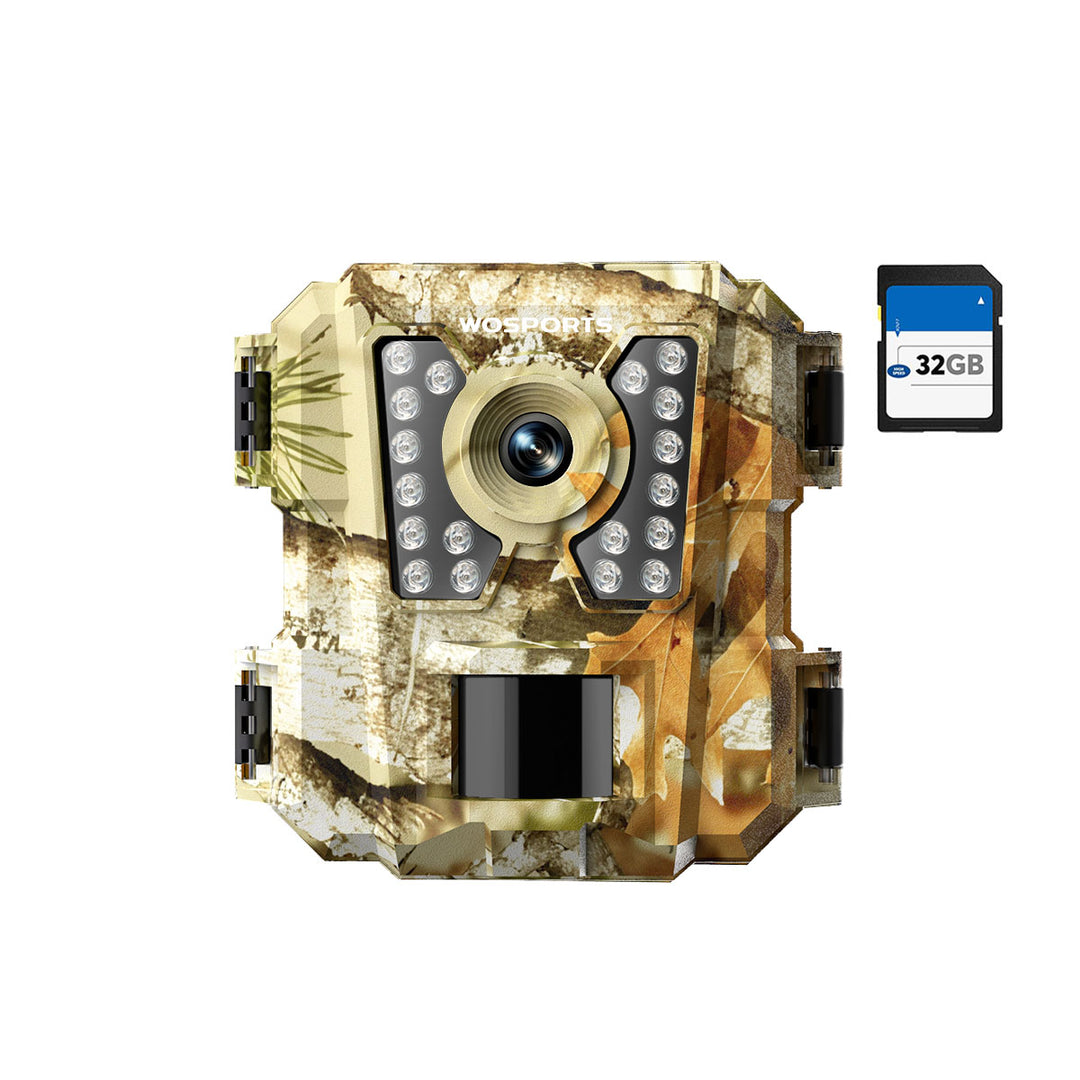
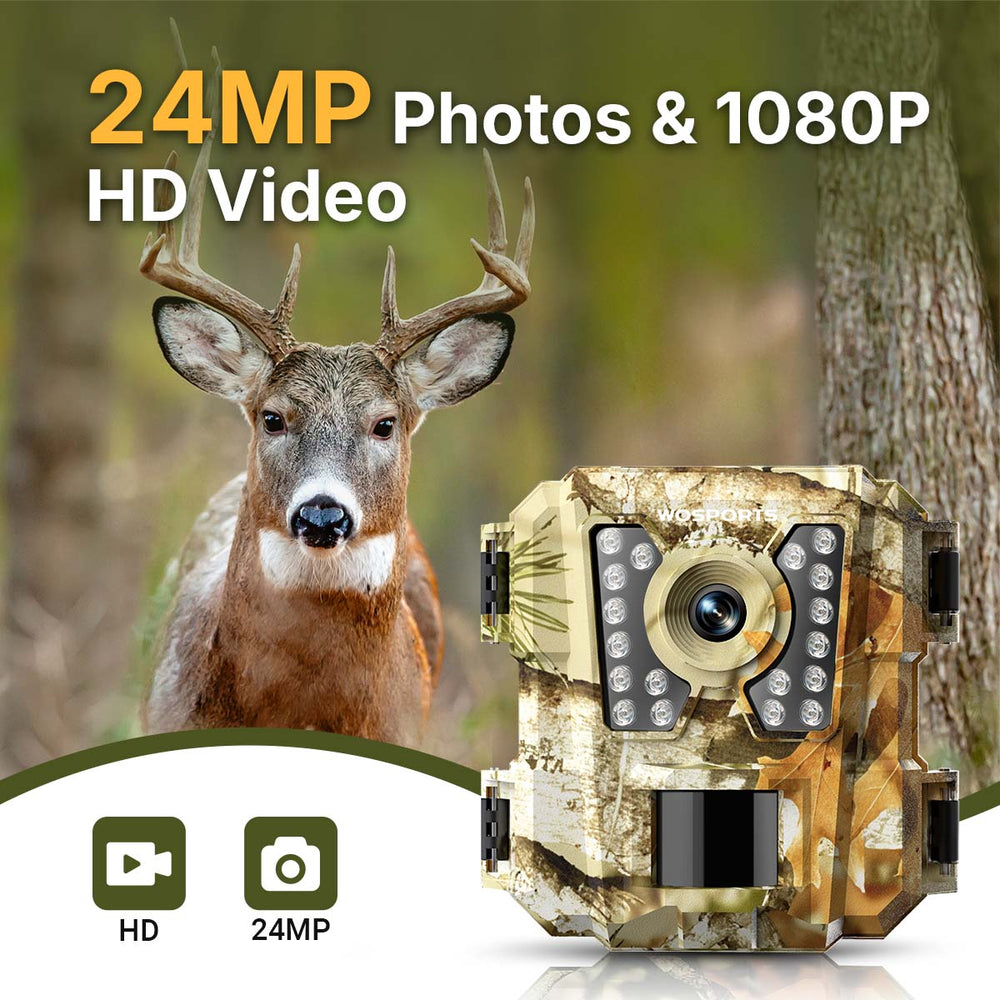
Quick Tip: Pick cameras like the WOSPORTS G100 Mini Trail Camera that have batteries that last and don't smell too much. That way, you won't have to go there all the time to change stuff.

5. Scrapes and Rub Lines
As pre-season transitions to the rut, bucks begin marking territory with scrapes and rubs. These become hotspots for deer activity. Setting cameras here helps you track which bucks dominate the area.
- Aim the camera slightly downward at the scrape.
- Choose a wide-angle detection range to cover multiple bucks visiting.
Learn more about trail camera placement tips>>
How to Get the Most Out of Your Pre-Season Scouting
Use lots of cameras: Set them up to watch where deer eat, sleep, and walk, all at the same time. This gives you a full view of what's going on.
Name and sort your videos: Make folders for each spot and date. That way, you can easily see how deer move around over time.
Keep moving cameras: If you're not seeing much action in one place, move your camera somewhere else. Don't just let it sit there doing nothing.
Search
Popular Posts
Recent Posts

Nov 28, 2024
Troubleshooting Common Trail Camera Issues
Jan 10, 2025
Why Does My Trail Camera Stop Working at Night?


