Why Is My Trail Camera Taking Empty Photos? 10 Common Causes and How to Fix Them
You check your trail camera and find dozens of photos—but no deer, no wildlife, and nothing useful in the frame. If your trail camera keeps taking pictures of nothing, you're not alone. Empty photos and false triggers are common frustrations for trail camera users.
The good news is that many of these problems can be traced to camera placement, moving vegetation, changing sunlight, or detection settings. A few careful checks can often reduce unnecessary triggers and help you capture more usable footage.
In this guide, we'll explain 10 common reasons a trail camera takes empty photos, how to troubleshoot each one, and what to check before leaving your camera in the field again.
Why Does My Trail Camera Keep Taking Pictures of Nothing?
A trail camera may capture an empty image when its motion sensor detects a change in the scene, but the animal or object that caused the trigger isn't visible in the resulting photo.
Common causes include:
- Moving branches, grass, or leaves
- Sunlight and shifting shadows
- Heat moving across the detection area
- The camera being aimed at the wrong spot
- Animals passing outside the image frame
- Detection sensitivity being too high for the location
- An unsuitable camera angle or mounting position
- Small animals or insects triggering the sensor
- A delay or recording setting that doesn't fit the activity
- A setup or equipment issue
Start by looking for a pattern in the empty images. Are they all taken around the same time of day? Do they show the same patch of grass? Are they consistently blank at night? That information can help narrow down the cause.
1. Moving Branches and Grass Are Triggering the Camera
One of the first things to check is vegetation moving in front of the camera.
Wind can make grass, leaves, and branches shift in and out of the detection area. Depending on the camera's sensor and settings, this movement may trigger a photo even when no animal is present.
How to fix it
- Review several empty photos and note what appears in the frame.
- Look for grass, leafy branches, or shrubs close to the camera.
- Reposition the camera to avoid the most active vegetation.
- If appropriate, carefully clear only the obstructing growth.
- Test the camera again on a breezy day if wind-related triggers are suspected.
Avoid clearing more vegetation than necessary, especially in areas where you want to minimize disturbance. The goal is to give the camera a clear view of the target area, not to reshape the entire location.
2. Changing Sunlight and Shadows Are Causing False Triggers
Sunlight changes throughout the day. As the sun moves, shadows can shift across the ground, tree trunks, and vegetation.
Some trail cameras use passive infrared (PIR) sensors, which respond to changes in infrared energy within their detection area. Sudden environmental changes can sometimes contribute to unwanted triggers.
How to fix it
- Check whether empty photos cluster around sunrise or sunset.
- Look at the direction the camera faces and where sunlight falls during those hours.
- If possible, reposition the camera to reduce direct sunlight entering the lens.
- Avoid framing large areas where shadows move sharply across the scene.
- Review the camera's sensitivity options if it has them.
There is no single compass direction that works for every property. The sun's path, terrain, and expected wildlife activity all matter.
3. The Camera Is Pointed at the Wrong Area
Sometimes the camera is working normally, but its detection area doesn't line up with the part of the scene you want to monitor.
For example, an animal may pass just outside the image frame, or the camera may be aimed at an open area while wildlife travels along the edge of the scene.
How to fix it
- Identify the actual route or area you want to monitor.
- Check that it falls within the camera's field of view.
- Adjust the camera's angle so the important area is visible.
- Walk through the expected travel route to test detection and framing.
- Review a test image or clip before leaving.
If you're monitoring a trail, placing the camera slightly to one side and aiming across the route can help capture animals as they pass. The best angle depends on the camera and the shape of the area.
4. The Camera Is Too Close to the Trail or Target Area
If an animal passes very close to the camera, it may appear only partially in the image—or it may move through the scene before a useful capture is made.
A close placement can also make it harder to frame the full animal, particularly with a wide-angle camera.
How to fix it
- Move the camera farther from the trail if the subject fills too much of the frame.
- Adjust the angle to capture the path across the scene.
- Check that the expected animal route falls within the camera's useful detection area.
- Test the new position by walking through the frame.
Don't rely on one universal distance. Camera field of view, detection pattern, terrain, and animal size all affect the ideal placement.
5. The Detection Sensitivity Is Too High
Some trail cameras allow users to adjust motion-detection sensitivity. A high setting may help detect smaller or more distant movement in some situations, but it can also increase unwanted triggers in environments with moving vegetation or changing conditions.
Not every camera offers the same sensitivity controls, so check your model's manual before making changes.
How to fix it
If your camera has adjustable sensitivity:
- Review the current setting.
- If the area has frequent false triggers, try reducing sensitivity by one step.
- Keep the camera in place long enough to compare results.
- Check whether useful wildlife events are still being captured.
- Adjust again only if needed.
Avoid lowering sensitivity too far without testing. A setting that reduces empty photos may also make the camera less likely to detect the wildlife you're trying to monitor.
6. Small Animals or Insects Are Triggering the Camera
Not every trigger comes from a deer or another large animal. Smaller wildlife can pass close to the camera, and insects may move near the lens or infrared area.
These events may create images that look empty at first glance, especially if the animal is only visible at the edge of the frame or too close to the lens.
How to fix it
- Inspect the edges of the image, not just the center.
- Check for small animals or insects close to the camera.
- Make sure the camera isn't aimed at a location with constant small-animal activity if that's not your goal.
- Keep the lens and sensor area clean, following the manufacturer's care instructions.
If the camera is recording wildlife you don't intend to monitor, consider adjusting its position or settings rather than assuming the device is malfunctioning.
7. Heat and Environmental Changes Are Affecting Detection
PIR sensors detect changes in infrared energy. Their performance can be affected by environmental conditions, including temperature differences between an animal and its surroundings.
In very warm conditions, the contrast between an animal and the background may be reduced. At the same time, moving warm air or rapidly changing conditions can sometimes complicate detection.
How to fix it
- Check whether false triggers or missed detections happen mainly during hot parts of the day.
- Avoid aiming at surfaces that become intensely heated if they aren't part of your target area.
- Keep the camera's sensor area unobstructed.
- Review your camera's recommended operating conditions.
- If needed, test a different location with less direct sun exposure.
Don't assume heat is the cause based on one empty image. Look for repeated patterns and compare results after changing one variable at a time.
8. The Camera's Delay or Recording Settings Don't Match the Activity
Some trail cameras offer a delay between triggers, a recording duration setting, or a combination photo-and-video mode. These options affect how the camera records events and how many files it creates.
A delay doesn't usually explain every empty photo, but it can make the camera's response seem inconsistent when animals move through an area in quick succession.
How to fix it
- Check the current trigger interval or delay setting, if available.
- Review the recording mode and video clip length.
- Compare settings with the expected activity at the location.
- If wildlife passes through frequently, consider whether a shorter delay is appropriate.
- Keep in mind that more frequent recording can use more battery power and storage.
Use the camera manual to understand the exact meaning of each setting. Terms and available controls vary by model.
9. The Camera Is Mounted Unsteadily or Has Shifted
A camera that moves after installation may end up pointed at a different area than intended. Wind, loose straps, or an unstable mounting surface can change the framing over time.
This may lead to images of empty ground, vegetation, or the wrong section of a trail.
How to fix it
- Check whether the camera is still aimed at the intended area.
- Inspect the strap, bracket, or other mounting hardware.
- Make sure the mounting point is stable.
- Reposition and secure the camera if it has shifted.
- Take a test image or walk through the detection area.
If the camera is mounted on a tree, remember that the tree and nearby branches can move in the wind. Choose a stable position and avoid framing unnecessary moving objects.
10. The SD Card, Batteries, or Camera Setup Need Checking
If empty photos appear alongside other unusual behavior—such as missing files, incorrect timestamps, or the camera failing to respond—check the basic setup.
A storage or power issue may not be the direct cause of a false trigger, but it can make troubleshooting harder or prevent you from recording the event you expected.
How to check
- Confirm that the SD card meets the camera's requirements.
- Make sure the card is inserted correctly.
- Check battery level and replace or recharge batteries as recommended.
- Verify the date and time.
- Confirm that the camera is in its normal operating mode.
- Follow the manual's instructions for formatting or testing the card.
Back up any important files before formatting a card, since formatting typically erases stored data. Turn the camera off before removing the card unless the manual says otherwise.
If the problem continues after checking the setup, consult the manufacturer's troubleshooting instructions or support team.
How to Reduce Empty Photos Before You Install the Camera
A few preventive steps can help reduce unnecessary triggers from the beginning.
Choose a location with clear wildlife signs
Look for established trails, tracks, feeding areas, water sources, or other evidence of animal activity. A camera placed where wildlife rarely travels may produce few useful images, even if it's working properly.
Keep the detection area reasonably clear
Avoid pointing the camera at large areas of moving grass or branches. Clear only the vegetation that obstructs the intended view, where appropriate.
Test the framing and detection zone
Walk through the target area before leaving. Confirm that the camera detects movement and that the subject appears where you expect it in the image.
Match the settings to the environment
Sensitivity, delay, and recording options can affect how the camera behaves. Start with the manufacturer's recommended settings, then make adjustments based on what you observe.
Check the camera after its first period in the field
Review early captures before leaving the camera in place for a long time. If you notice repeated false triggers, you can correct the problem sooner.
Do Empty Photos Mean My Trail Camera Is Broken?
Not necessarily.
A few empty images don't automatically mean the camera is defective. Wind, changing light, small animals, and camera placement can all contribute to unwanted captures.
Before assuming there's a hardware problem, check:
- Whether the camera is aimed correctly
- Whether vegetation is moving in the detection area
- Whether the images are clustered at a particular time
- Whether the camera's settings fit the location
- Whether the SD card and power source are installed correctly
If the camera consistently fails to detect movement during a controlled test, or shows other signs of malfunction, follow the manufacturer's troubleshooting guidance.
Can a Faster Trigger Speed Prevent Empty Photos?
A faster trigger speed can help a camera respond more quickly after it detects movement, but it doesn't prevent false triggers by itself.
Trigger speed and false-trigger causes are different issues:
- Trigger speed describes how quickly the camera responds to detected movement.
- False triggers happen when the camera records movement or environmental changes that aren't the wildlife event you wanted to capture.
- Placement and settings help determine what enters the detection area and how the camera responds.
A fast camera can still take empty photos if wind moves branches in front of it or shadows change across the scene. Correct placement and suitable settings remain essential.
How the WOSPORTS G600 Can Help With Wildlife Monitoring
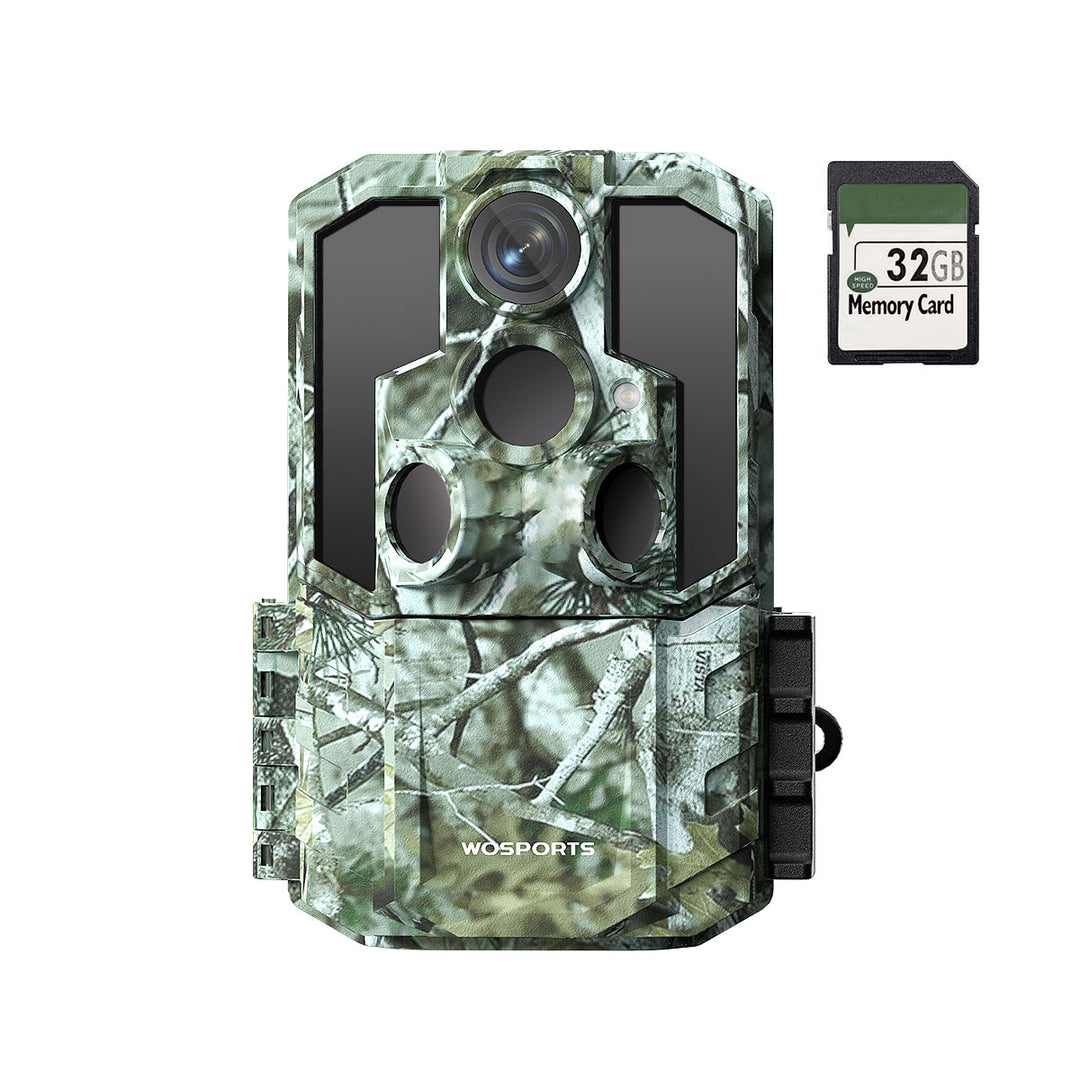
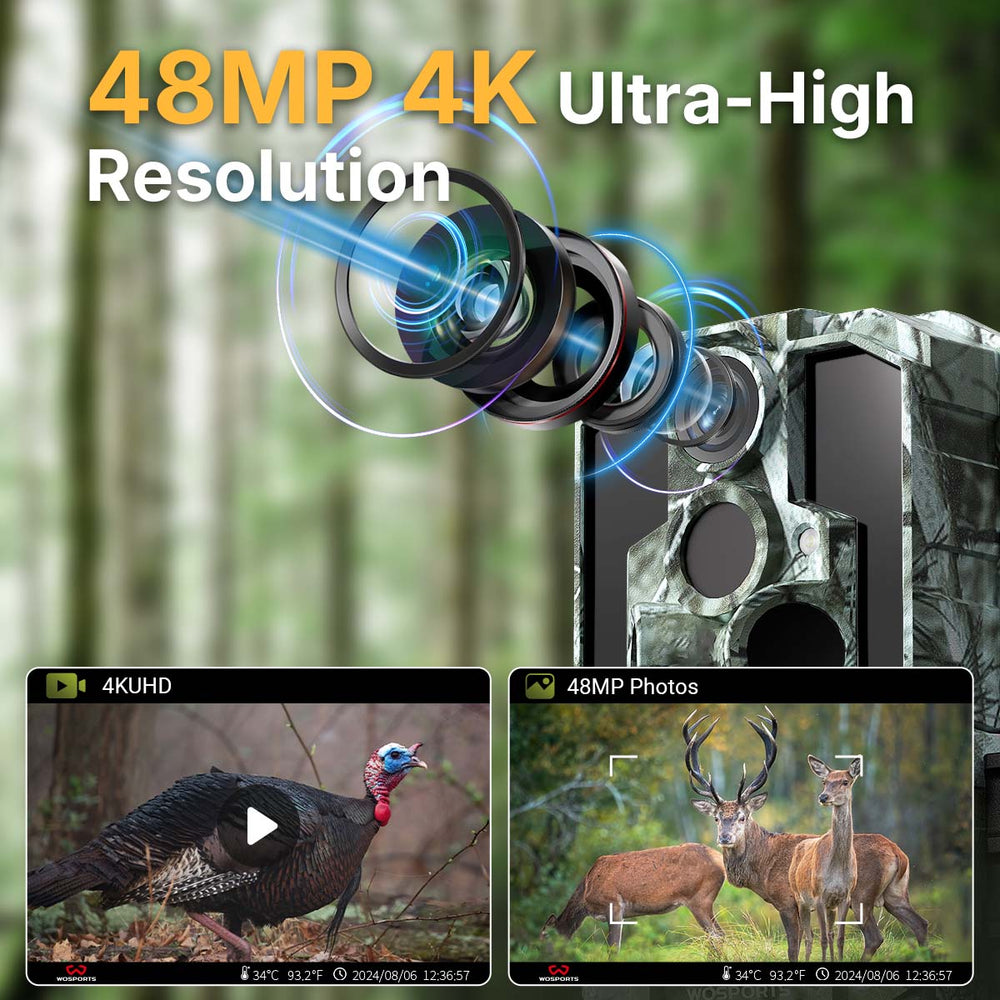
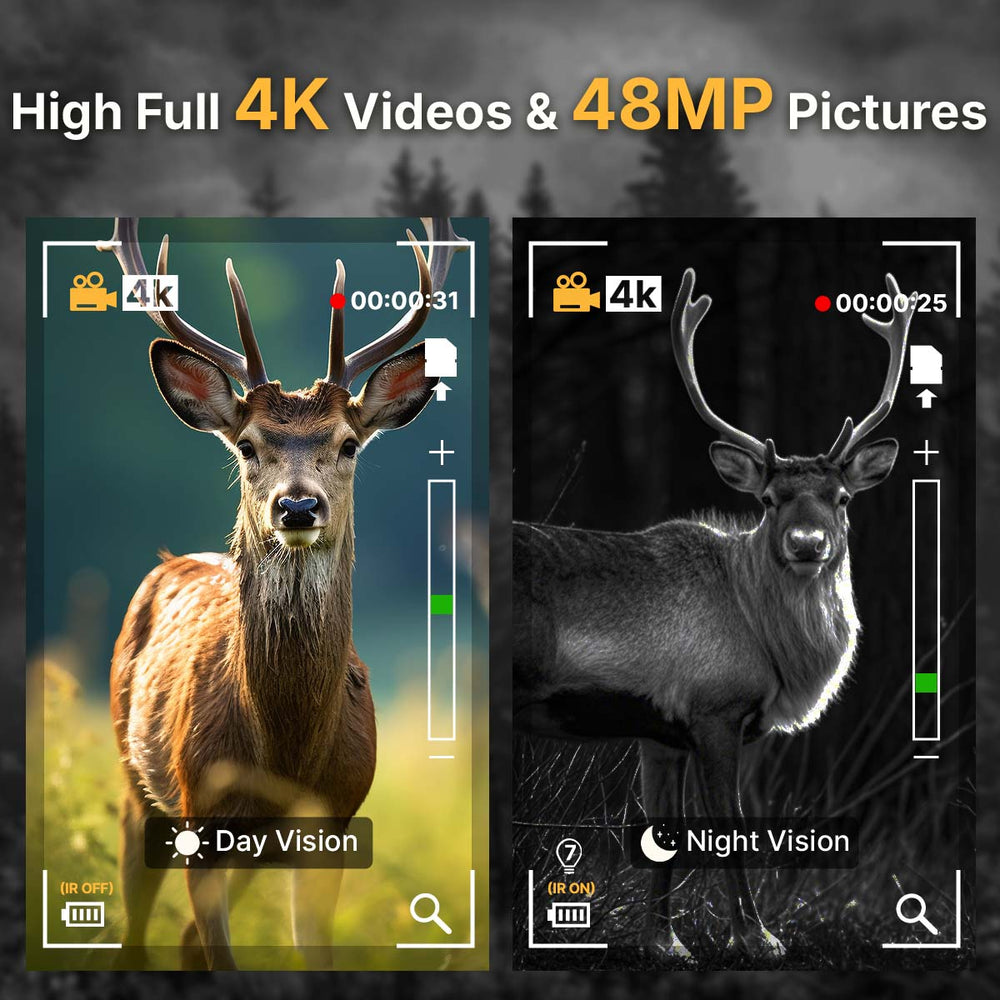
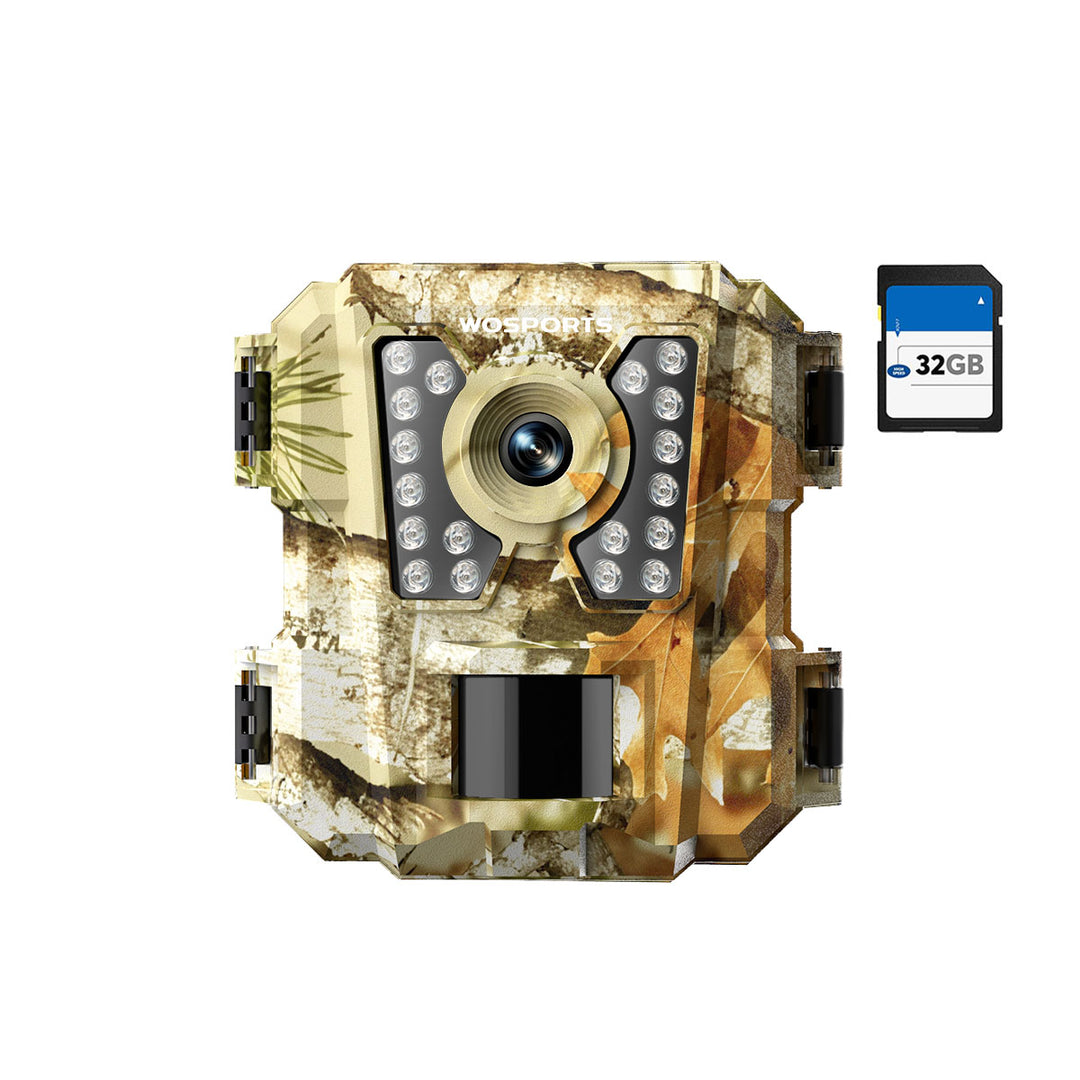
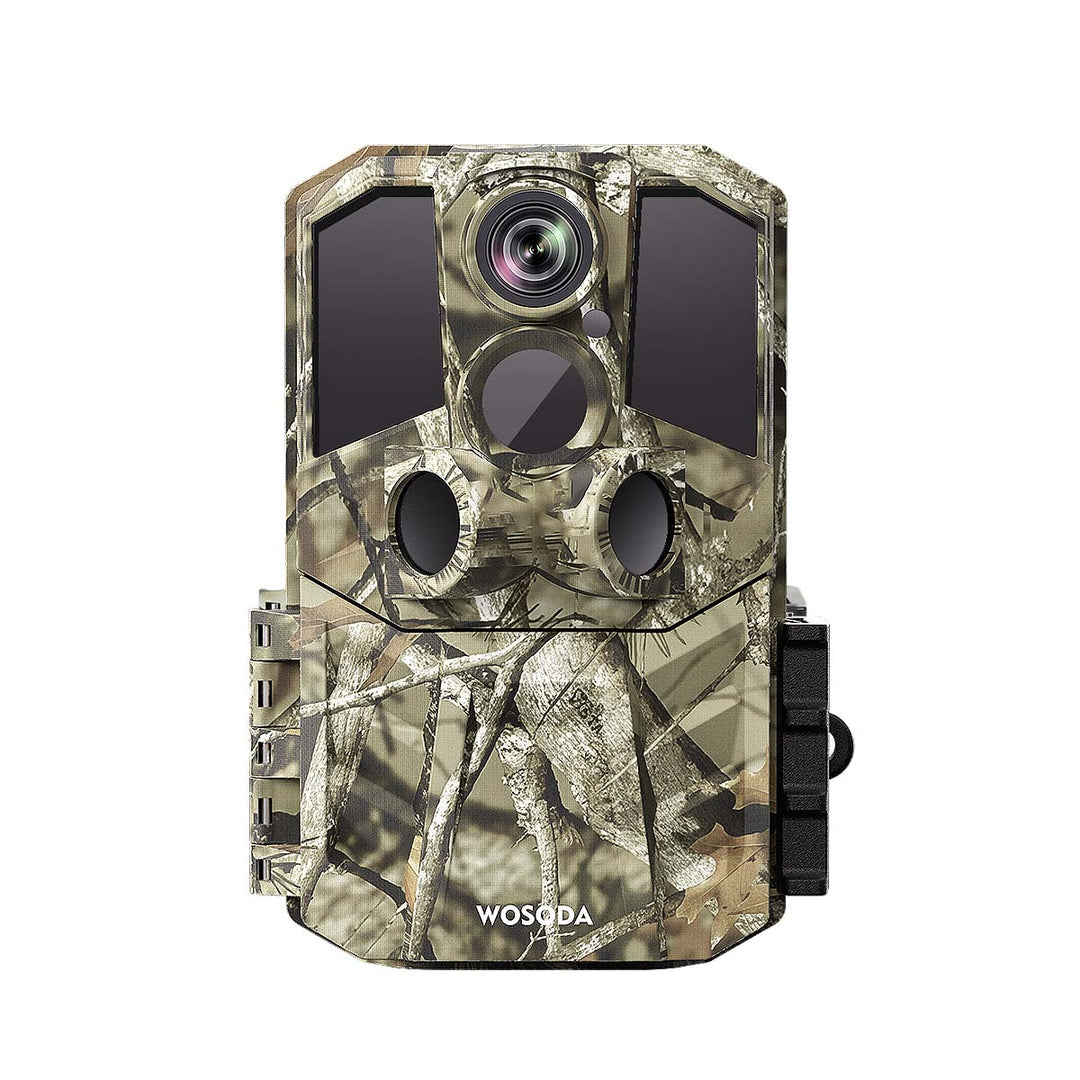
The WOSPORTS G600 is a non-cellular trail camera designed to record wildlife activity to an SD card for local review. Its listed features include 48MP photos, 4K video, a 0.2-second trigger speed, a 120° field of view, and PIR detection up to 70 feet.
These specifications can support different scouting needs, but they don't eliminate the need to choose a suitable location and test the camera's detection area. If you see empty photos, start with the same checks described above: vegetation, sunlight, framing, settings, and basic setup.
For model-specific settings and supported card requirements, refer to the camera's manual and product information.
Frequently Asked Questions
Why does my trail camera take pictures of nothing at night?
Possible causes include moving vegetation, small animals, insects near the camera, or unwanted movement within the detection area. Review the images for patterns and check the camera's placement and settings.
Why does my trail camera take pictures of nothing during the day?
Changing sunlight, moving shadows, wind-blown vegetation, and small animals can all contribute to empty daytime captures. Check whether the photos occur at similar times and inspect the camera's field of view.
How do I stop my trail camera from taking empty pictures?
Start by checking for moving branches and grass, then review camera angle, sunlight, sensitivity, and capture settings. Test the detection zone before leaving the camera in place.
Should I lower my trail camera's sensitivity?
If your camera has adjustable sensitivity and is producing frequent unwanted triggers, trying a lower setting may help. Make small changes and test whether the camera still captures the wildlife you want to monitor.
Can wind cause a trail camera to take empty photos?
Yes. Wind can move vegetation in the detection area and may cause unwanted triggers. Reposition the camera to avoid moving plants or carefully clear obstructing vegetation where appropriate.
Can sunlight trigger a trail camera?
Changing sunlight and shadows can contribute to unwanted triggers in some environments. Avoid direct glare where practical and check whether empty captures cluster around sunrise or sunset.
Why does my trail camera take empty photos even when the area looks clear?
The cause may not be obvious from the image alone. Check for movement near the frame edges, changing light, small animals, camera angle, and the sensor's detection area. Use a controlled walk test to see how the camera responds.
Does a fast trigger speed stop false triggers?
No. Trigger speed affects how quickly the camera responds to detected movement. False triggers are more often related to the environment, placement, or detection settings.
Final Thoughts
Empty trail camera photos can be frustrating, but they often provide clues about what's happening around the camera.
Look for patterns in the captures, inspect the scene for moving vegetation and shifting shadows, and make sure the camera is aimed at the area you actually want to monitor. Then test the detection zone and adjust one thing at a time.
The goal isn't simply to reduce the number of photos. It's to capture more of the moments that matter.
Search
Popular Posts
Recent Posts


Nov 28, 2024
Troubleshooting Common Trail Camera Issues
Jan 10, 2025
Why Does My Trail Camera Stop Working at Night?