Wildlife Photography Tips: Capture Nature Like a Pro
Wildlife photography combines art and fieldcraft. It requires you to think like a photographer and like a naturalist. In this guide, we’ll share essential wildlife photography tips that will help you improve your skills, whether you’re a beginner exploring your backyard or an experienced photographer heading into the wild.
Tip 1. Know Your Subject
A wildlife photography tip that folks often forget is to research the animals you want to shoot.
Find out what they eat, how they move around, and where they like to hang out.
Figure out the best times to spot them. For instance, deer are usually out at sunrise and sunset, but birds might be hopping in the morning.
Watch their behavior: Knowing when an animal might stop, eat, or play helps you get those killer shots.
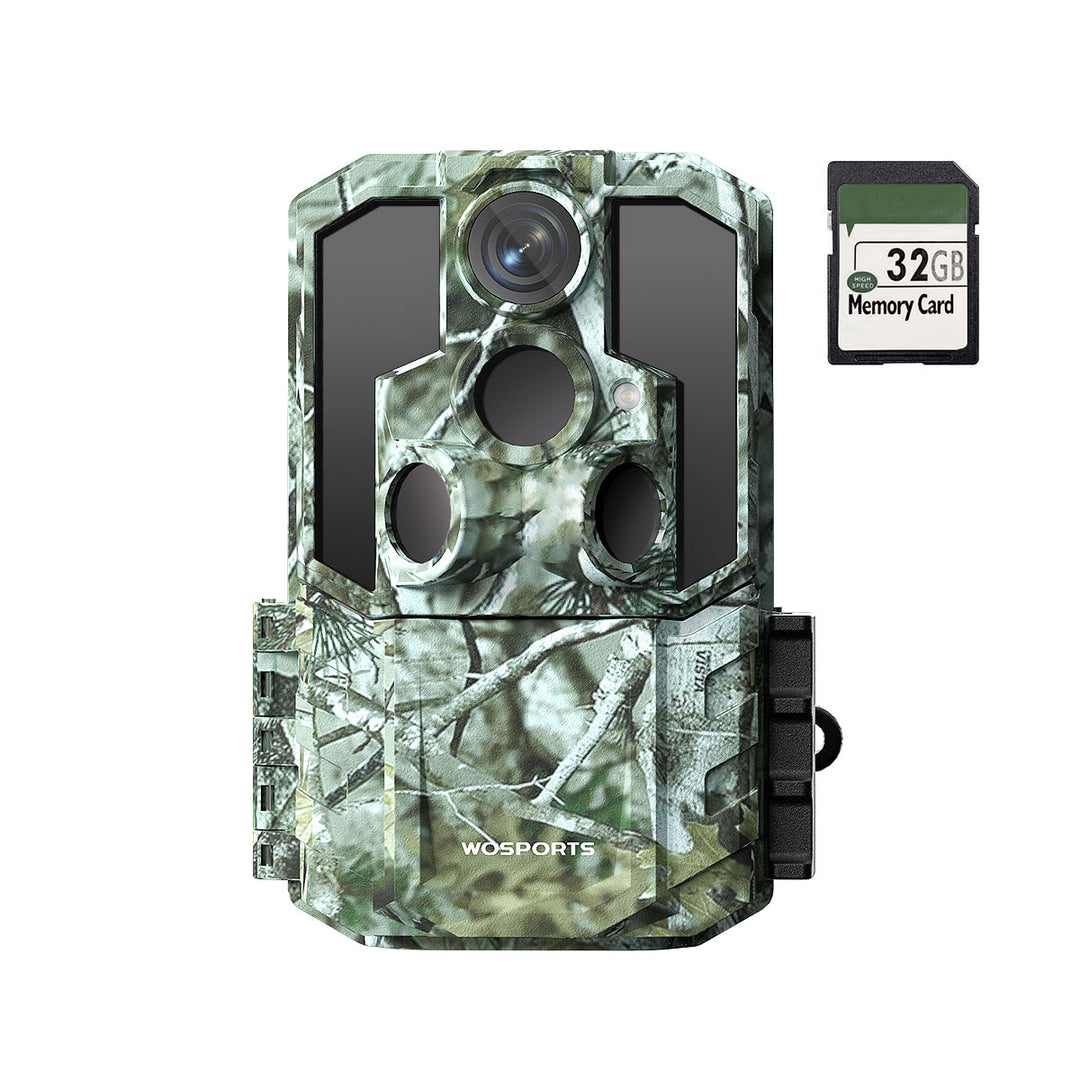
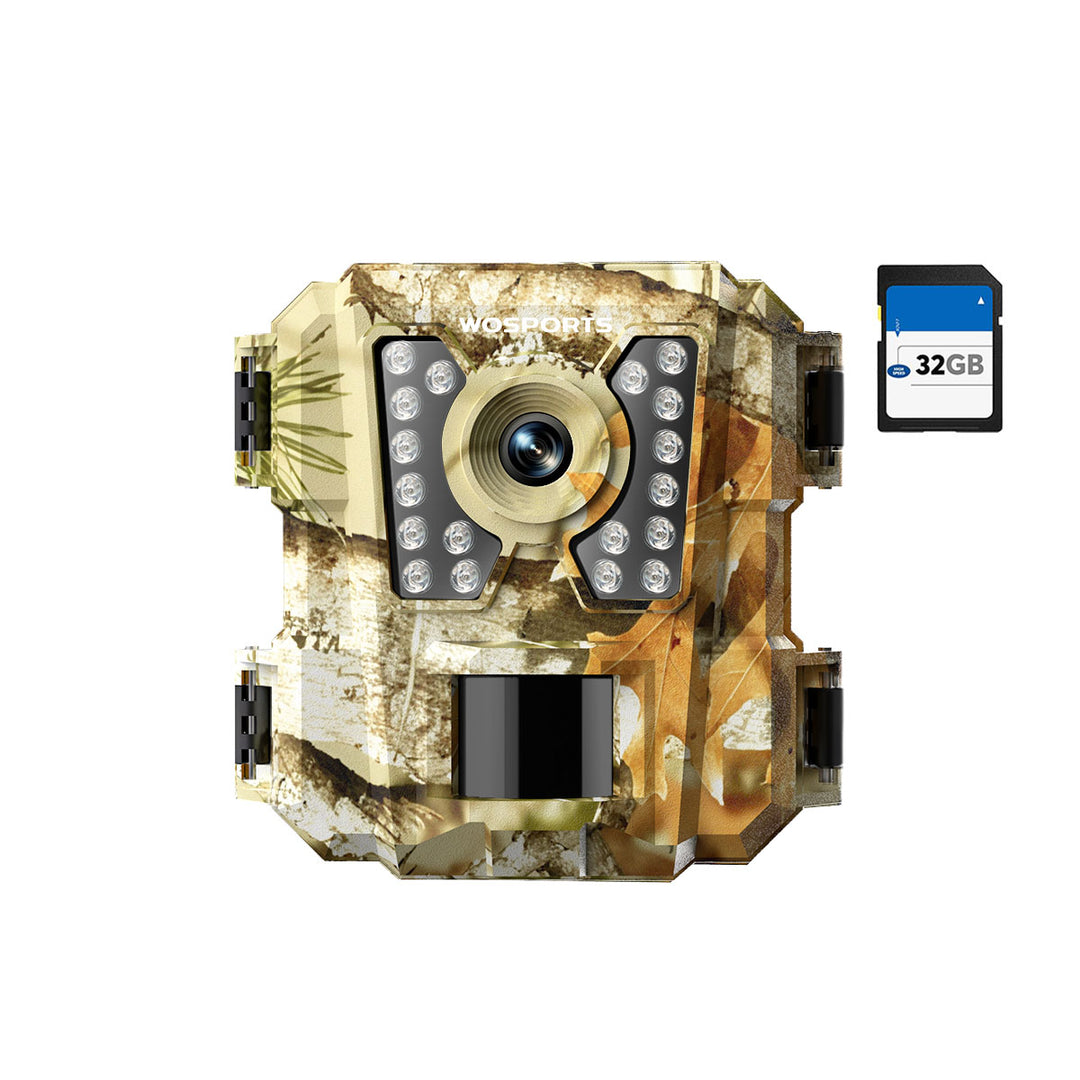
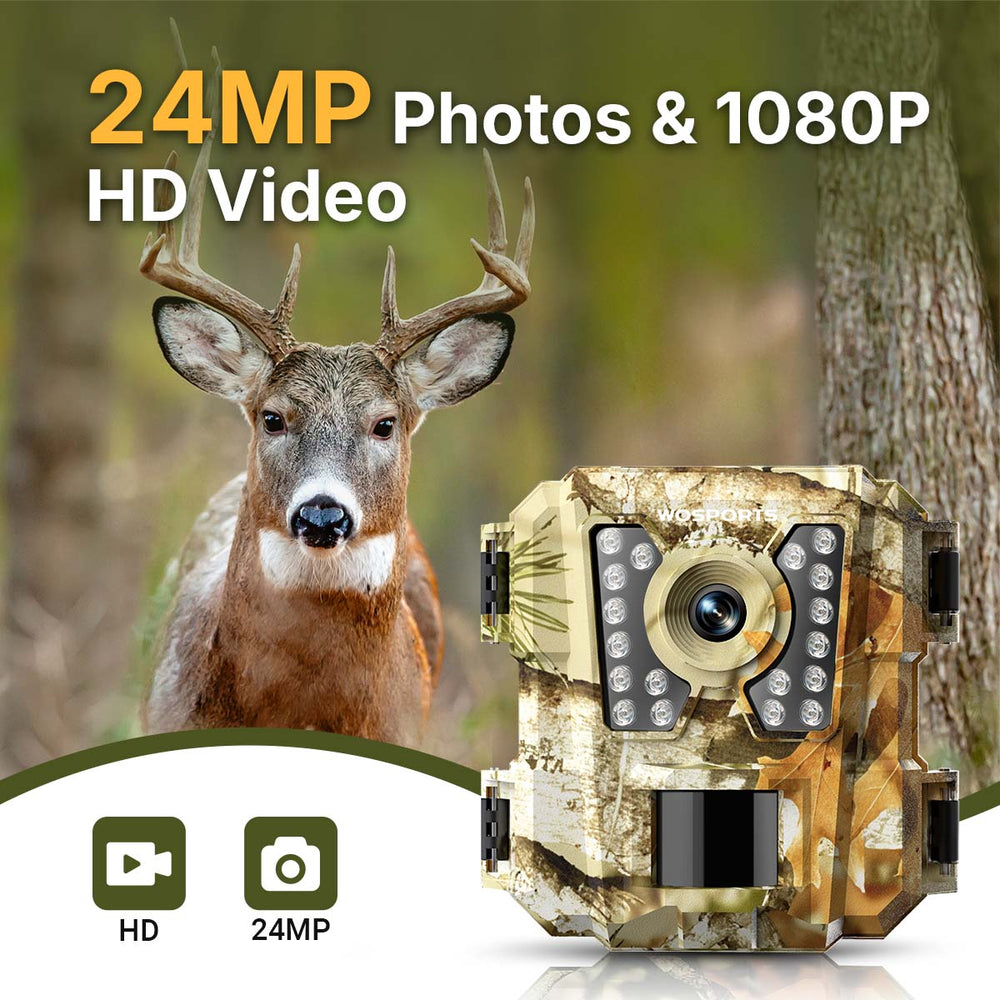
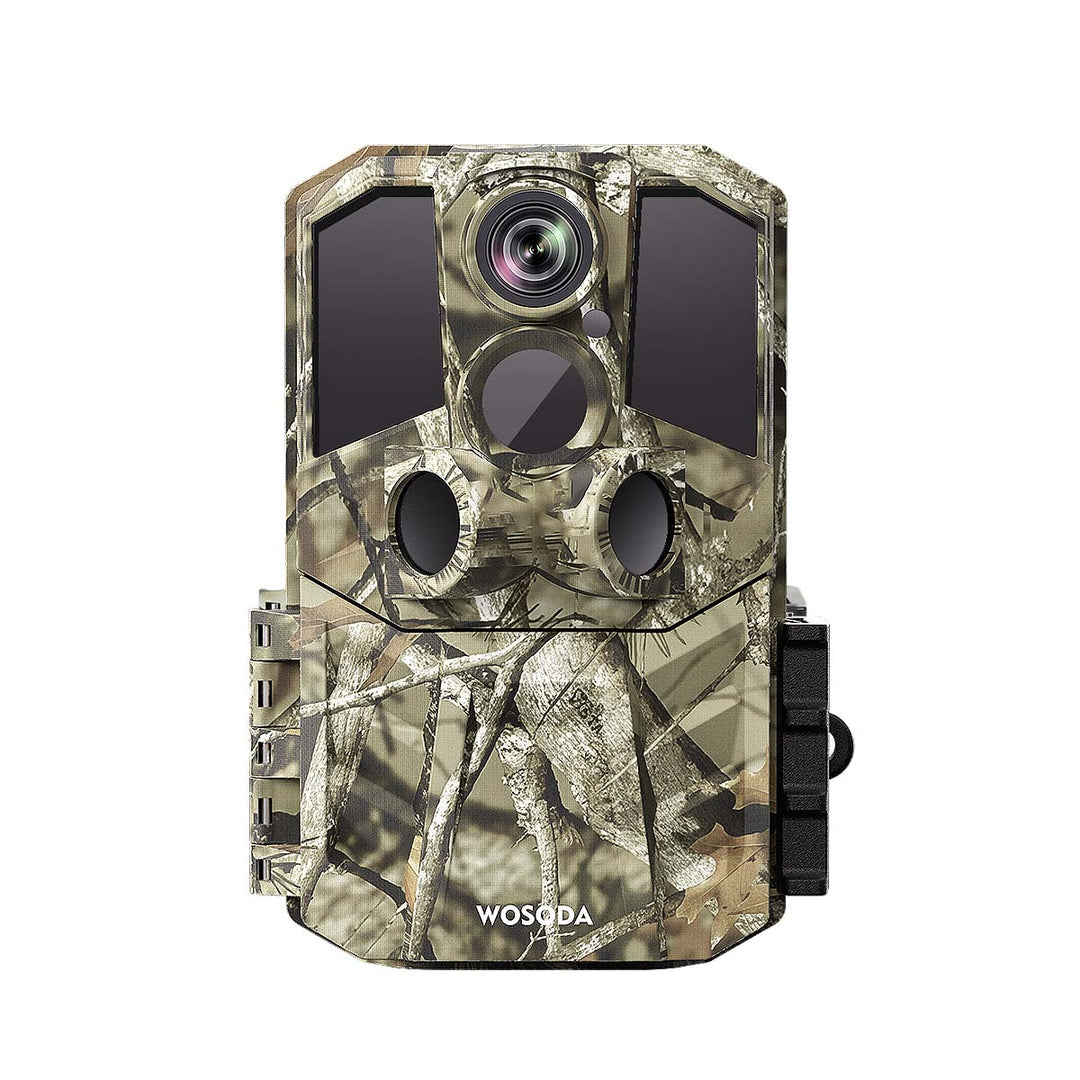
Trail cameras are great for this. You can put cameras like the WOSPORTS G600 outdoor camera in the wild and record what animals do over time. Watching this video will help you know when and where to be to get the shot you want.

Tip 2. Choose the Right Gear
The best stuff isn't always the most expensive stuff; it's about picking what fits how you shoot and what you want to get out of it.
Camera: DSLRs and mirrorless cameras with fast focus are great. If you're just starting, even the basic ones work.
Lens: A zoom lens (200mm–600mm) lets you get close-ups without bothering the animals.
Tripod: It keeps your camera steady, so your pictures are sharp, especially when it's dark.
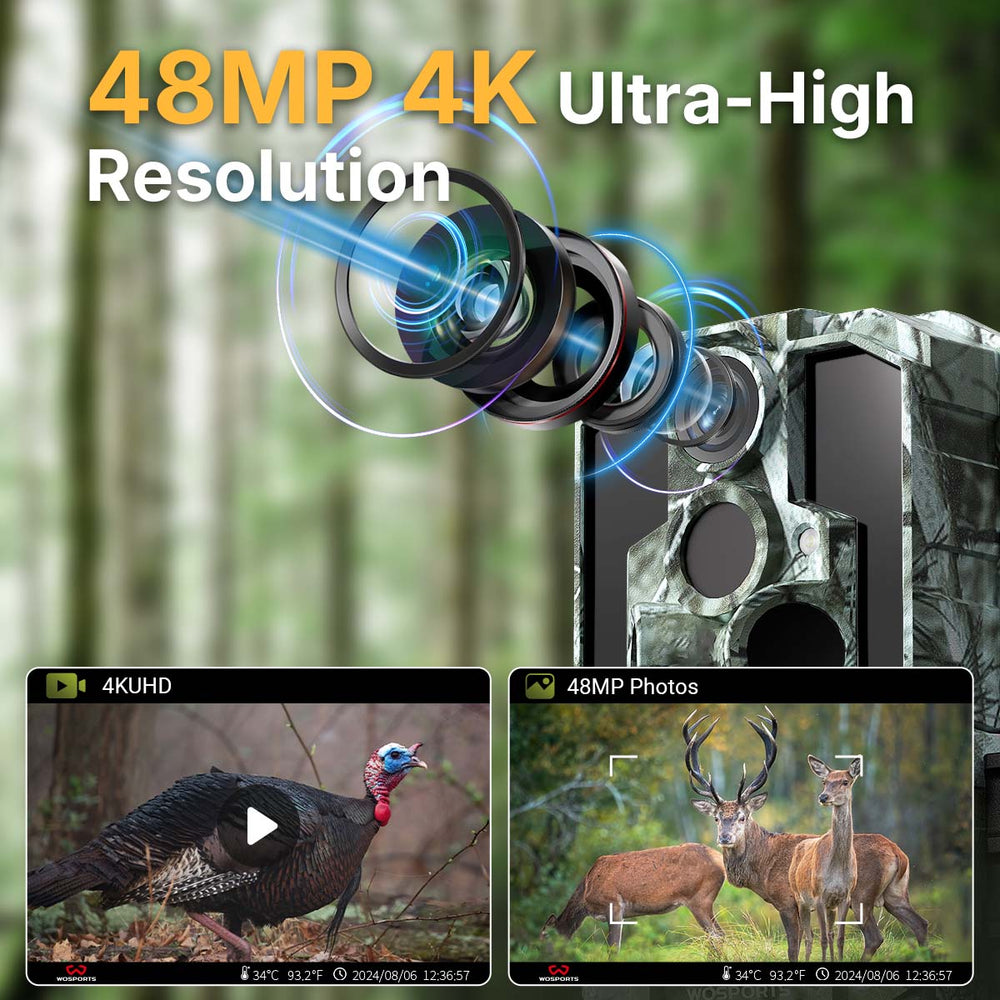
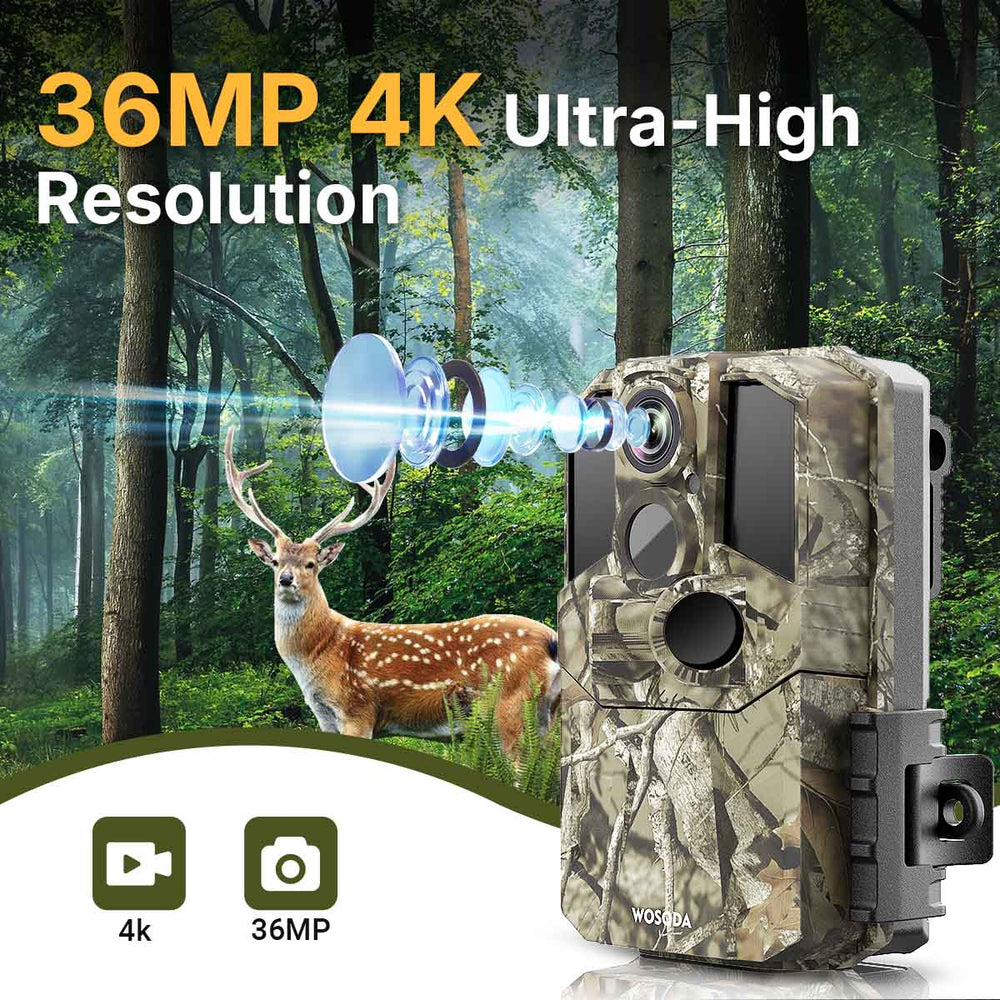
Trail Cameras: Though not normal camera gear, wildlife trail cameras can grab cool shots you'd miss – like animals at night or shy ones that hide from people.
Using trail cameras can give you a peek into what animals do and get cool footage.

Tip 3. Set Up Your Trail Camera Properly
Animals move quickly, so having your camera set up properly is essential.
Trail cameras simplify this by using motion-activated triggers. With 0.3-second trigger speeds, WOSPORTS trail cameras capture even fast-moving wildlife without blur.

Tip 4. Master Light and Composition
So shooting animals isn't always in great light. Here are some quick tips:
Golden Hours: The best light is early or late in the day. It's soft, warm, and makes everything look cool.
Backlighting: Try shooting into the sun. It can make birds, deer, whatever you're shooting look like awesome dark shapes.
Rule of Thirds: Don't always put your animal in the center. Putting it a little to the side makes your picture way more interesting.
Eye-Level: Get down low! Taking pictures at the same height as the animal makes it feel like you're really there.
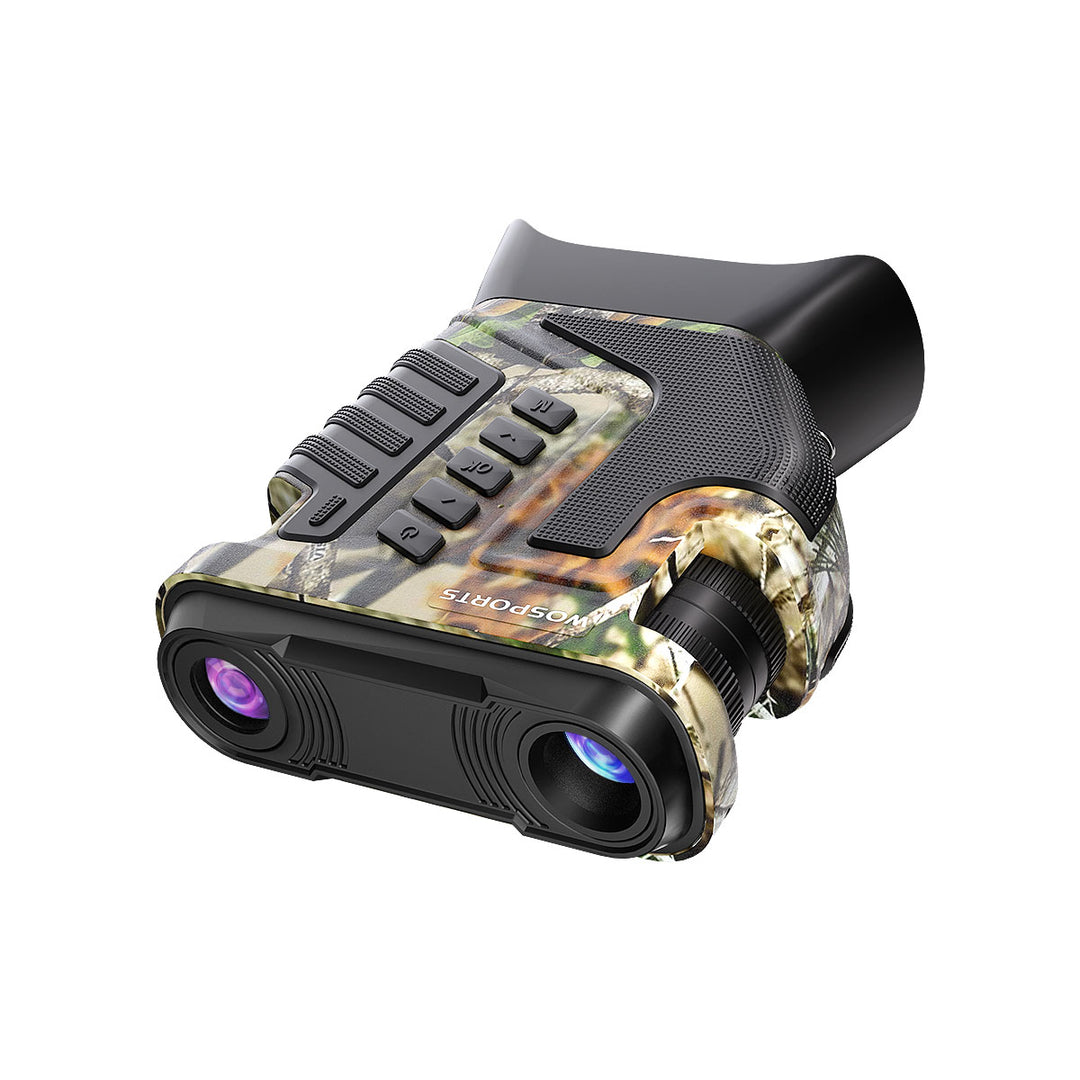
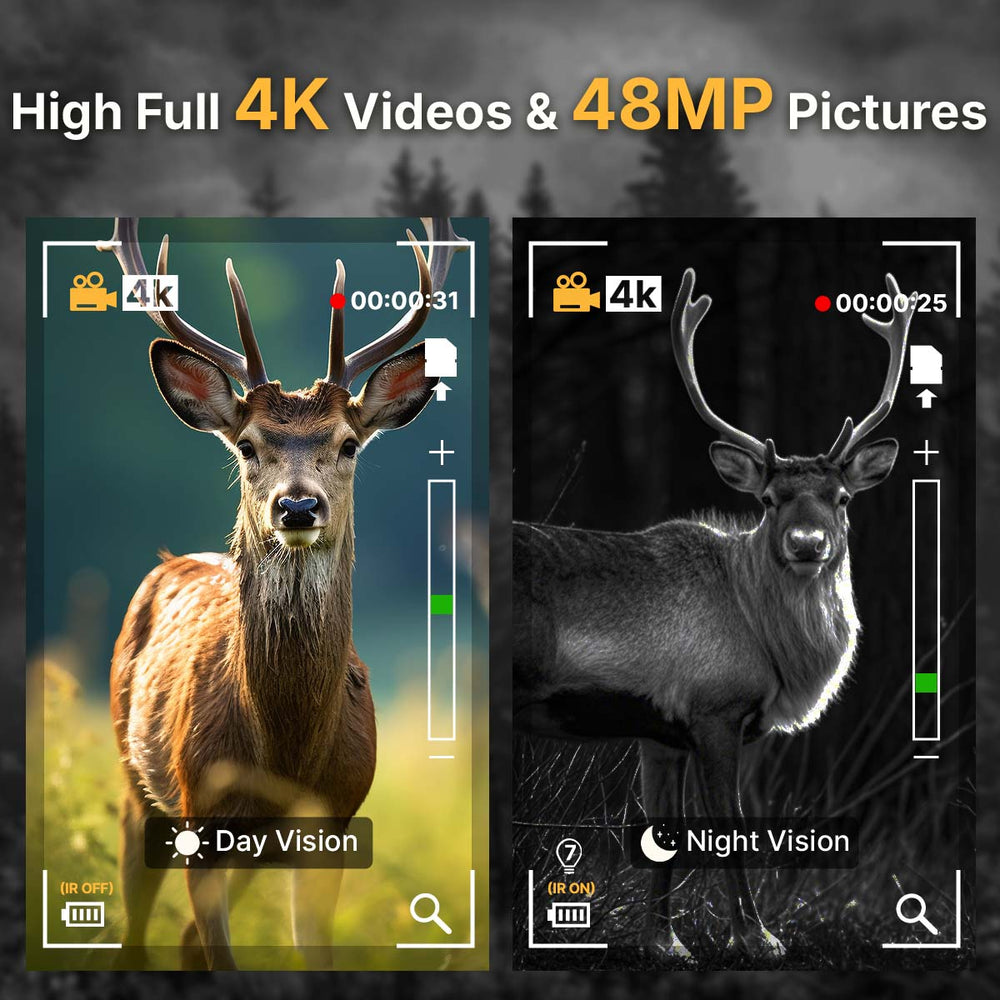
Also, those trail cameras with night vision are great for getting cool pictures at night. They really open up what you can shoot.

Tip 5: Be Patient
Wildlife photography isn't just about snapping that ideal shot; it's more about waiting for the ideal moment to find you. Animals are naturally wary of anything out of the ordinary, so the best shots often happen when you just blend in. So instead of moving around a lot or making quick changes, find a comfy spot, get settled, and let things happen. After a while, birds, deer, or whatever critters are around will start to pay you no mind, letting you grab shots of them acting naturally.

Tip 6. Practice Ethical Wildlife Photography
Always put the animals first. Being respectful keeps them safe and lets them act naturally.
Stay Back: Use a zoom lens so you don't have to get too close.
Don't Feed Them: Don't give animals food or trick them into coming closer. This messes up how they usually act.
Be Quiet: Don't hang around too long where animals live, especially when they're having babies.
Use Trail Cameras as a Wildlife Photography Companion
Where to Begin: Top Wildlife Photography Locations
If you are just starting out in wildlife photography, these are excellent choices to start with:
Edges of the Field at Sunrise – An open field draws deer, birds, and other animals as they come to feed in that soft light of dawn.
Wooded Trails That Bear Tracks – Paths with hoofprints or feathers are often considered regular lanes.
Water Sources – Outside animals are drawn to ponds, creeks, and streams during the day, especially warmer fall afternoons.
Feeding Plots or Fruit Trees – Wherever production is there for natural foods, wildlife is likely to gather.
Therefore, placing a trail camera such as the WOSPORTS G300 wildlife trail cam at these locations will help you verify which locations appear to have more activity, thus maximizing your chances for another shot when you return with your camera.
Search
Popular Posts
Recent Posts

Nov 28, 2024
Troubleshooting Common Trail Camera Issues
Jan 10, 2025
Why Does My Trail Camera Stop Working at Night?


