How to Place a Trail Camera for Deer: 10 Mistakes to Avoid
If you want better deer photos and more useful scouting information, where you place your trail camera can matter just as much as the camera itself.
A fast trigger speed, high-resolution sensor, and long detection range can only do so much if the camera is pointed in the wrong direction, placed too close to a trail, or triggered constantly by moving vegetation.
So where should you place a trail camera for deer?
The best locations are usually areas where deer naturally travel, feed, drink, bed, or pass through predictable terrain features. Once you find the right location, careful camera placement can help you capture more usable photos and better understand deer movement.
This guide explains how to place a trail camera for deer and the 10 most common placement mistakes to avoid.
Where Is the Best Place to Put a Trail Camera for Deer?
The best place to put a trail camera is usually near a well-used deer trail, food source, water source, bedding area, funnel, or other location where deer movement naturally concentrates.
Instead of randomly placing a camera in the woods, look for signs that deer are already using the area.
Look for:
- Fresh deer tracks
- Well-defined trails
- Rubs and scrapes
- Bedding areas
- Food plots
- Agricultural fields
- Water sources
- Narrow crossings
- Funnels between terrain features
- Fence or creek crossings
- Travel routes between bedding and feeding areas
The goal is simple:
Put the camera where deer are already likely to pass.
A great camera in a low-traffic location can produce less useful information than an average camera positioned directly on an active travel route.
1. Don't Point the Camera Directly Down the Trail
One of the most common trail camera placement mistakes is pointing the camera directly along the trail.
It may seem logical because you want to photograph deer as they approach, but this setup can make it harder to capture useful images.
When a deer walks directly toward the camera, the animal may remain near the center of the frame for only a short period. Depending on the camera's detection pattern and movement direction, you may also get fewer useful side-profile images.
A better approach
Whenever possible, position the camera slightly off to the side of the trail and angle it across the travel route.
This can give the camera a better opportunity to capture the animal as it moves through the detection zone.
It can also provide more information about:
- Body size
- Antler development
- Direction of travel
- Number of deer
- Age characteristics
- Other animals traveling through the same area
Think of the trail as the path and the camera as the observer standing beside it.
2. Don't Ignore the Direction of the Sun
Sunlight can have a major effect on trail camera images.
If the camera faces directly toward the rising or setting sun, bright sunlight can enter the lens during parts of the day and potentially create:
- Overexposed images
- Glare
- Reduced detail
- Lens flare
- Poor contrast
This is especially important if you expect deer movement during early morning or late afternoon.
What should you do?
Before mounting your camera, consider where the sun will be during the times you expect the most wildlife activity.
Whenever practical, avoid positioning the camera directly toward the strongest sunlight.
If you are setting up a camera in a new location, spend a few minutes observing the area from the camera's planned position.
A little planning can prevent hundreds of poor images.
3. Don't Place the Camera Too Close to the Trail
Putting a camera directly beside a trail may seem like the obvious choice, but getting too close can actually make framing more difficult.
A deer moving past the camera can fill most of the frame, especially when using a wide-angle camera.
Instead, leave enough distance for the camera to capture the animal's movement through the detection zone.
The ideal distance depends on:
- Camera field of view
- Detection range
- Lens characteristics
- Terrain
- Target animal
- Trail width
- Expected direction of travel
There isn't one universal distance that works for every trail camera.
The important thing is to make sure the entire area where the animal is expected to move is inside the camera's useful detection and imaging zone.
4. Don't Ignore the Camera's Field of View
Detection range and field of view are two different things.
Detection range tells you how far away the camera can detect movement.
Field of view describes how much of the scene the camera can see.
For example, a camera may detect movement at a considerable distance but still produce an image that isn't useful if the animal is outside the best part of the camera's viewing area.
This is why camera placement should consider both specifications.
A simple way to think about it
Detection range = How far the camera can notice movement
Field of view = How much of the scene the camera can see
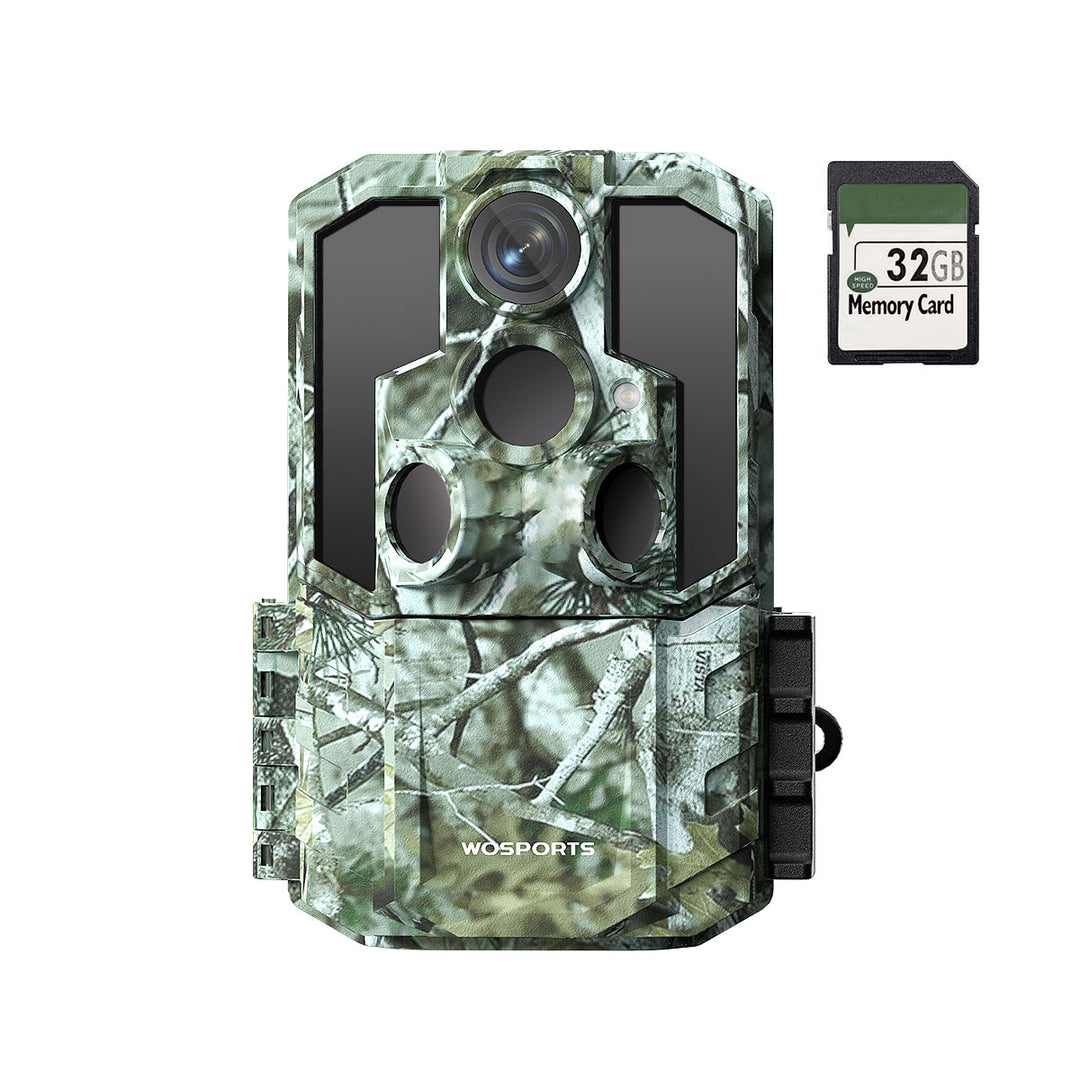
For a wide-angle trail camera such as the WOSPORTS G600, its 120° viewing angle can help cover a broader area when positioned near trails, food plots, and wildlife travel routes.
The key is still proper placement. A wider field of view doesn't eliminate the need to test your camera angle.
5. Don't Let Branches Trigger the Camera
Trees and vegetation move constantly.
Wind can cause:
- Leaves to shake
- Grass to move
- Branches to swing
- Bushes to shift
- Shadows to change
A camera pointed at moving vegetation may capture hundreds of empty photos.
This can quickly fill your SD card and make it harder to find the photos that actually matter.
Before leaving the camera
Look through the camera's field of view and identify anything that could move significantly in the wind.
Remove or reposition problematic vegetation when appropriate.
Don't clear the entire area unnecessarily. Just make sure the camera has a reasonably clear view of the area you actually want to monitor.
6. Don't Place the Camera Where Your Presence Will Disturb Deer
Deer are sensitive to changes in their environment.
If you repeatedly walk directly through a bedding area or travel route to check your camera, your own activity can become part of the problem.
This is particularly important when you're using a trail camera for hunting-related scouting.
Think about how you will access the camera before you install it.
Ask yourself:
- Can I reach the camera without crossing the main deer trail?
- Can I approach from a less disruptive direction?
- Will I need to walk through a bedding area?
- Can I check the camera efficiently?
- Is the camera easy to retrieve later?
A good trail camera location should not only capture deer—it should also be practical for the person managing the camera.
7. Don't Forget to Consider Deer Movement Direction
Deer don't always move through an area randomly.
Their movement can be influenced by:
- Food
- Water
- Bedding areas
- Terrain
- Wind
- Weather
- Hunting pressure
- Human activity
- Seasonal behavior
Try to understand where deer are coming from and where they are going.
If you find a trail connecting a bedding area and a feeding area, for example, positioning the camera across the travel route may provide much more useful information than simply placing it wherever you find the first set of tracks.
The goal isn't just to photograph a deer.
The goal is to learn how deer are using the property.
8. Don't Forget About Water and Food Sources
Deer often use predictable resources.
Food plots, agricultural fields, fruit-producing trees, and water sources can all be useful locations for trail cameras.
But don't automatically point the camera directly at the food.
Sometimes the more valuable location is the travel route leading to or from the food source.
For example:
Bedding Area → Travel Route → Food Source
A camera positioned on the travel route may tell you more about movement patterns than a camera pointed directly at the food.
The same idea applies to water.
Instead of only monitoring the water itself, look for the paths deer use to reach it.
9. Don't Forget to Test the Camera Before Leaving
One of the easiest mistakes to avoid is also one of the most important.
After installing your trail camera, test it before you walk away.
Walk through the area where you expect deer to pass.
Check whether:
- The camera detects you
- Your entire body appears in the frame
- The trigger activates quickly
- The camera is pointing at the right location
- Vegetation is blocking the view
- The image is too bright or too dark
- The camera is tilted
- The trail is positioned properly within the frame
If your camera has a built-in screen, use it to check the composition before leaving.
A few minutes of testing can save days or weeks of waiting for footage.
10. Don't Set It and Forget It
A trail camera is a scouting tool, not just a recording device.
Once you collect enough images, look for patterns.
Ask:
- What time are deer moving?
- Which direction are they traveling?
- Are multiple deer using the same trail?
- Are mature bucks appearing?
- Is movement increasing or decreasing?
- Are other animals using the same area?
- Has the preferred travel route changed?
This information can help you decide whether to keep the camera in place or move it to another location.
Your first placement doesn't have to be perfect.
Use the information from your camera to improve your next placement.
What Height Should a Trail Camera Be Mounted?
There is no single mounting height that works for every situation.
The camera should be positioned so that the target animal is clearly visible while remaining within the camera's useful detection and viewing area.
For deer, consider:
- The size of the deer
- Terrain slope
- Camera field of view
- Distance from the trail
- Expected direction of travel
- Whether the camera is pointed uphill or downhill
The most important thing is not hitting an exact measurement.
It's making sure the camera is stable, properly angled, and aimed at the area where the animal will actually pass.
What Direction Should a Trail Camera Face?
Whenever possible, avoid pointing your camera directly into strong sunlight during the periods when you expect the most activity.
Instead, consider the position of the sun and the direction deer are likely to travel.
If you're monitoring a trail used heavily during morning hours, for example, think about how morning sunlight will affect the camera.
Likewise, consider afternoon and evening conditions if that's when animals are most active.
There is no universal compass direction that works for every property.
Sun position, terrain, and animal movement matter more than a fixed rule such as "always face north."
How Far Should a Trail Camera Be From a Deer Trail?
The ideal distance depends on the camera and the environment.
A camera with a wide field of view may need a different placement than a camera with a narrower lens.
Before choosing a final position, consider:
- How wide the camera can see
- How far it can detect movement
- How close deer will pass
- How much of the trail you want to monitor
- Whether vegetation could interfere with the image
The best setup is one where the deer enters the detection area early enough for the camera to capture useful images and remains visible as it moves through the scene.
Trail Camera Placement Checklist
Before leaving your camera in the woods, run through this quick checklist:
| Check | What to Look For |
|---|---|
| Deer activity | Fresh tracks, trails, rubs, scrapes or other signs |
| Camera angle | Covers the intended travel route |
| Sun | Avoids direct glare during important activity periods |
| Vegetation | No major branches or grass blocking the frame |
| Distance | Enough space to capture the entire animal |
| Detection zone | Expected movement falls within the detection area |
| Field of view | The important part of the trail is visible |
| Stability | Camera is securely mounted |
| Test | Walk through the detection zone before leaving |
| Access | Camera can be checked without unnecessary disturbance |
Why Camera Placement Matters More Than Camera Specifications
A trail camera's specifications are important.
A fast trigger can help capture animals quickly.
Higher resolution can provide more detail.
A wider field of view can cover more of the scene.
Long detection range can help monitor a larger area.
But none of these specifications can compensate for poor placement.
Imagine a 0.2-second trigger camera pointed at an empty section of forest.
It can trigger quickly—but there may be nothing useful to capture.
Now move that same camera to an active deer trail.
Suddenly, the camera's performance becomes much more valuable.
The camera records what you put in front of it.
That's why choosing the right location should always be the first step.
How the WOSPORTS G600 Can Help With Deer Scouting
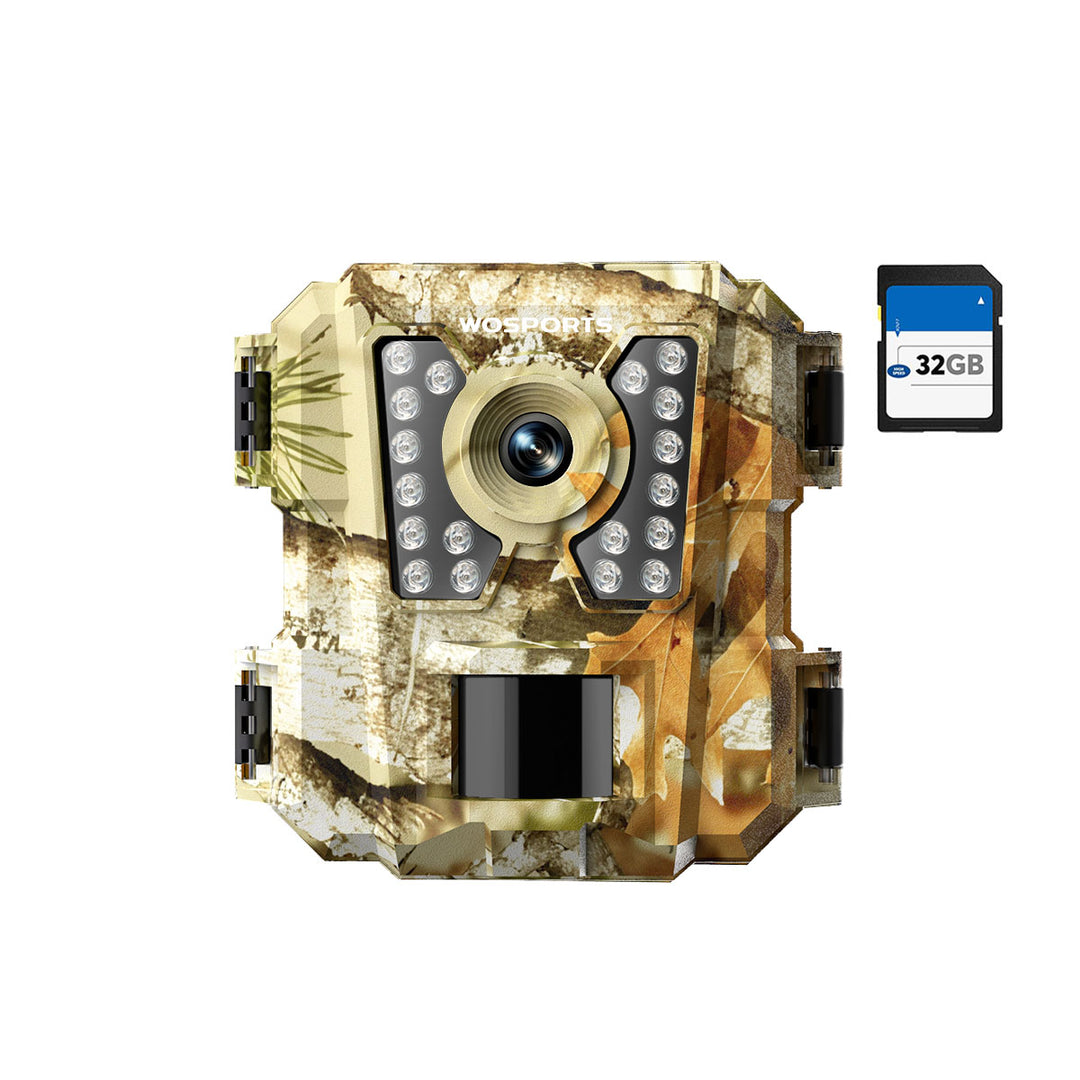
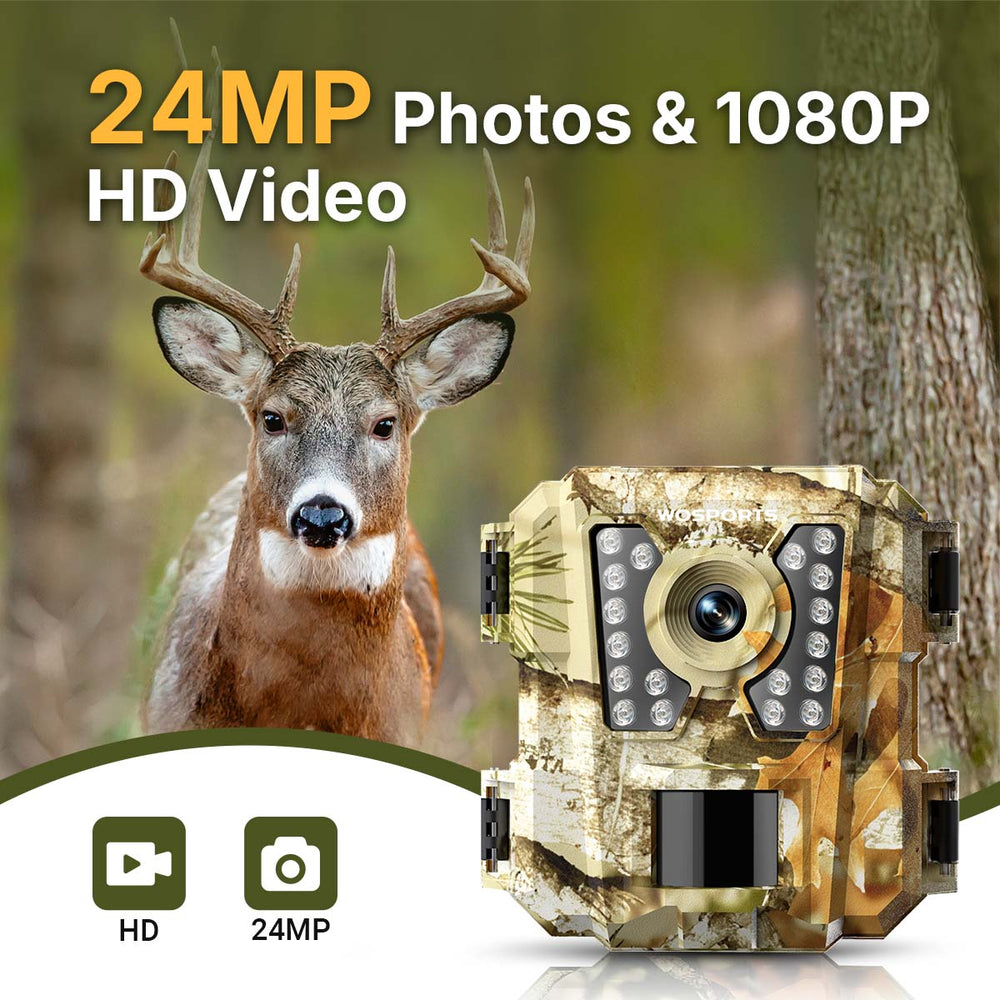
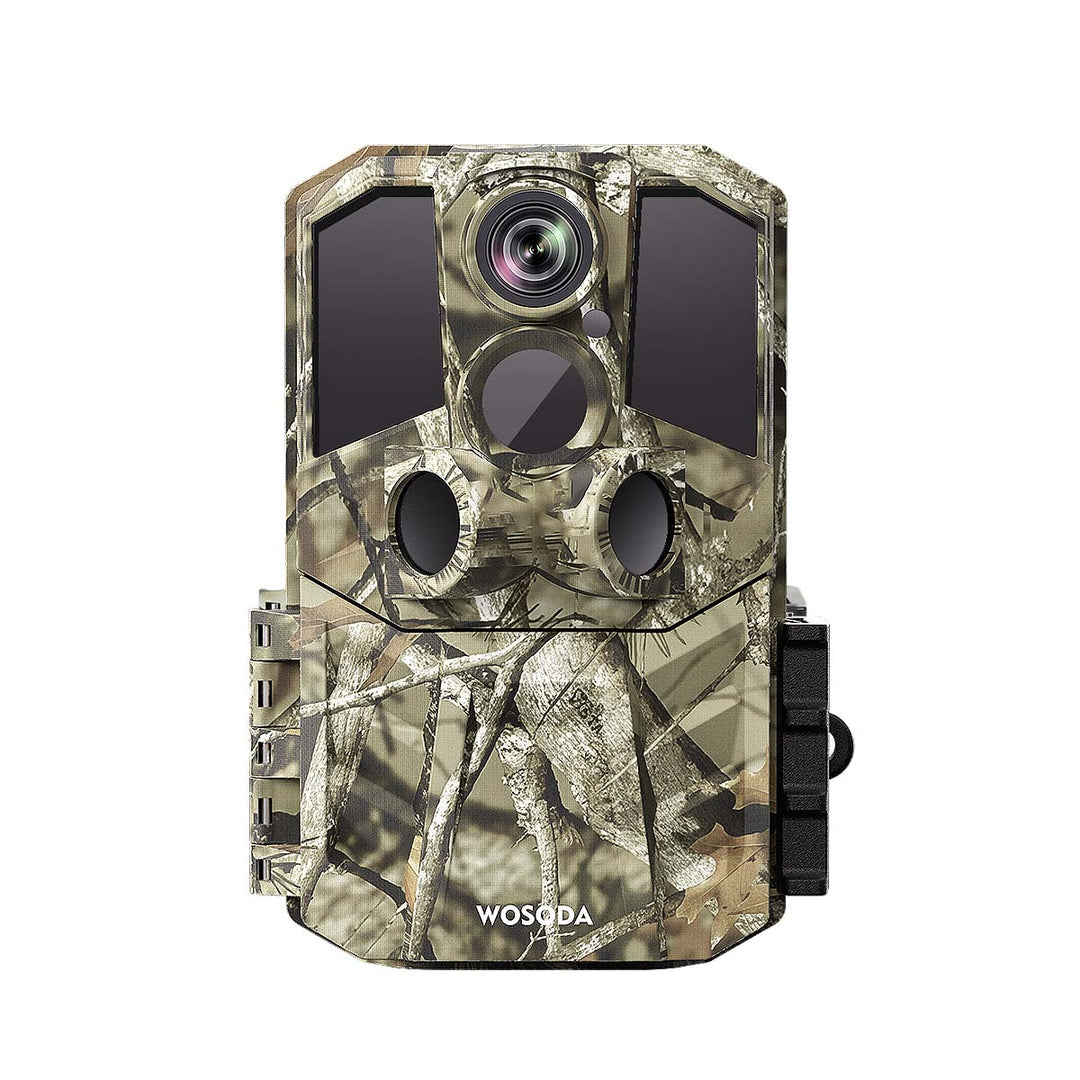
The WOSPORTS G600 is designed for wildlife scouting where you want to monitor an area locally without relying on cellular service.
It combines several features that are useful for trail-based scouting:
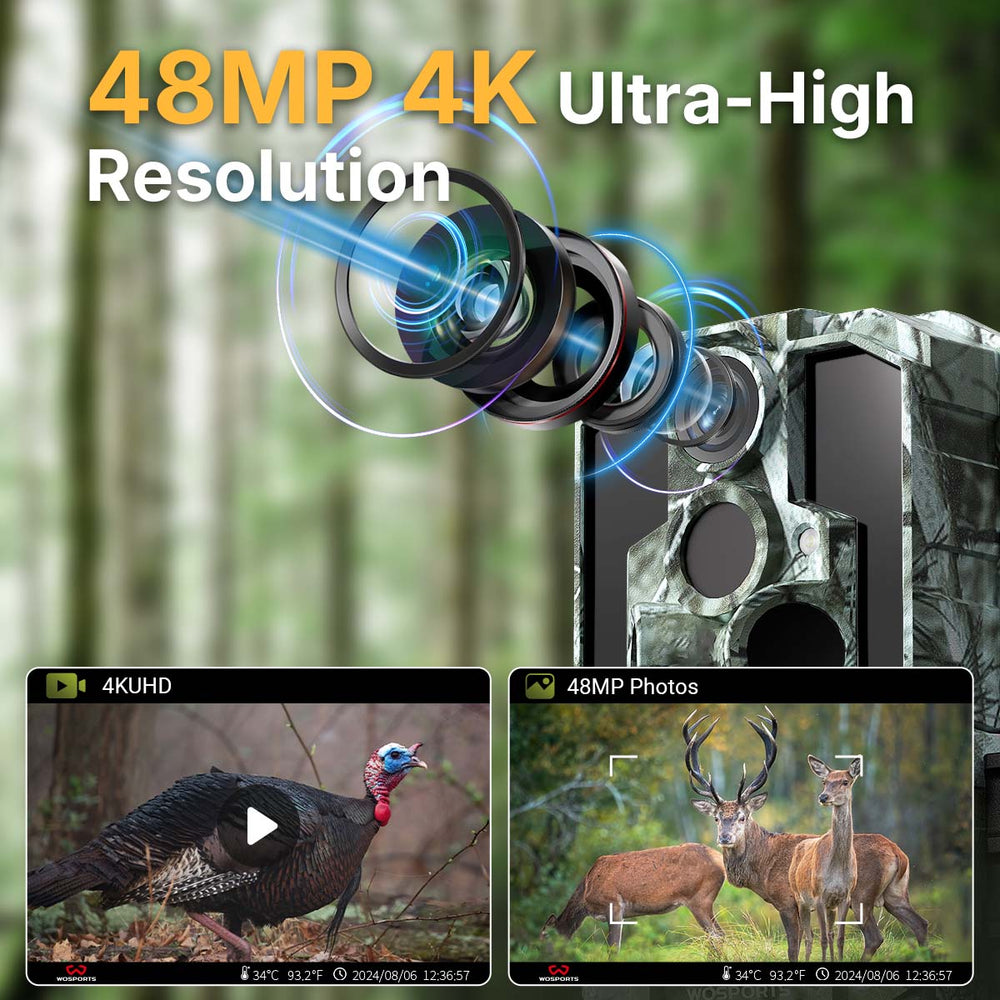
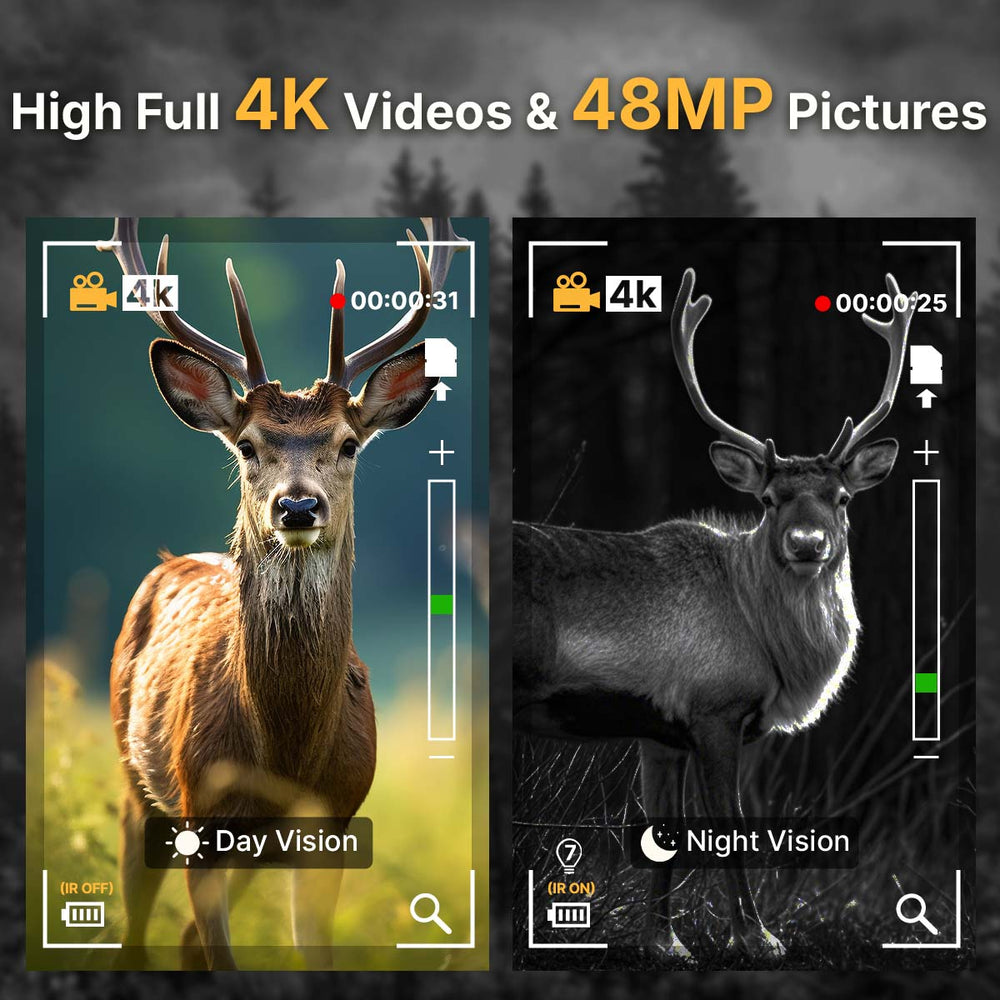
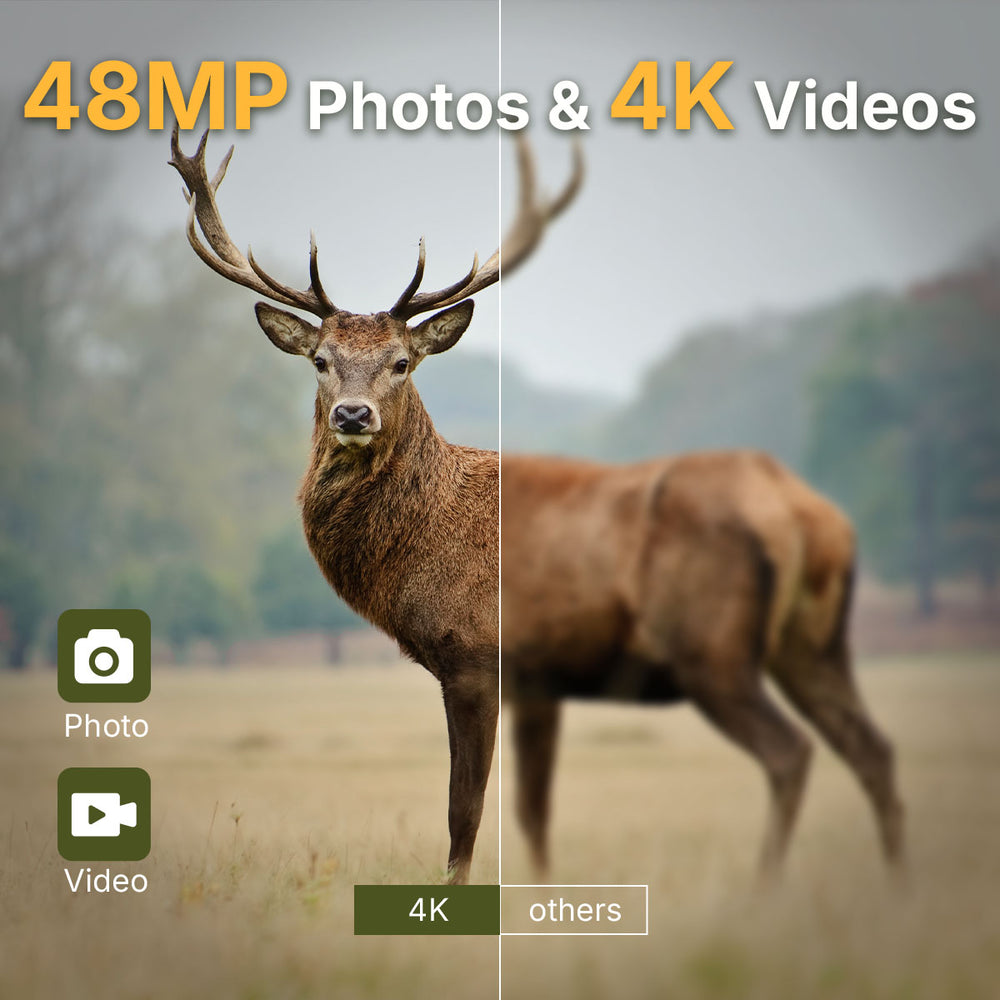
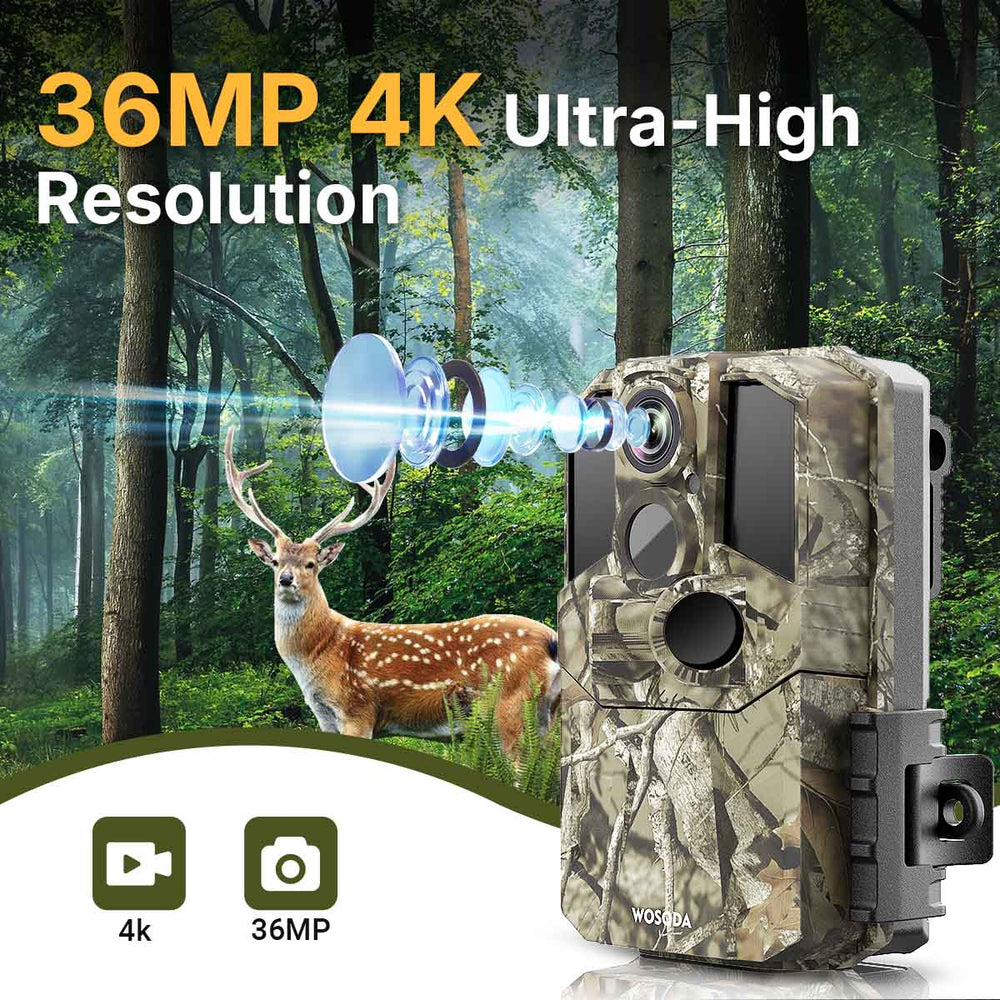
- 48MP photos for detailed still images
- 4K video for recording wildlife activity
- 0.2-second trigger speed for fast-moving animals
- 120° wide-angle view for broader scene coverage
- Up to 70 ft PIR detection for monitoring movement
- Automatic day/night monitoring
- Night vision for after-dark activity
- IP66 weather protection
- SD card storage for local footage
Because the G600 uses local SD card storage rather than cellular transmission, it can be a practical option for hunters, landowners, and wildlife enthusiasts who prefer a straightforward setup without a cellular subscription.
You can learn more about the WOSPORTS G600 Trail Camera.
Final Thoughts: Put the Camera Where the Deer Are
The best trail camera placement isn't necessarily the most complicated.
Start with the animal.
Find where deer travel.
Look for food, water, bedding areas, funnels, crossings, and established trails. Then consider the sun, vegetation, camera angle, field of view, detection range, and your own access route.
Most importantly, test the camera before you leave.
A few extra minutes during setup can make the difference between weeks of empty photos and a valuable collection of deer activity.
A good trail camera doesn't just show you what's in the woods.
Good placement helps show you how the animals use the woods.
Frequently Asked Questions
Where is the best place to put a trail camera for deer?
The best locations are usually active deer trails, food sources, water sources, bedding-area travel routes, funnels, crossings, and other places where deer movement naturally concentrates.
Should a trail camera face the trail or across it?
In many situations, positioning the camera slightly off the trail and aiming across the travel route can provide better opportunities to capture deer as they move through the frame.
How high should a trail camera be for deer?
There is no universal height. Position the camera so the expected deer movement is clearly within the useful detection and viewing area, while considering terrain, distance, and camera angle.
Should I point my trail camera toward the sun?
Avoid direct sunlight when practical, particularly during the hours when you expect the most wildlife activity. Strong sunlight can cause glare and reduce image quality.
Why is my trail camera taking pictures of nothing?
Common causes include moving vegetation, shadows, changing sunlight, wind, small animals, and improper placement. Check the detection zone and remove or reposition vegetation that repeatedly triggers the camera.
How far should a trail camera be from a deer trail?
There is no universal distance. The right position depends on the camera's field of view, detection range, terrain, vegetation, and how close deer are expected to pass.
Should I put a trail camera directly over a deer trail?
Not necessarily. A position slightly to the side of the trail and aimed across it can often provide a more useful view of deer movement.
How often should I check a trail camera?
It depends on your purpose and location. If you're trying to minimize disturbance, avoid unnecessary visits. Check the camera when you need the information or when battery/storage conditions require it.
Can a trail camera be used for more than hunting?
Absolutely. Trail cameras can be used for wildlife observation, property monitoring, farm management, habitat studies, and learning which animals are using a particular area.
Search
Popular Posts
Recent Posts


Nov 28, 2024
Troubleshooting Common Trail Camera Issues
Jan 10, 2025
Why Does My Trail Camera Stop Working at Night?