How to Place a Trail Camera for Deer: 9 Tips for Better Photos and Better Scouting
The best place to put a trail camera for deer is usually near an area where deer naturally travel, feed, drink, or pass through a narrow corridor. However, simply placing a camera near a deer trail is not enough.
Camera height, angle, direction, distance from the trail, vegetation, sunlight, and detection zone can all affect the quality of your photos and videos.
For the most useful scouting results, position the camera so that deer move across the detection zone rather than directly toward or away from the camera. This gives the camera more time to detect movement and can produce better side-view images.
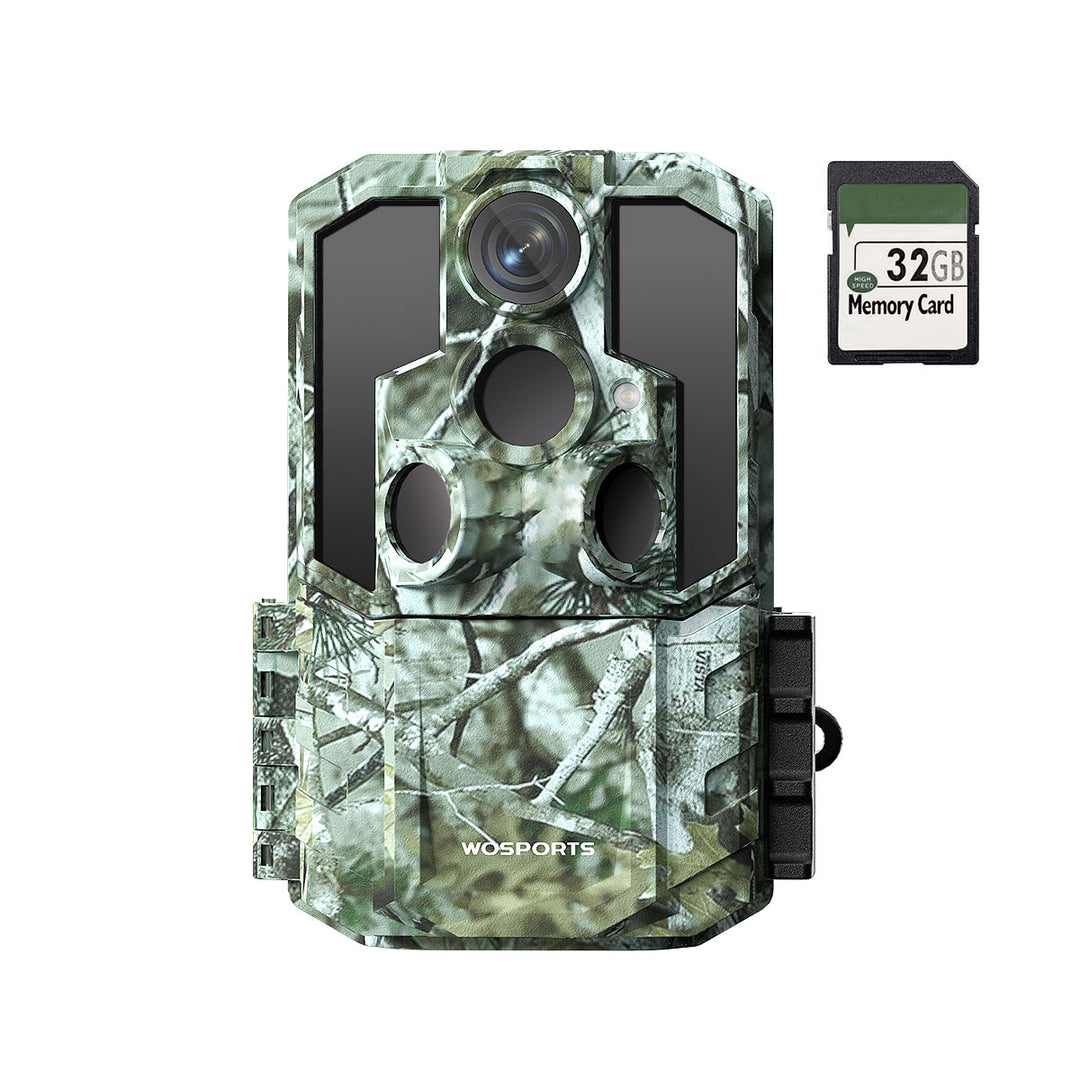
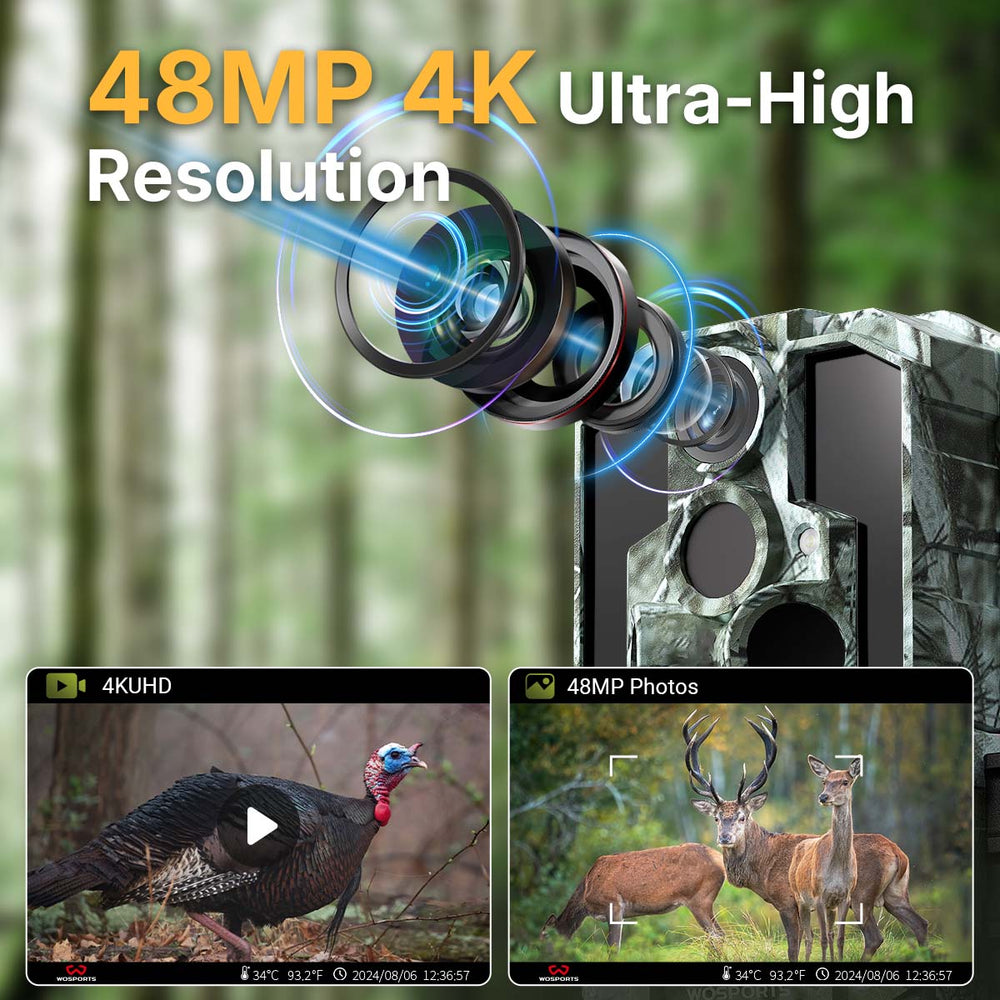
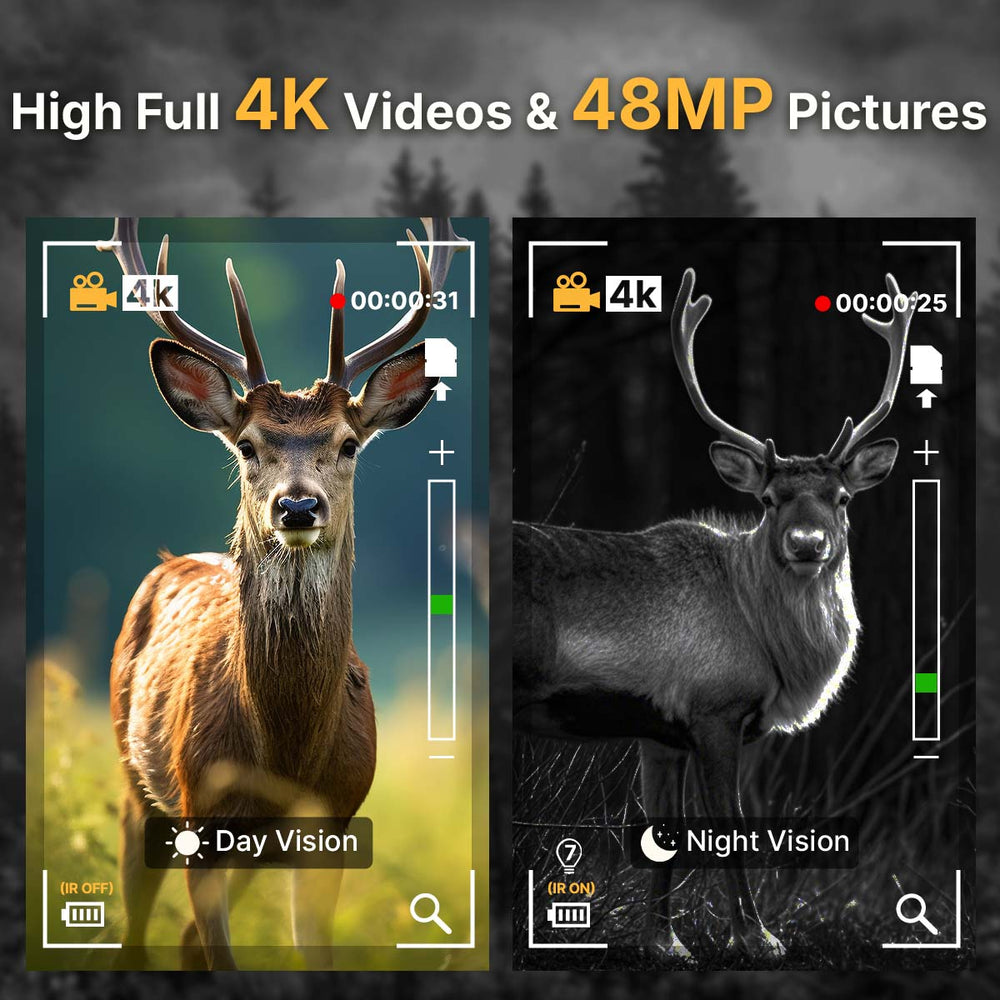
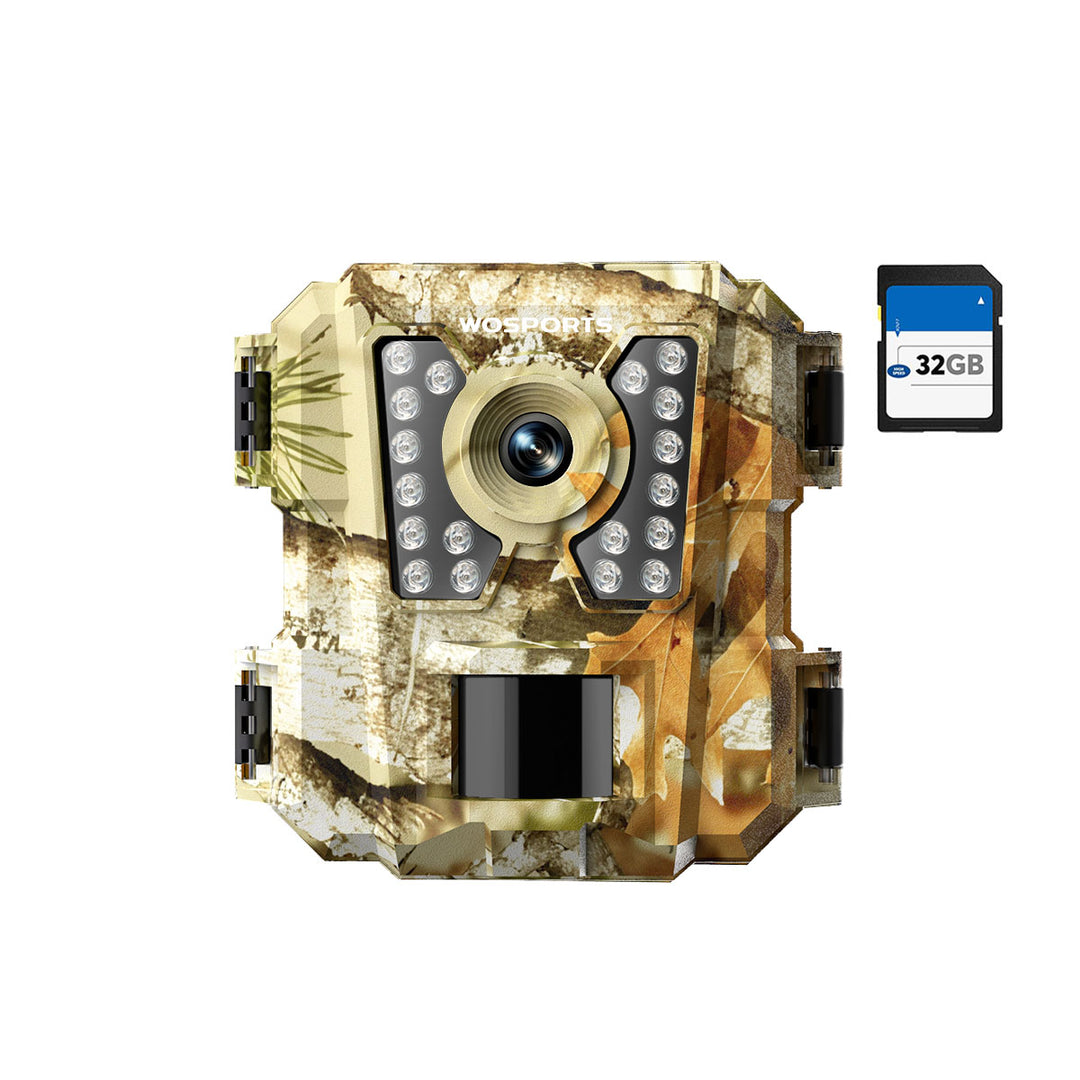
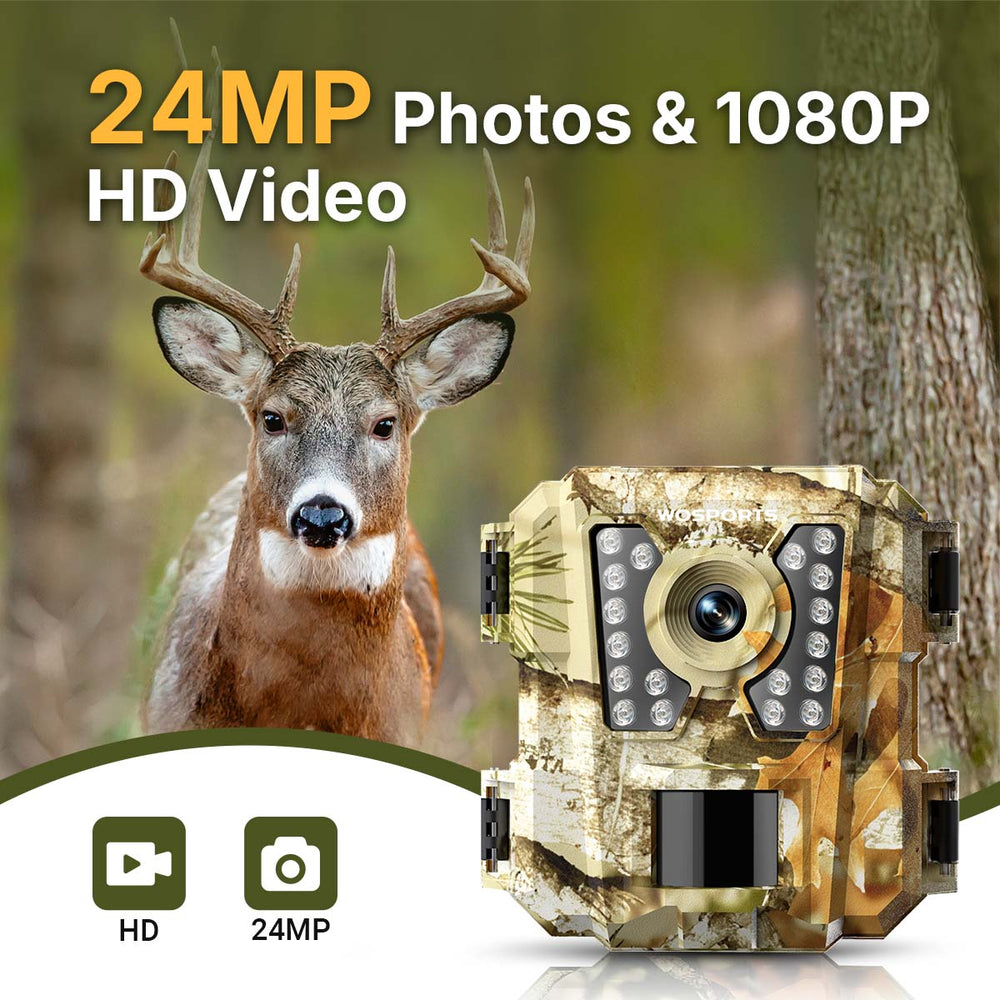
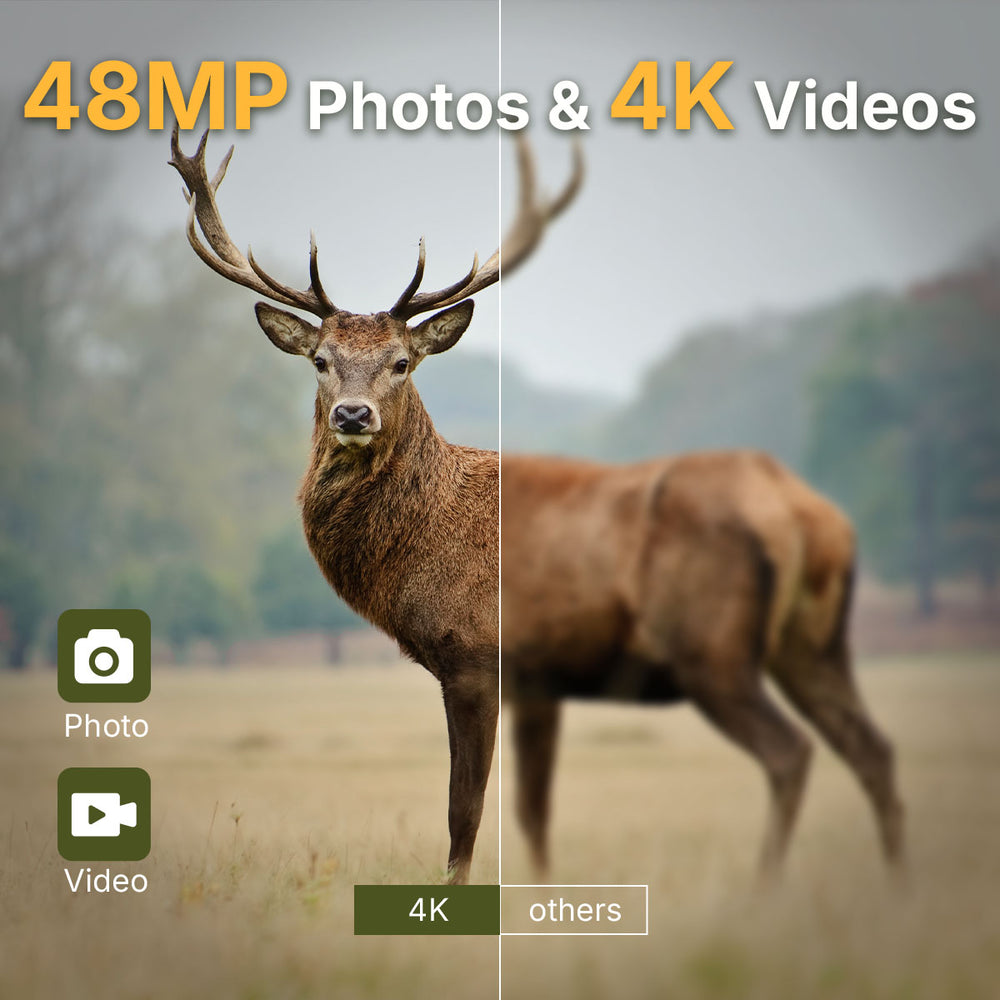
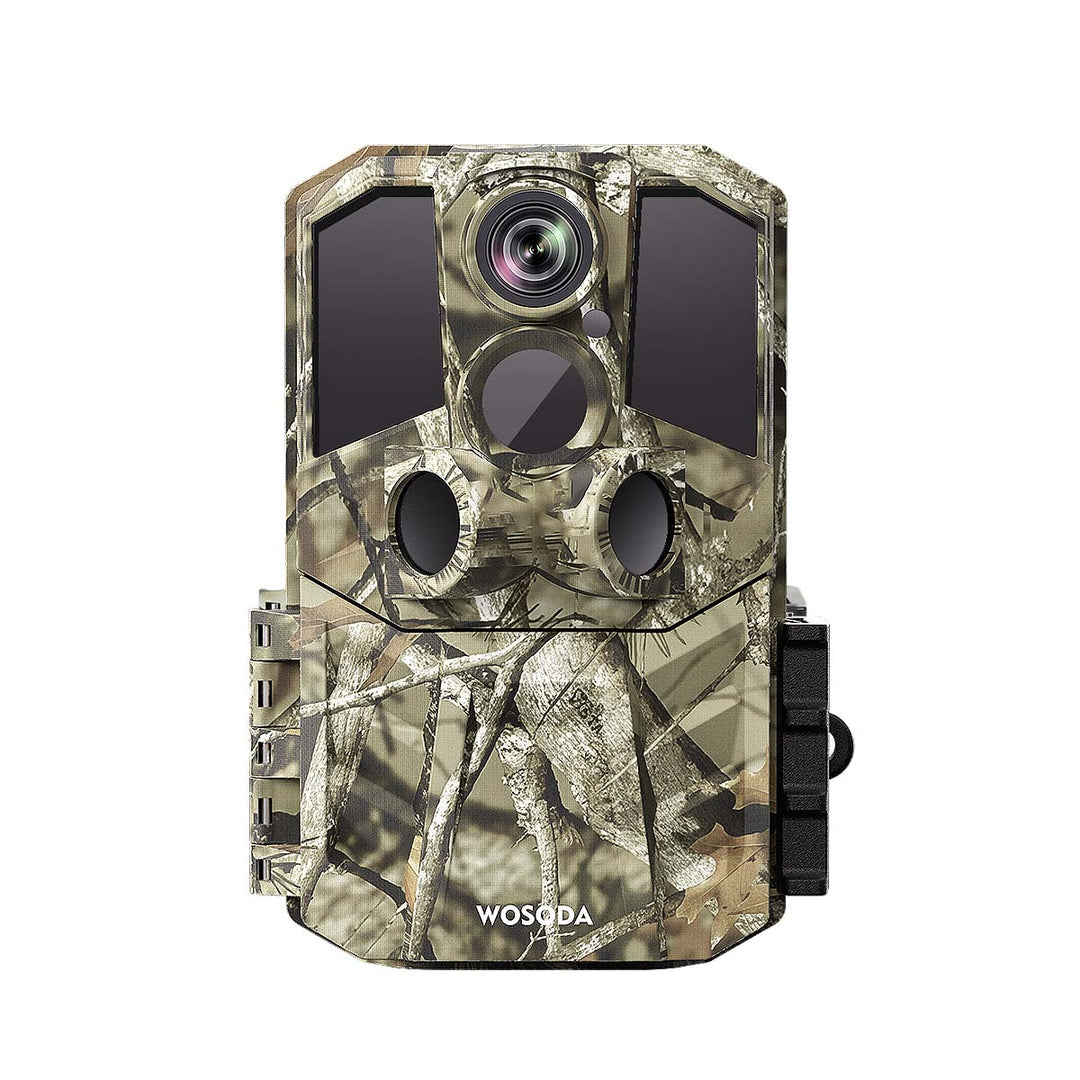
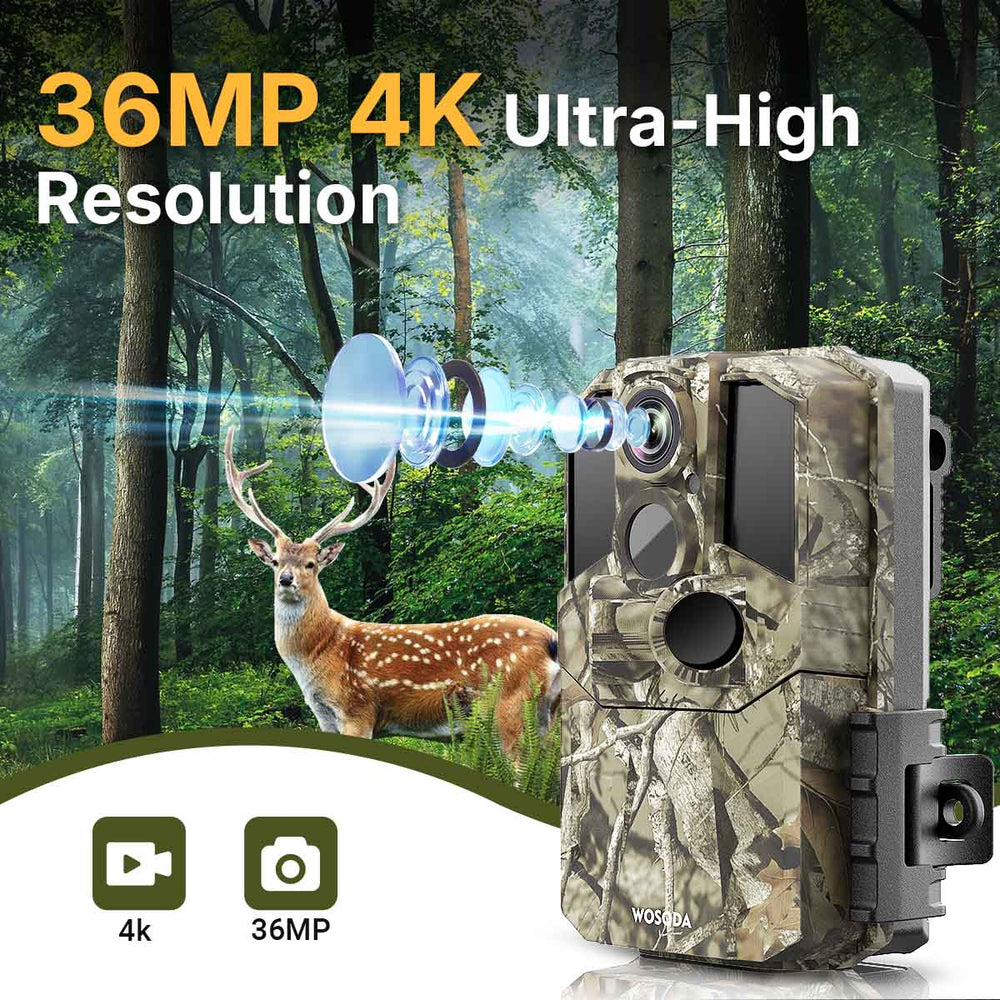
The WOSPORTS G600 is designed for this type of outdoor scouting with a 0.2-second trigger speed, 120° wide-angle coverage, up to 70 feet of PIR detection, 48MP photos, 4K video, and IP66 weather protection.
But even a capable trail camera cannot compensate for poor placement.
Here are nine practical tips for getting more useful deer scouting photos.
Quick Answer: Where Should You Put a Trail Camera for Deer?
If you want a simple starting point, look for:
- Active deer trails
- Trail intersections
- Food plots
- Feeding areas
- Water sources
- Natural funnels
- Property edges
- Bedding-area entrances
- Travel corridors
Then position your camera so the expected deer movement crosses the camera's field of view.
Avoid pointing the camera directly into the rising or setting sun, and remove nearby branches or vegetation that could trigger unnecessary recordings.
1. Find Where Deer Are Already Moving
The best trail camera location is usually a location deer already use.
Rather than placing a camera wherever there is an attractive view, first look for evidence of deer activity.
Signs may include:
- Fresh tracks
- Droppings
- Rubs
- Scrapes
- Browsed vegetation
- Trails through grass or brush
- Narrow openings through dense vegetation
- Repeated movement around food or water
A trail camera is most useful when it observes an existing wildlife pattern.
You are not trying to make deer come to the camera.
You are trying to learn where they already go.
Why natural travel routes matter
Suppose you have 20 acres of wooded property.
You could place a camera in the middle of an open area and hope something walks past.
Or you could find a narrow trail connecting bedding cover to a feeding area.
The second location gives you a much stronger reason to expect animal movement.
2. Position the Camera Across the Trail When Possible
For a narrow deer trail, placing the camera at an angle to the trail can often produce more useful images than pointing it directly down the trail.
Imagine a deer walking along a trail.
If the camera points directly toward the deer, the animal may move quickly toward and then away from the camera.
If the deer crosses the detection zone from one side to the other, the camera has a better opportunity to capture the animal's full body.
This can also make it easier to observe:
- Body size
- Antlers
- Direction of travel
- Multiple animals
- Approximate age characteristics
- Movement patterns
A simple rule
Instead of asking:
"Where can I see the most trail?"
Ask:
"Where will the animal spend the most time inside my camera's useful detection and image area?"
That is a much better way to think about camera placement.
3. Pay Attention to Camera Height
Camera height should match the animals you are trying to monitor and the terrain around the camera.
For deer, a common starting point is to position the camera around the animal's chest or shoulder level, depending on the terrain and angle of the trail.
However, there is no single height that works for every location.
Consider:
- Ground slope
- Trail elevation
- Expected animal size
- Camera angle
- Distance to the trail
- Whether the camera is mounted on a tree or post
Avoid pointing the camera too high
If the camera is mounted too high, you may capture the tops of animals or too much background.
Avoid pointing too low
If the camera is too low, nearby vegetation or terrain may dominate the frame.
The goal is to create a useful detection and image zone, not simply to mount the camera at a specific height.
4. Choose the Right Distance From the Deer Trail
The ideal distance depends on the camera's field of view, detection range, terrain, and the type of image you want to capture.
A camera placed extremely close to a trail may produce large images of animals but can also make framing difficult.
A camera placed too far away may detect the animal but leave you with a small subject in the image.
The WOSPORTS G600 offers a 120° wide-angle view and up to 70 feet of PIR motion detection, giving you flexibility when choosing a monitoring location.
However, the maximum detection distance should not automatically determine how far away you place the camera.
Think about three zones
When choosing a location, consider:
Detection zone
Where the animal first triggers the camera.
Image zone
Where the animal appears large enough to provide useful information.
Movement zone
Where the animal is likely to spend enough time for the camera to capture useful images or video.
The best placement is where these three zones overlap.
5. Avoid Pointing Your Trail Camera Directly at the Sun
Direct sunlight can create exposure problems and unwanted triggers, particularly when the sun is low on the horizon.
If possible, avoid pointing your camera directly toward:
- Sunrise
- Sunset
- Strong afternoon sunlight
- Reflective water
- Highly reflective surfaces
A camera facing the sun may produce images with strong glare or reduced visibility.
Sunlight can also create moving shadows and changes in temperature that may increase false triggers.
A better approach
When choosing between two similar locations, consider the direction of sunlight throughout the day.
A little planning during installation can save you from returning later to discover hundreds of unusable images.
6. Clear Vegetation From the Detection Zone
Branches, tall grass, leaves, and other moving vegetation can create false triggers.
This is one of the most common problems with trail camera placement.
Wind moves a branch.
The camera detects movement.
The camera takes a photo.
You check the camera later and discover dozens of empty images.
This does not necessarily mean there is something wrong with the camera.
The environment may simply be triggering it.
Before leaving your camera
Check the area directly in front of the camera.
Look for:
- Thin branches
- Tall grass
- Leaves
- Moving vines
- Loose vegetation
- Reflective objects
Remove only the vegetation that interferes with the camera's detection and image area.
You do not need to clear the entire forest.
7. Use the Camera's Field of View to Your Advantage
A wide field of view can be useful when monitoring areas where animals may approach from different directions.
The WOSPORTS G600 provides a 120° wide-angle view, which can help cover broader areas such as food plots, trail intersections, and open wildlife activity zones.
Wide-angle coverage can be useful for:
Food plots
Deer may enter from multiple directions.
Trail intersections
Several travel routes may converge in one location.
Open areas
A wider view can help monitor more of the surrounding activity.
Property edges
Animals may travel along boundaries rather than through a single narrow trail.
However, a wider field of view does not automatically mean better images.
If your subject is consistently moving through one narrow location, careful positioning may be more important than maximum coverage.
8. Consider Daytime and Nighttime Deer Movement
Do not choose a camera location based only on what you can see during the day.
Deer movement can change significantly between daylight and nighttime.
A location that looks inactive when you inspect it at noon may become active after sunset.
This is why reliable day-and-night monitoring is important for wildlife scouting.
The G600 is designed for automatic day/night monitoring and includes night vision for observing activity in low-light conditions.
Think beyond daytime scouting
When choosing a camera location, ask:
- Where do deer go after dark?
- Where are they likely to travel between bedding and feeding areas?
- Are there natural funnels?
- Are there water sources nearby?
- Does the trail connect different habitat areas?
The goal is to understand when and where animals move, not simply to collect daytime photographs.
9. Check Your Camera Without Disturbing the Area
A trail camera only works as a scouting tool if you can monitor it without repeatedly disrupting the location.
Every time you walk directly into an active wildlife area, you may leave scent, create noise, disturb vegetation, or change the environment.
For this reason, think about access before installing the camera.
Choose a location where you can:
- Reach the camera safely
- Change batteries when necessary
- Retrieve the SD card
- Check the camera angle
- Perform maintenance
- Leave without walking directly through the most important travel area
A good camera location should work for both wildlife activity and practical maintenance.
What Is the Best Direction to Point a Trail Camera?
There is no single compass direction that is perfect for every property.
Instead, try to avoid pointing the camera directly toward strong sunlight.
For example, if a trail runs east-west, think about where the sun will be during the times when deer are most likely to move.
If deer are primarily moving around sunrise, pointing directly toward the rising sun may create unwanted glare.
The better direction depends on:
- Trail orientation
- Time of animal activity
- Terrain
- Vegetation
- Season
- Camera location
The best camera direction is the one that gives you a useful image while minimizing direct sunlight and false triggers.
How Does Trigger Speed Affect Trail Camera Placement?
Camera placement and trigger speed work together.
A fast trigger speed can help capture animals moving quickly through the detection area.
The WOSPORTS G600 has an approximately 0.2-second trigger speed, which is useful when monitoring moving wildlife.
But a fast trigger cannot fix every placement problem.
For example:
Poor placement + fast trigger = potentially fast empty photos
Good placement + fast trigger = better chance of capturing useful movement
This is why it is important to optimize the physical setup first.
How to Set Up a WOSPORTS G600 for Deer Scouting
If you are using a G600 for deer scouting, a practical setup process is:
Step 1: Identify the activity
Find a trail, food plot, water source, funnel, or other location showing signs of deer movement.
Step 2: Study the direction of travel
Determine whether deer are likely to approach from one direction or cross the area from multiple directions.
Step 3: Choose the mounting point
Select a stable tree or suitable mounting location with a clear view of the intended detection zone.
Step 4: Adjust the angle
Point the camera toward the area where deer are most likely to pass.
Step 5: Check the background
Look for sunlight, moving branches, tall grass, and other potential sources of false triggers.
Step 6: Test the framing
Walk through the expected movement area and check how the camera captures the scene.
Step 7: Leave the area
Once everything is working, minimize unnecessary disturbance to the location.
Common Trail Camera Placement Mistakes
Even an advanced trail camera can produce poor results if it is installed incorrectly.
Here are some mistakes worth avoiding.
Mistake 1: Pointing Directly Into the Sun
This can cause glare and inconsistent exposure.
Better approach: Consider the sun's position during the expected wildlife activity period.
Mistake 2: Mounting Too High
A high camera angle can produce poor animal framing.
Better approach: Adjust the height according to animal size and terrain.
Mistake 3: Pointing Straight Down the Trail
This can reduce the amount of time an animal spends moving across the useful image area.
Better approach: When possible, position the camera so animals cross the field of view.
Mistake 4: Ignoring Moving Vegetation
Wind-blown branches and grass can cause false triggers.
Better approach: Clear vegetation directly in front of the camera.
Mistake 5: Choosing a Location Only Because It Looks Good
A beautiful landscape is not necessarily an active wildlife location.
Better approach: Look for evidence of actual animal movement.
Mistake 6: Checking the Camera Too Frequently
Frequent visits can disturb the area you are trying to monitor.
Better approach: Choose accessible locations and plan maintenance visits carefully.
WOSPORTS G600 Features That Help With Wildlife Scouting
The G600 is designed to support different wildlife monitoring scenarios.
| Feature | WOSPORTS G600 | Why It Matters |
|---|---|---|
| Photo Resolution | Up to 48MP | Captures detailed still images |
| Video | 4K | Provides more context about animal movement |
| Trigger Speed | Approx. 0.2 sec | Helps respond quickly to movement |
| Field of View | 120° | Covers a broad monitoring area |
| PIR Detection | Up to 70 ft | Detects movement across a useful outdoor area |
| Night Monitoring | Advanced night vision | Supports after-dark scouting |
| Waterproofing | IP66 | Designed for outdoor conditions |
| Display | 2-inch TFT LCD | Helps with setup and on-device viewing |
| Power | 8 × AA batteries | Convenient field power source |
These specifications are most useful when they are matched with the right location.
For example:
48MP + good placement = more useful image detail
0.2-second trigger + active trail = better chance of capturing movement
120° view + food plot = broader coverage
Night vision + nighttime travel corridor = more complete scouting information
This is why the camera and the placement strategy should always be considered together.
Where Should You Put Multiple Trail Cameras?
If you have a larger property, using multiple cameras can help you understand movement patterns across different areas.
Instead of placing every camera in one location, consider creating a simple monitoring network.
For example:
Camera 1 — Bedding Area Entrance
Monitor movement leaving or entering cover.
Camera 2 — Travel Corridor
Monitor movement between different parts of the property.
Camera 3 — Food Plot
Observe feeding activity.
Camera 4 — Water Source
Monitor visits and timing.
Camera 5 — Property Edge
Understand movement along the boundary.
This approach can help you move from:
"Are deer here?"
to:
"Where are deer moving, when are they moving, and how are different areas connected?"
That is where trail cameras become much more useful as a scouting tool.
Frequently Asked Questions About Trail Camera Placement
What is the best height for a deer trail camera?
There is no universal height because terrain, trail elevation, camera angle, and animal size all matter. A practical starting point is around chest or shoulder level of the animals being monitored, followed by an on-site framing check.
Should a trail camera face up or down a trail?
For many narrow trails, positioning the camera so animals cross the field of view can produce more useful side-view images than pointing directly down the trail.
How far should a trail camera be from a deer trail?
The ideal distance depends on the camera's field of view, detection range, terrain, and desired image framing. The G600 offers up to 70 feet of PIR detection and a 120° wide-angle view.
What direction should a trail camera face?
Try to avoid direct sunlight, especially during sunrise and sunset. The best direction depends on the trail orientation and when animals are most active.
Why is my trail camera taking pictures of nothing?
Common causes include moving branches, grass, changing sunlight, and other environmental movement. Adjusting camera placement and clearing vegetation can reduce false triggers.
Should I put a trail camera directly over a deer trail?
Not necessarily. A position beside the trail can provide a better angle for capturing animals as they cross the detection zone.
Can I use a trail camera at night for deer?
Yes. A trail camera with infrared night monitoring can record deer activity after dark. The G600 supports automatic day/night monitoring and night vision.
How do I get better pictures from my trail camera?
Start with good placement. Position the camera at an appropriate height, avoid direct sunlight, clear moving vegetation, choose an active wildlife location, and make sure the expected movement crosses the useful image area.
Is a fast trigger speed important for deer?
Yes. Deer can move quickly through a camera's detection zone. A fast trigger can improve the chance of capturing the animal while it is still within the useful image area. The G600 has an approximately 0.2-second trigger speed.
Final Takeaway: A Good Camera Needs a Good Location
Choosing a trail camera with high-resolution photos, fast trigger speed, wide coverage, and night monitoring is only the beginning.
The location determines what the camera actually sees.
Before installing your camera, look for natural wildlife movement, consider the direction of travel, choose an appropriate height and angle, avoid direct sunlight, clear moving vegetation, and think about both daytime and nighttime activity.
The WOSPORTS G600 provides the core features needed for this type of scouting, including 48MP photos, 4K video, approximately 0.2-second trigger speed, 120° wide-angle coverage, up to 70 feet of PIR detection, night monitoring, and IP66 weather protection.
But the most important setup principle is simple:
Don't just point your camera at the woods. Point it at a reason.
A trail.
A food plot.
A water source.
A travel corridor.
A place where wildlife is already telling you that something is happening.
Then let the camera do the watching.
Search
Popular Posts
Recent Posts


Nov 28, 2024
Troubleshooting Common Trail Camera Issues
Jan 10, 2025
Why Does My Trail Camera Stop Working at Night?