How to Set Up a Trail Camera: 10 Tips to Capture Better Wildlife Photos
A trail camera opens a window into the hidden world of wildlife.
Whether you are monitoring deer on a hunting property, observing animals in your backyard, or exploring nature around your land, proper trail camera setup can make the difference between capturing amazing wildlife moments and ending up with empty images.
Many beginners purchase a high-quality trail camera but do not get the results they expect because of poor placement, incorrect settings, or unsuitable locations.
The good news is that setting up a trail camera does not have to be complicated.
With the right location, camera angle, and settings, you can capture clearer photos and videos while learning more about the animals around you.
In this guide, we will share 10 trail camera setup tips to help you get the best results from your wildlife camera.
1. Choose the Right Location Before Installing Your Trail Camera
The most important part of trail camera setup is location.
Even the best camera cannot capture wildlife if it is placed where animals rarely travel.
Before installing your camera, spend some time observing your property and looking for signs of animal activity.
Good trail camera locations include:
- Deer trails
- Game paths
- Food plots
- Water sources
- Forest edges
- Fields and openings
- Areas with animal tracks
Look for natural movement patterns instead of choosing a location randomly.
A camera placed in the right location can capture weeks or months of valuable wildlife activity.
2. Place Your Trail Camera at the Correct Height
Camera height affects the quality of your photos and videos.
For deer and larger wildlife, a common recommendation is to install your camera approximately 3 to 4 feet above the ground.
This helps:
- Capture animals at a natural angle
- Improve detection accuracy
- Reduce blocked views from grass and plants
For smaller animals such as rabbits, birds, or other backyard wildlife, you may need to adjust the height depending on your target species.
The best height depends on what animals you want to monitor.
3. Avoid Pointing Your Camera Directly Toward the Sun
Sunlight can create overexposed images, shadows, and poor-quality footage.
When choosing your camera direction:
Avoid:
- Facing directly toward sunrise
- Facing directly toward sunset
Instead, try positioning your trail camera:
- North-facing when possible
- Toward areas with consistent shade
- Away from strong direct sunlight
This simple adjustment can significantly improve daytime image quality.
4. Clear the Area Around Your Camera
Before leaving your trail camera in place, check the area directly in front of the lens.
Remove:
- Tall grass
- Leaves
- Small branches
- Vegetation blocking the view
Nearby objects can cause:
- False triggers
- Blurry images
- Blocked animal views
A clean detection area helps your camera focus on the wildlife you actually want to capture.
5. Adjust Motion Detection Settings
Different environments require different camera settings.
If your camera sensitivity is too high, it may capture hundreds of unnecessary images caused by:
- Moving branches
- Wind
- Small insects
If sensitivity is too low, you may miss important wildlife activity.
For the best results:
- Use higher sensitivity in open areas
- Use lower sensitivity in areas with lots of vegetation
- Test settings before long-term placement
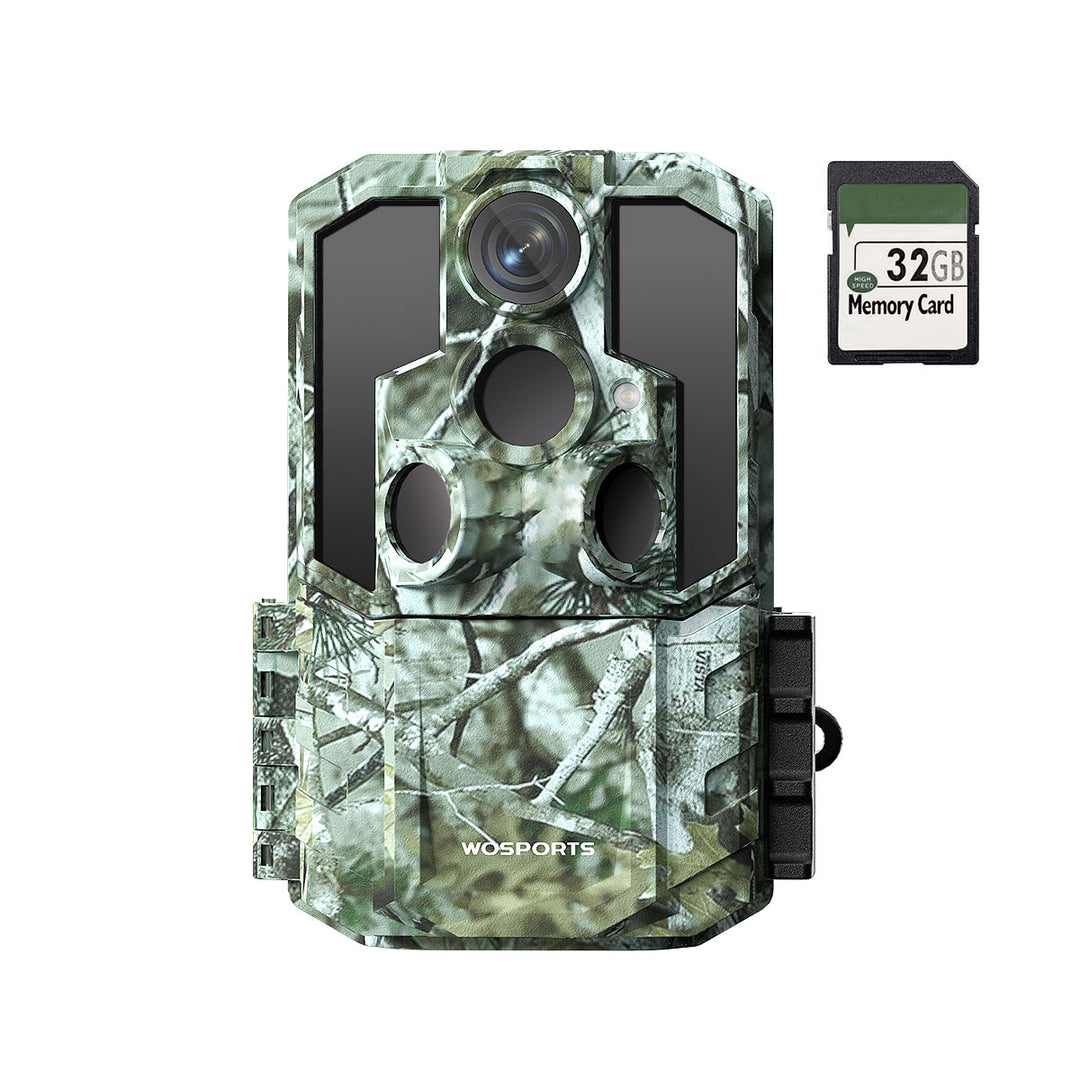
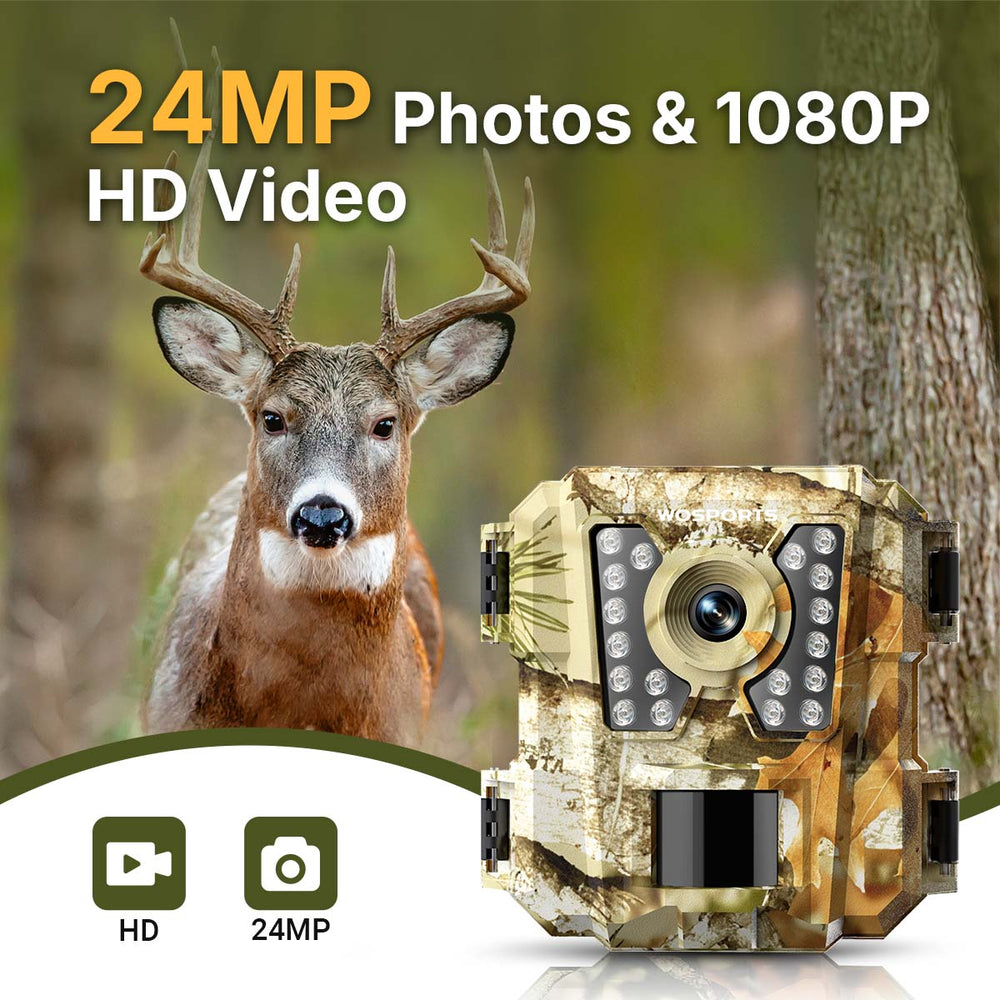
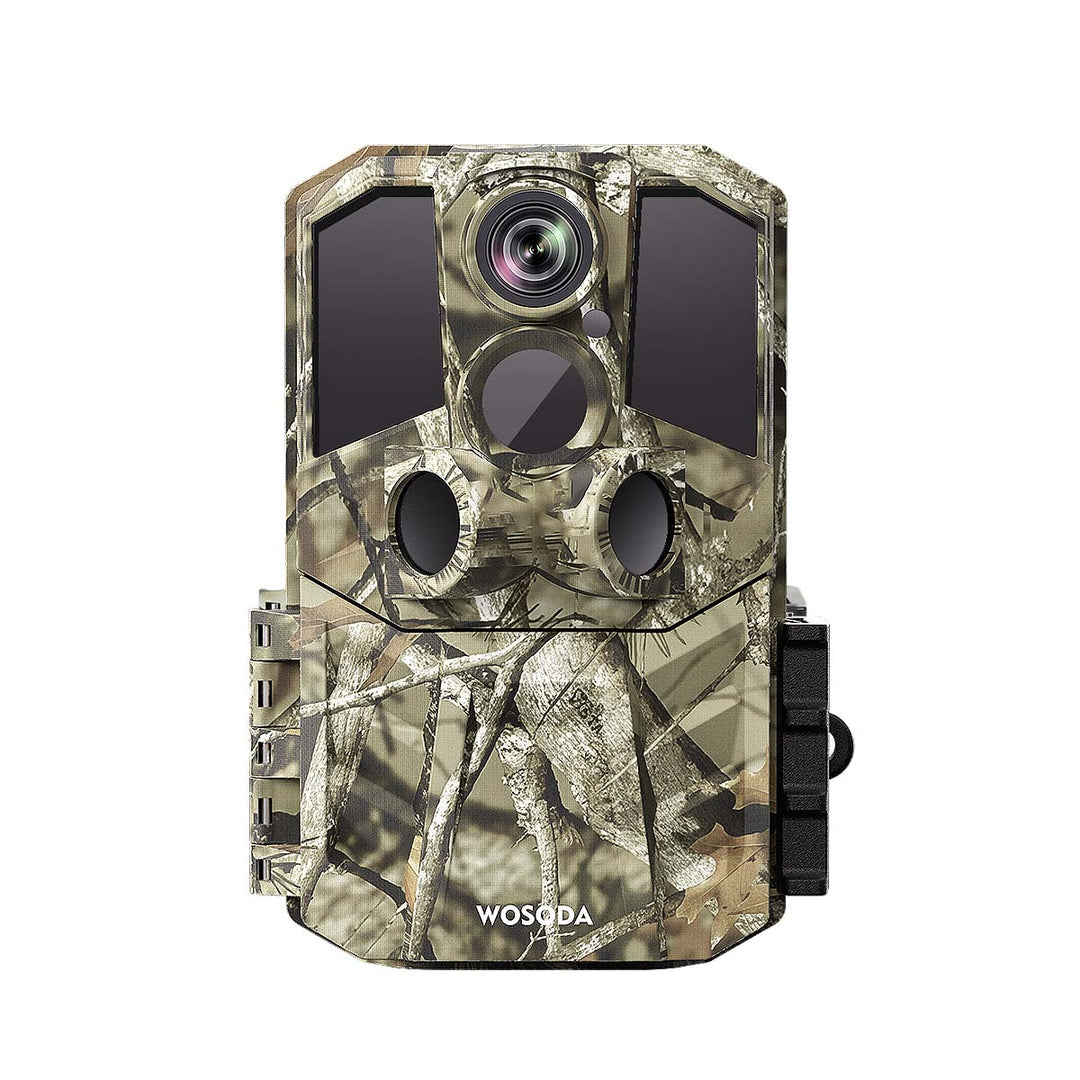
The WOSPORTS G600 Trail Camera provides reliable motion detection to help capture wildlife activity when movement occurs.
6. Test Your Trail Camera Before Leaving
Never install your camera and immediately walk away.
Always test it first.
Before final installation:
Check:
✔ Camera angle
✔ Detection range
✔ Image quality
✔ Video recording
✔ Night vision performance
Walk through the detection area and confirm that the camera captures movement correctly.
A few minutes of testing can prevent weeks of missed opportunities.
7. Choose the Right Camera Mode
Most trail cameras offer different capture options.
Common settings include:
Photo Mode
Best for:
- Wildlife inventory
- Animal identification
- Monitoring activity
Video Mode
Best for:
- Understanding animal behavior
- Capturing movement
- Creating wildlife footage
Photo + Video Mode
A combination option that provides both images and videos.
For wildlife enthusiasts, video mode can provide valuable details that a single photo cannot show.
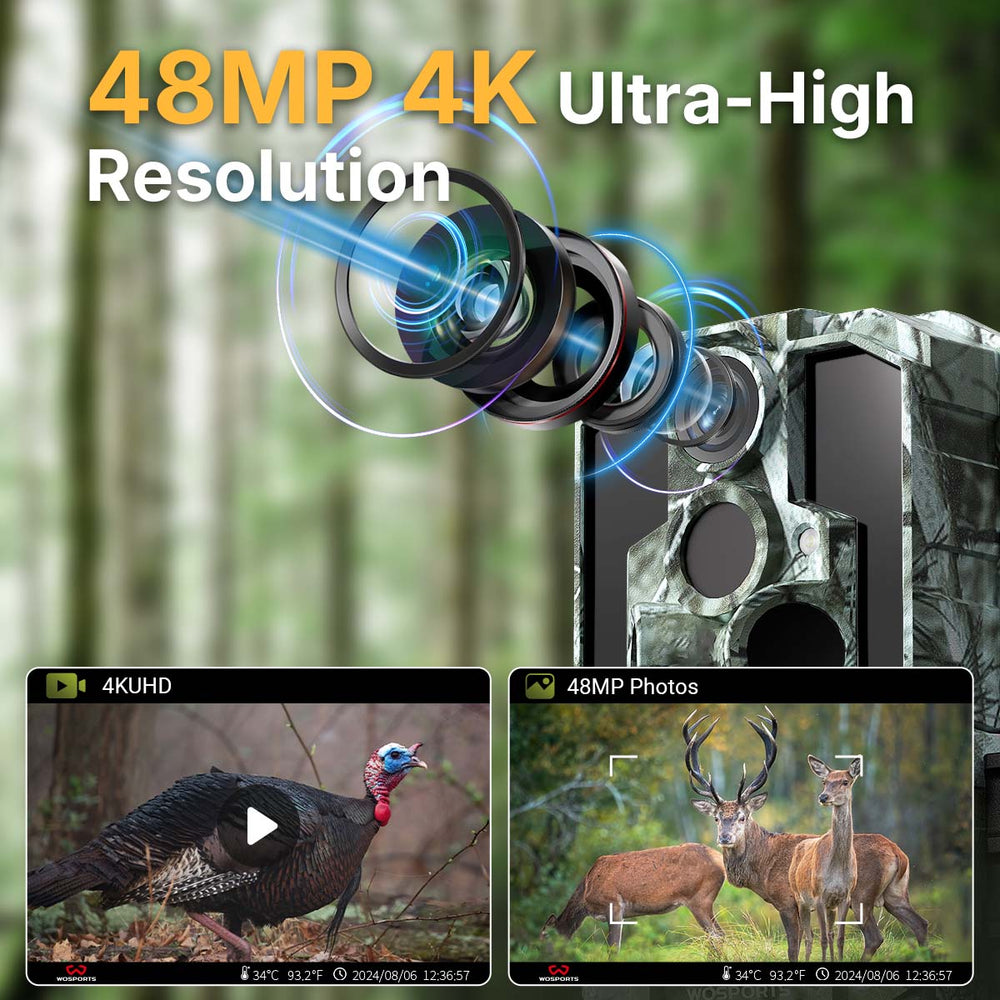
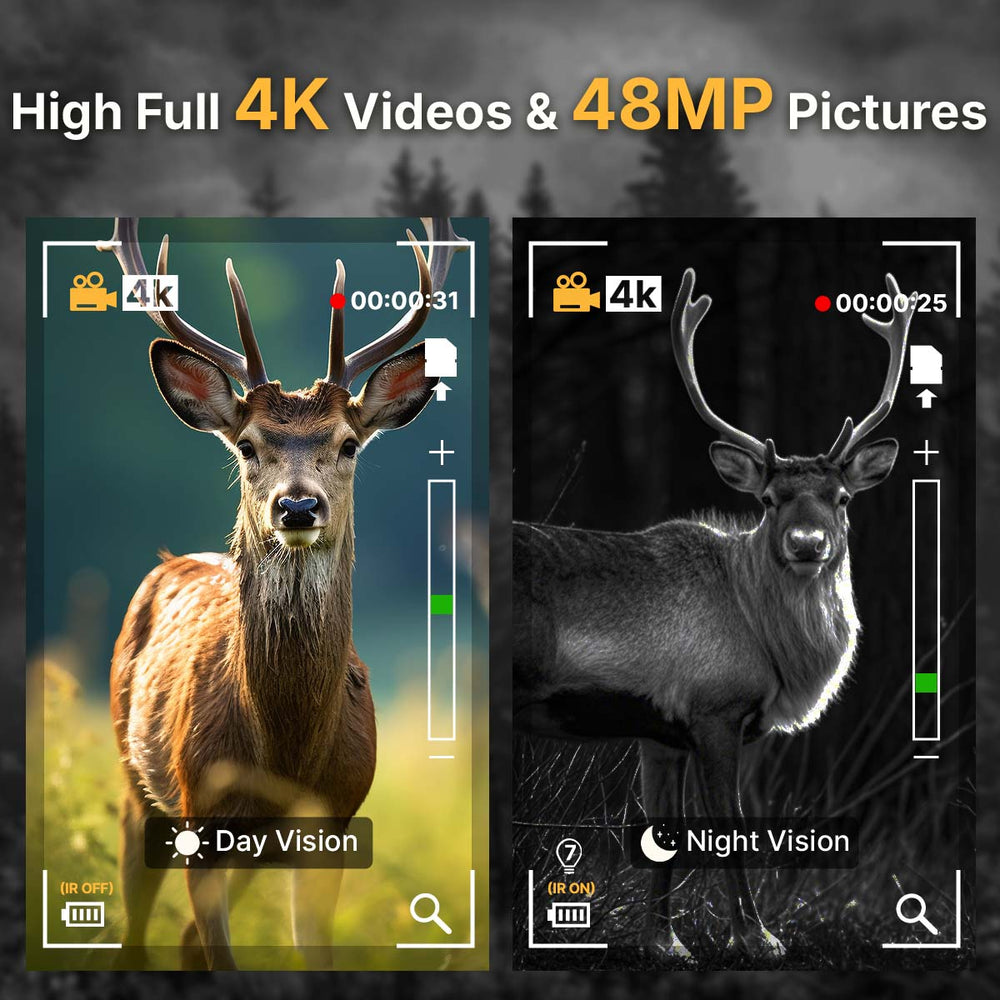
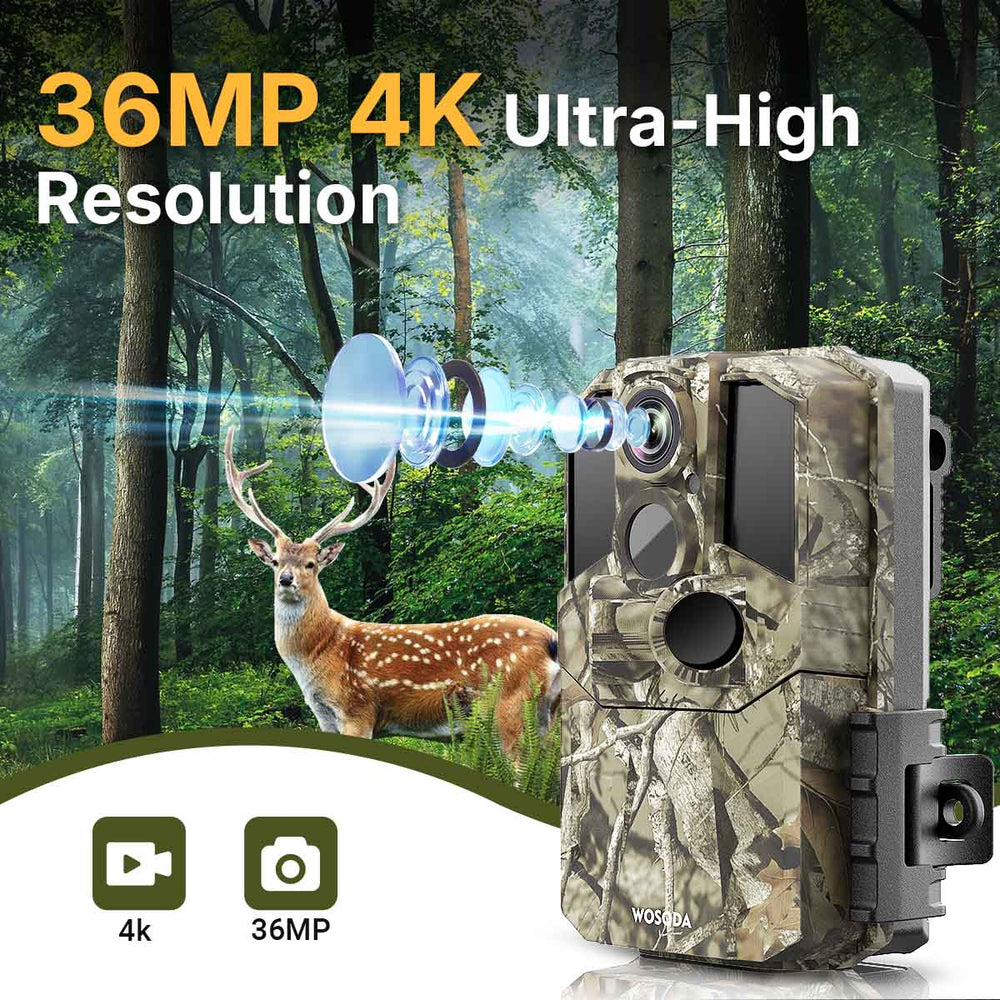
The WOSPORTS G600 supports high-quality 4K video recording, allowing you to capture detailed wildlife moments.
8. Use a Quality Trail Camera With Fast Trigger Speed
Wildlife rarely waits.
An animal may only appear in front of your camera for a few seconds.
A slow camera can miss the moment.
Fast trigger speed helps capture:
- Deer walking through trails
- Birds landing
- Animals crossing open areas
The WOSPORTS G600 features a 0.1-second trigger speed, helping capture fast-moving wildlife with minimal delay.
9. Protect Your Trail Camera From Weather and Wildlife
Outdoor cameras must handle changing conditions.
Before leaving your camera outdoors, make sure:
- The housing is properly closed
- The mounting strap is secure
- The camera is protected from unnecessary water exposure
A weather-resistant design helps your camera continue working through different seasons.
The WOSPORTS G600 features IP65 waterproof protection, making it suitable for outdoor environments including forests, farms, and hunting properties.
10. Check Your Camera Without Disturbing Wildlife
One of the biggest mistakes beginners make is checking their camera too often.
Frequent visits can:
- Leave human scent
- Disturb animal movement
- Change wildlife behavior
Instead:
- Check cameras when necessary
- Visit during low-impact times
- Plan your visits carefully
The goal of a trail camera is to observe wildlife naturally.
Recommended Trail Camera Setup for Different Uses
For Deer Hunting
Recommended locations:
- Deer trails
- Food sources
- Bedding areas
- Water locations
Goal:
Understand deer movement patterns before hunting season.
For Backyard Wildlife Watching
Recommended locations:
- Garden edges
- Bird feeders
- Water areas
- Natural vegetation
Goal:
Discover animals visiting your property.
For Land Monitoring
Recommended locations:
- Property entrances
- Fence lines
- Remote areas
Goal:
Monitor activity and understand what is happening on your land.
Why Camera Quality Matters
Good setup is important, but camera performance also plays a major role.
A reliable wildlife camera should provide:
- Clear images
- Fast response
- Strong outdoor durability
- Day and night monitoring
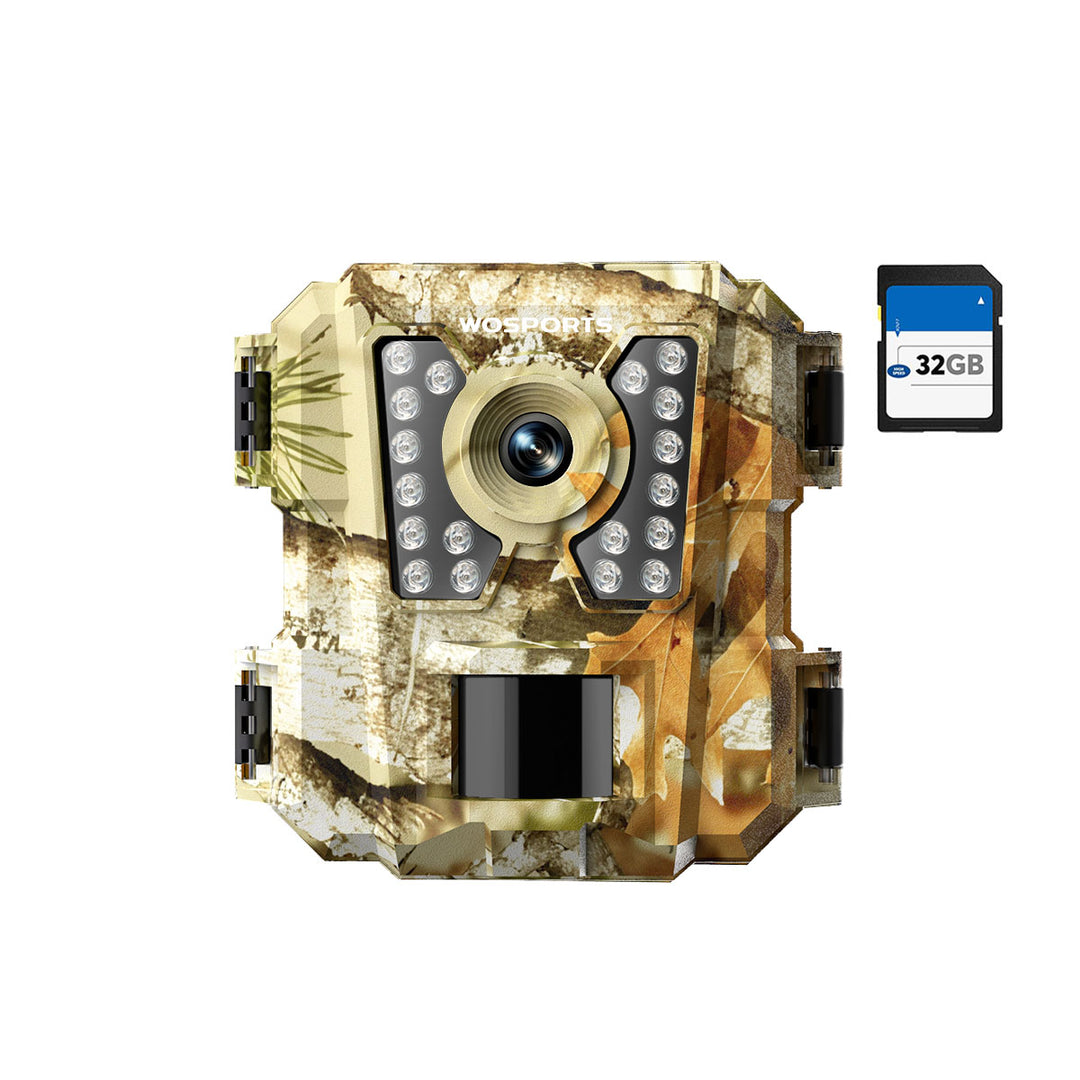
The WOSPORTS G600 Trail Camera combines these features with:
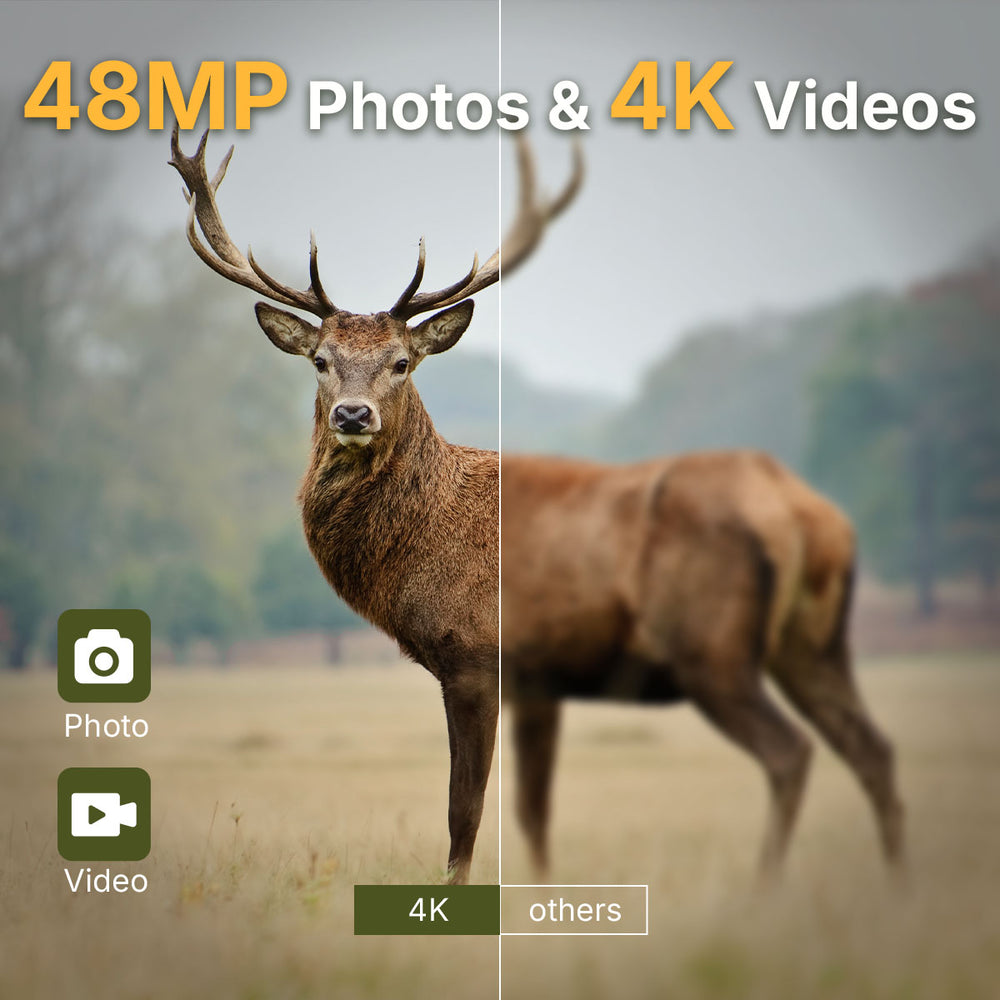
✔ 48MP photos
✔ 4K video recording
✔ 0.2-second trigger speed
✔ Automatic day/night monitoring
✔ IP66 waterproof protection
It is designed for hunters, outdoor enthusiasts, and anyone who wants to discover more about wildlife.
Start Capturing More Wildlife Moments
A trail camera allows you to experience nature in a completely different way.
The animals you rarely see during the day may be active around your property every night. With proper placement and the right settings, your camera can reveal incredible moments that would otherwise remain hidden.
By following these trail camera setup tips, you can improve your chances of capturing clear photos and videos while learning more about the wildlife around you.
The WOSPORTS G600 Trail Camera helps make outdoor exploration easier, giving you a reliable way to monitor nature wherever adventure takes you.
Set up your WOSPORTS G600 Trail Camera today and discover what happens when you are not watching.
Search
Popular Posts
Recent Posts


Nov 28, 2024
Troubleshooting Common Trail Camera Issues
Jan 10, 2025
Why Does My Trail Camera Stop Working at Night?